
Peace lilies, with their elegant white blooms and lush green foliage, are a popular choice for adding a touch of tranquility to any indoor space. Often gifted and easy to find, they are also known for their air-purifying qualities, making them both beautiful and beneficial houseplants. Understanding proper Peace Lily Care is key to enjoying these plants for years to come. This guide will provide you with all the essential tips and tricks to ensure your peace lily thrives.
Ideal Location for Your Peace Lily
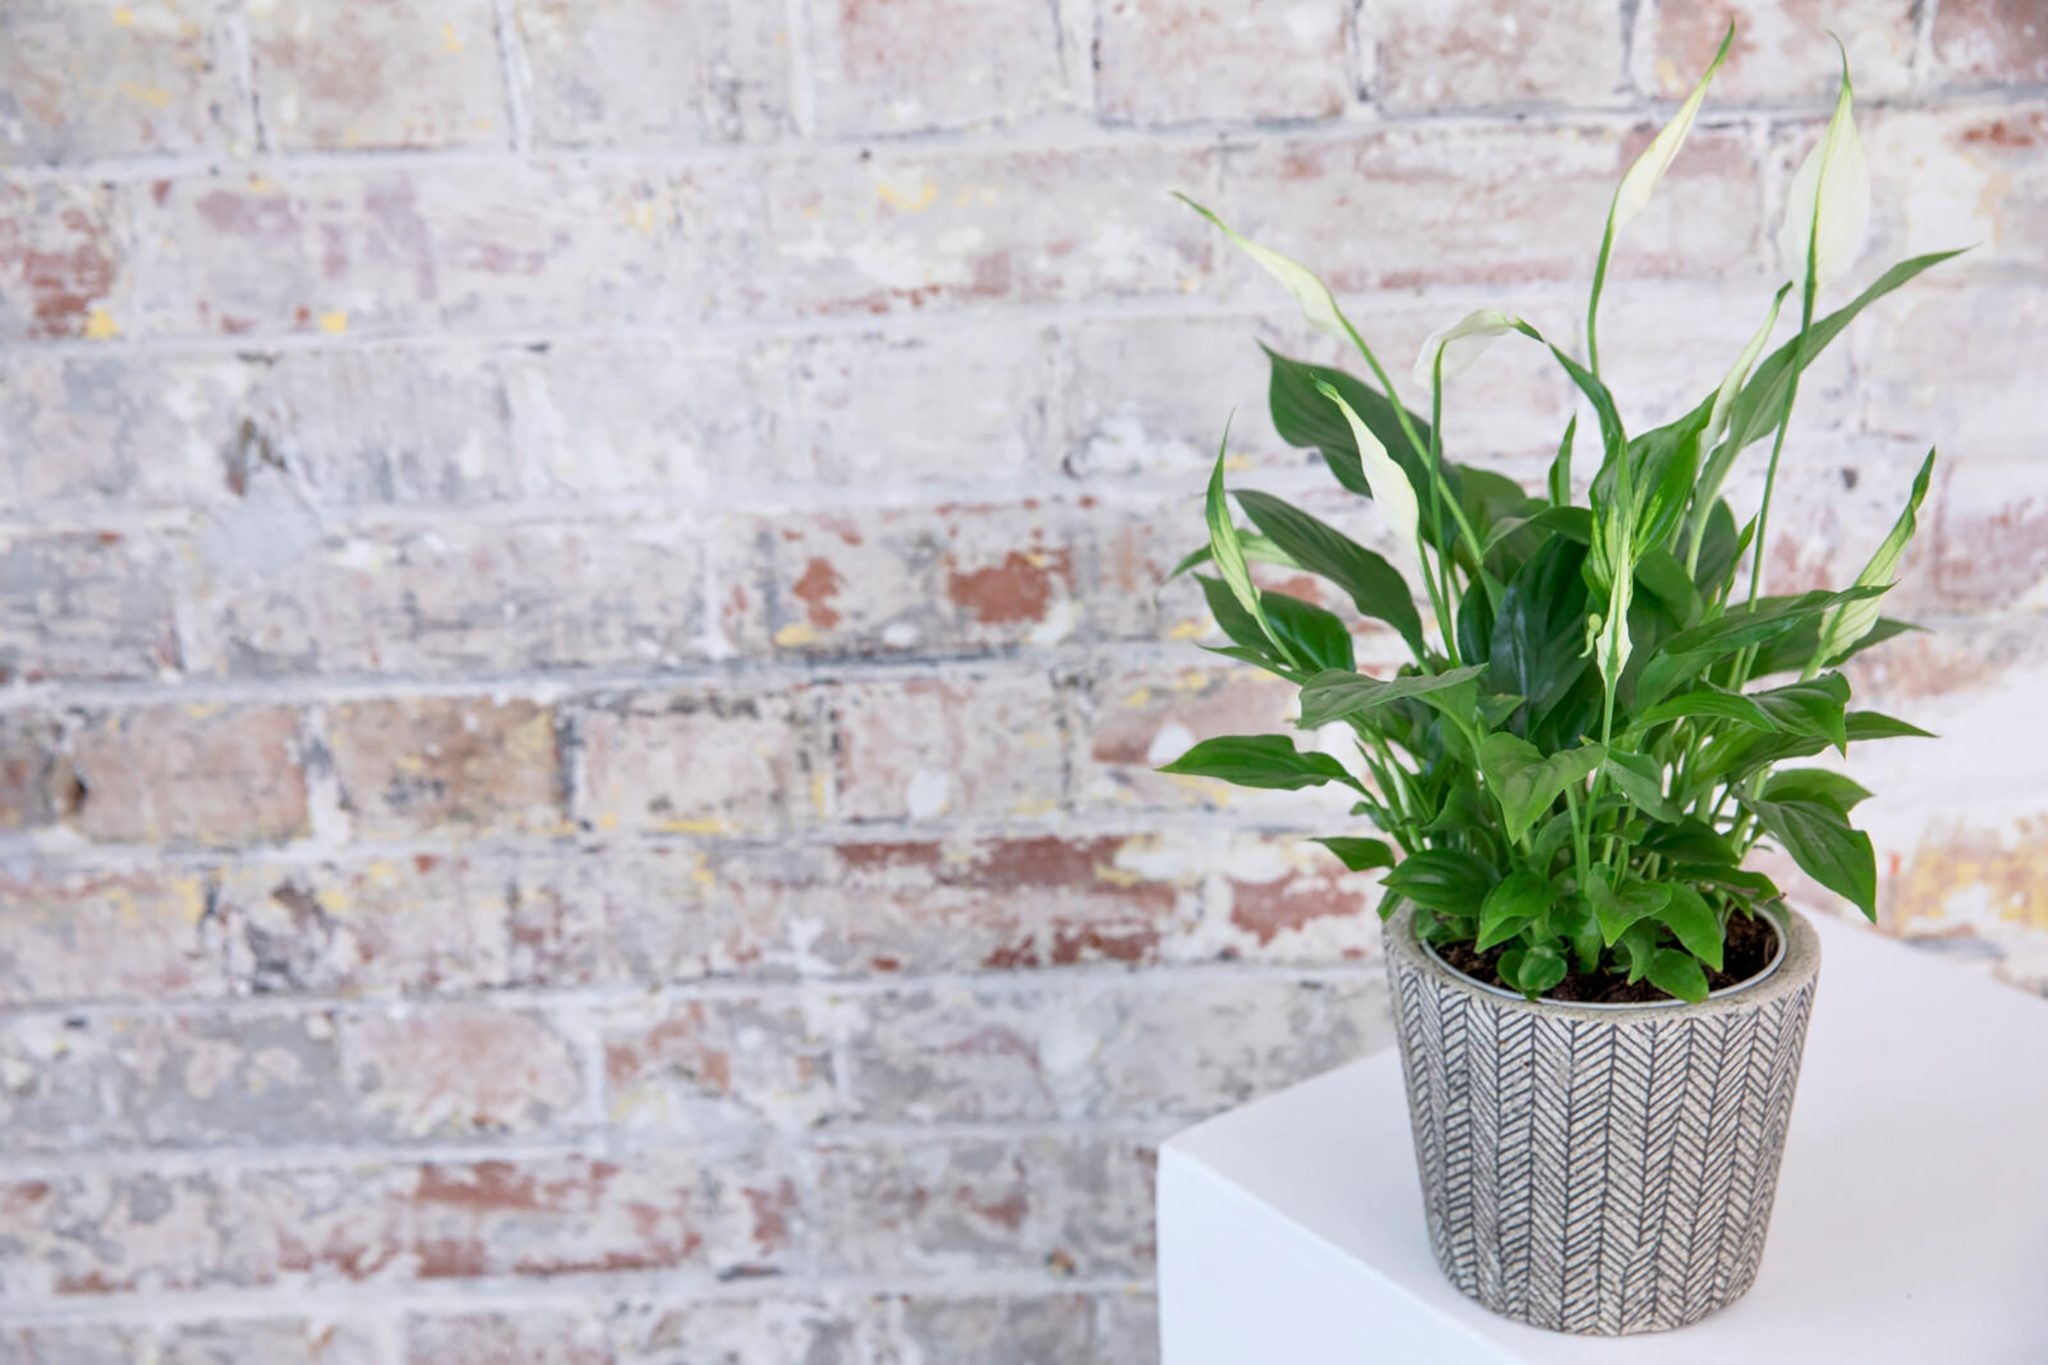
Peace lily in a bright spot enhances room decor, showcasing optimal indoor plant placement.
Peace lilies flourish in environments that mimic their native tropical habitats. When considering peace lily care, light is a crucial factor. These plants prefer bright, indirect sunlight. Direct sunlight can scorch their delicate leaves, leading to brown edges and stress. A north or east-facing window is often ideal, or a spot a few feet away from a south or west-facing window.
Avoid placing your peace lily in cold, draughty locations, such as near doorways or fireplaces that are not in use. Temperature fluctuations can negatively impact their growth. Peace lilies thrive in average room temperatures, ideally between 65-80°F (18-27°C). Furthermore, peace lilies appreciate humidity. Bathrooms and kitchens, which naturally have higher humidity levels, can be excellent locations. If your home is dry, especially during winter, consider methods to increase humidity around your plant, such as using a humidifier or placing the pot on a pebble tray filled with water.
Potting and Repotting Peace Lilies
Gardening expert potting a peace lily, demonstrating proper technique for houseplant care.
Spring is the best time for potting or repotting your peace lily as it is the start of their active growth period. To determine if your peace lily needs repotting, gently check the root system. If the roots are tightly circling the inside of the pot and appear densely packed, it’s time to move to a larger container.
Choose a pot that is only slightly larger than the current one, about one-third larger than the root ball. Overly large pots can retain too much moisture, increasing the risk of root rot. Ensure the pot has drainage holes to prevent waterlogging, which is detrimental to peace lily care.
For the potting mix, use a well-draining, peat-free multi-purpose compost or a houseplant-specific mix. Amending the compost with perlite can further improve drainage. When potting, fill the new container about two-thirds full with the chosen compost mix. Gently remove the peace lily from its current pot, loosen any circling roots, and place it in the center of the new pot. Fill around the root ball with more compost, firming it gently. Water thoroughly after potting, allowing any excess water to drain away.
Watering and Feeding Your Peace Lily
Maintaining peace lily health involves regular leaf cleaning to remove dust, crucial for photosynthesis.
Proper watering is essential for peace lily care. These plants prefer consistently moist soil but are susceptible to root rot if overwatered. The key is to find a balance – keep the compost moist but never waterlogged. Allow the top inch or two of soil to dry out between waterings. A good rule of thumb is to check the soil moisture by inserting your finger; if it feels dry to the touch at this depth, it’s time to water.
Peace lilies are quite communicative plants and will dramatically droop or wilt when they are thirsty. This can be a helpful visual cue. If you notice wilting, water your peace lily immediately. However, avoid letting the plant wilt excessively and repeatedly as this can stress it over time.
During the spring and summer growing season, peace lilies benefit from regular feeding. Fertilize them every two weeks with a diluted liquid houseplant fertilizer. Follow the manufacturer’s instructions for dilution rates to avoid over-fertilizing, which can damage the roots and leaves. Reduce or stop fertilizing during the fall and winter months when the plant’s growth naturally slows down.
Troubleshooting Common Peace Lily Problems
Peace lilies are generally resilient, but you may encounter a few common issues.
- Fungus Gnats: Small flies hovering around the soil are likely fungus gnats. These pests thrive in moist compost. Reduce watering frequency to allow the soil surface to dry out slightly, breaking their breeding cycle. You can also use sticky traps to catch adult gnats or apply Bacillus thuringiensis (Bt) to the soil as a biological control for larvae.
- Yellow Leaves: An occasional yellow leaf, especially an older one at the base of the plant, is normal as the plant sheds older foliage. Simply trim it off. However, multiple yellowing leaves can indicate overwatering. Allow the soil to dry out more between waterings.
- Brown Leaf Edges: Brown, crispy edges on leaves often signal that the peace lily is receiving too much direct sunlight. Relocate your plant to a spot with bright, indirect light to resolve this issue. Dry air can also contribute to brown edges, so increasing humidity can be beneficial.
Tips for Buying a Healthy Peace Lily
When purchasing a peace lily, inspect the plant carefully. Check for any signs of pests or diseases, such as insects on the leaves or unusual spots. Choose a plant with healthy, vibrant green leaves and avoid those with excessive yellowing or browning.
If buying from a garden center or supermarket, be mindful of the plant’s location within the store. Avoid peace lilies that have been placed near entrances, especially during colder months, as they may have been exposed to cold draughts which can stress them.
Where to Purchase Peace Lilies
Peace lilies are widely available at many retailers. Consider these options:
By following these peace lily care tips, you can easily cultivate a thriving and beautiful peace lily in your home, enjoying its elegant presence and air-purifying benefits for years to come.