Experiencing a stubborn start with your 1997 Lincoln Town Car? You’re not alone. These luxurious vehicles, while known for their smooth rides and powerful engines, can sometimes present hard starting problems. This guide will walk you through the common culprits behind this issue and provide you with a step-by-step approach to get your Town Car starting smoothly again.
Common Causes of Hard Starting in a 1997 Lincoln Town Car
Before we dive into the solutions, it’s essential to understand the potential reasons why your 1997 Lincoln Town Car might be experiencing hard starting. These can range from simple fixes to more complex electrical issues:
1. Battery Issues: A weak or dead battery is the most common reason for any vehicle to experience starting problems.
2. Faulty Starter: The starter motor is responsible for cranking the engine to life. A worn-out starter motor may struggle to turn the engine over properly.
3. Fuel System Problems: A lack of fuel pressure or a clogged fuel filter can prevent the engine from receiving the necessary fuel to start.
4. Ignition System Faults: Issues within the ignition system, such as a failing ignition coil, distributor cap, or rotor, can disrupt the spark needed for combustion.
5. Sensor Malfunctions: Your Town Car relies on various sensors, including the crankshaft position sensor and the camshaft position sensor, to send vital information to the engine control unit (ECU). Malfunctioning sensors can disrupt the timing and fuel delivery, leading to hard starts.
6. Vacuum Leaks: Vacuum leaks can upset the air-fuel mixture required for combustion, making it difficult for the engine to start.
Troubleshooting Hard Starting Issues in Your 1997 Lincoln Town Car
Now that we’ve outlined the potential causes, let’s move on to diagnosing and fixing the problem. Follow these steps to troubleshoot the hard starting issue with your 1997 Lincoln Town Car:
Step 1: Check the Battery and Connections
- Visual Inspection: Begin by visually inspecting the battery terminals for any signs of corrosion or loose connections.
- Voltage Test: Use a multimeter to check the battery voltage. A fully charged battery should read around 12.6 volts.
- Jump Start: If the battery appears weak, attempt a jump start to rule out a completely dead battery.
Step 2: Inspect the Starter Motor
- Listen Closely: When you turn the key, listen for any unusual noises coming from the starter. A clicking sound could indicate a faulty starter solenoid, while a grinding noise might point to a damaged starter motor.
- Starter Test (Optional): If you suspect a starter issue, consider having it tested at an auto parts store or by a mechanic.
Step 3: Examine the Fuel System
- Fuel Pressure Test: A fuel pressure test will determine if the fuel pump is delivering sufficient pressure to the engine. This test is best performed by a qualified mechanic.
- Fuel Filter Inspection: A clogged fuel filter can restrict fuel flow. Inspect the fuel filter and replace it if it appears dirty or clogged.
Step 4: Investigate the Ignition System
- Spark Plugs: Remove the spark plugs and check for wear, fouling, or damage. Replace them if necessary.
- Ignition Coil: A failing ignition coil may produce a weak spark. You can test the ignition coil using a multimeter or have it checked at an auto parts store.
- Distributor Cap and Rotor (If Applicable): Inspect the distributor cap and rotor for cracks, carbon tracking, or wear. Replace them if you notice any damage.
Step 5: Address Sensor Issues
- Check Engine Light: If your Check Engine Light is on, it’s crucial to retrieve the diagnostic trouble codes (DTCs) using an OBD-II scanner. These codes can provide valuable insights into potential sensor malfunctions.
- Sensor Inspection: Based on the DTCs or if you suspect a specific sensor, visually inspect the wiring and connectors of the crankshaft position sensor, camshaft position sensor, and other relevant sensors.
Step 6: Look for Vacuum Leaks
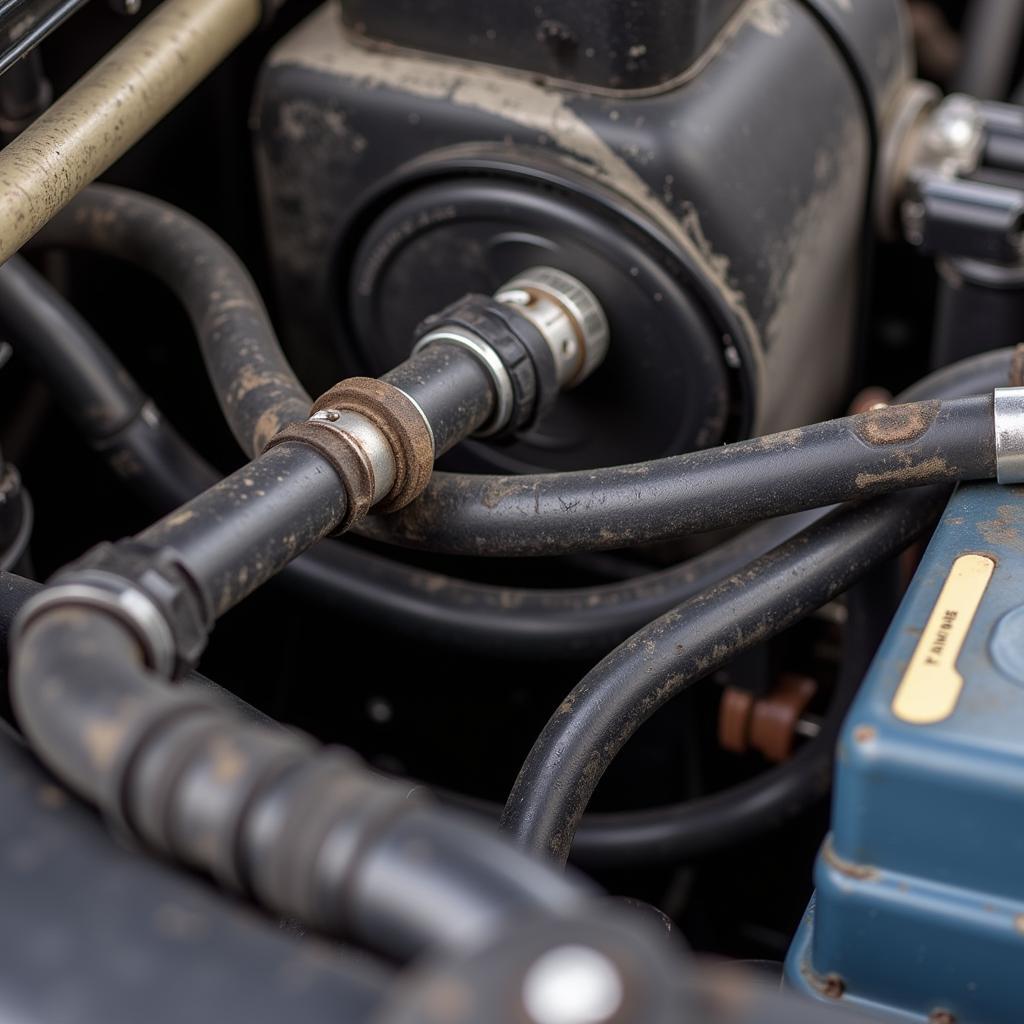
- Visual Inspection: Carefully inspect all vacuum hoses for cracks, splits, or loose connections. Pay attention to areas around the intake manifold and throttle body.
- Carb Cleaner Test (Optional): With the engine running, carefully spray carburetor cleaner around potential leak points. If the engine speed changes, it indicates a vacuum leak in that area.
 Inspecting vacuum hoses for leaks in a 1997 Lincoln Town Car
Expert Insights:
“One often overlooked culprit in hard starting is a failing fuel pressure regulator,” says Mark Williams, an ASE-certified master technician with over 20 years of experience. “A faulty regulator can disrupt fuel pressure and make starting difficult, especially when the engine is cold.”
“Don’t underestimate the importance of regular maintenance,” adds Sarah Johnson, an automotive electrical specialist. “Timely tune-ups, including spark plug replacements and fuel system cleaning, can prevent many hard starting problems down the road.”
Conclusion
Troubleshooting hard starting problems in your 1997 Lincoln Town Car requires a systematic approach and a good understanding of the vehicle’s systems. By following the steps outlined in this guide, you’ll be well on your way to pinpointing the root cause and getting your Town Car starting reliably again. However, if the problem persists, it’s always advisable to seek assistance from a qualified mechanic.
For expert advice and assistance with your 1997 Lincoln Town Car, don’t hesitate to contact AutoTipPro at +1 (641) 206-8880 or visit our office at 500 N St Mary’s St, San Antonio, TX 78205, United States. We’re here to help!


Leave a Reply