A damaged car bumper can be a real eyesore. Whether it’s a minor scratch, a dent, or a more serious crack, a DIY fix for car bumper damage can save you a significant amount of money compared to a professional repair. This guide provides a step-by-step approach to fixing your car bumper yourself, covering everything from assessing the damage to the final touches.
Assessing the Damage: Know Your Bumper
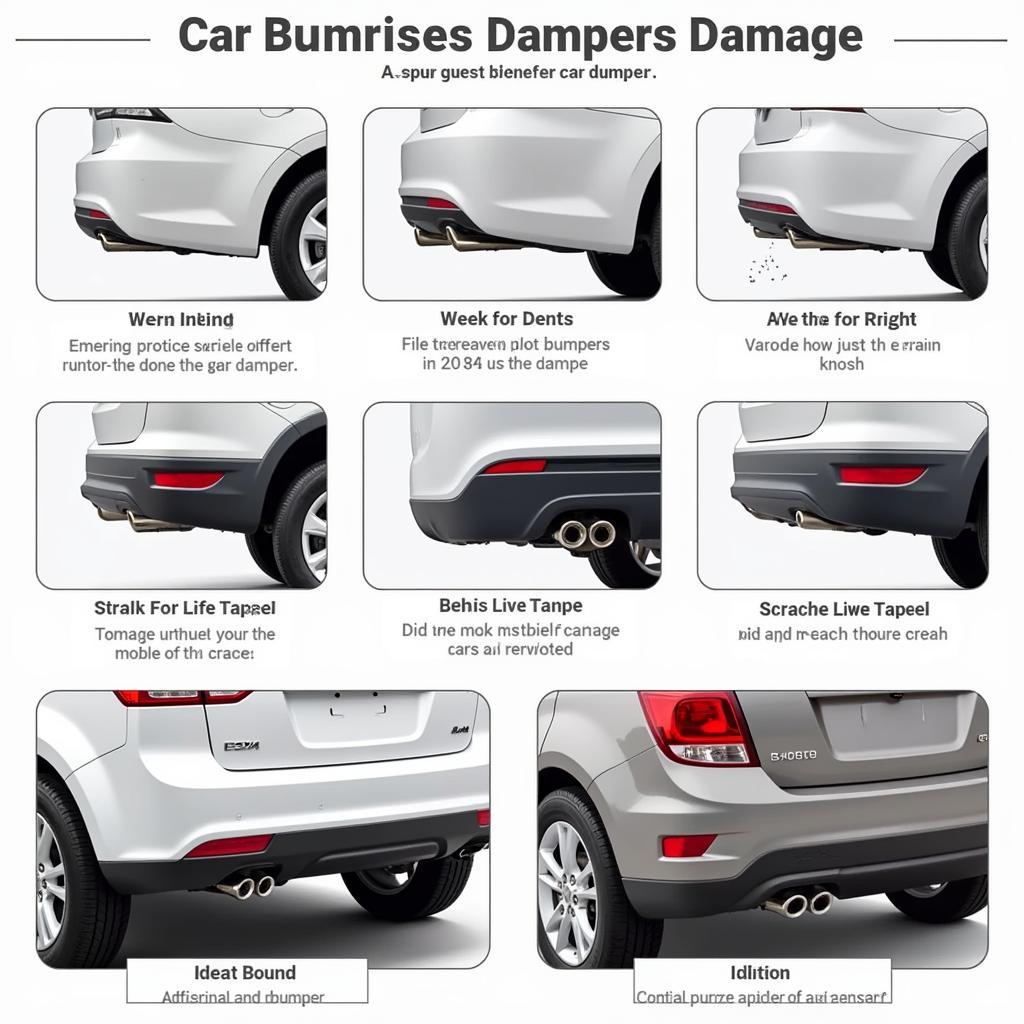
Before you grab your tools, it’s crucial to assess the extent of the damage. Is it a simple scratch, a deep gouge, or a cracked bumper? The type of damage will dictate the repair method. Minor scratches might only require some polishing compound, while deeper damage might necessitate filling and repainting. Determining the material of your bumper is also important. Is it plastic, fiberglass, or metal? Each material requires a slightly different approach.
Gathering Your Supplies: The Right Tools for the Job
Having the right tools and materials on hand will make your DIY fix for car bumper repair much smoother. For most repairs, you’ll need sandpaper (various grits), automotive body filler, primer, paint that matches your car’s color, clear coat, masking tape, plastic sheeting, a sanding block, and polishing compound. If you’re dealing with a cracked bumper, you’ll also need a plastic repair kit.
 Assessing Car Bumper Damage
Prepping the Bumper: A Smooth Surface is Key
Clean the damaged area thoroughly with soap and water, removing any dirt, grease, or wax. Next, sand the damaged area with progressively finer grits of sandpaper, starting with a coarser grit to remove any loose paint or plastic and finishing with a finer grit to create a smooth surface for the filler. Be sure to feather the edges of the sanded area to blend it seamlessly with the surrounding paint. This preparation is essential for a professional-looking DIY fix for car bumper damage.
Applying Body Filler: Filling the Gaps
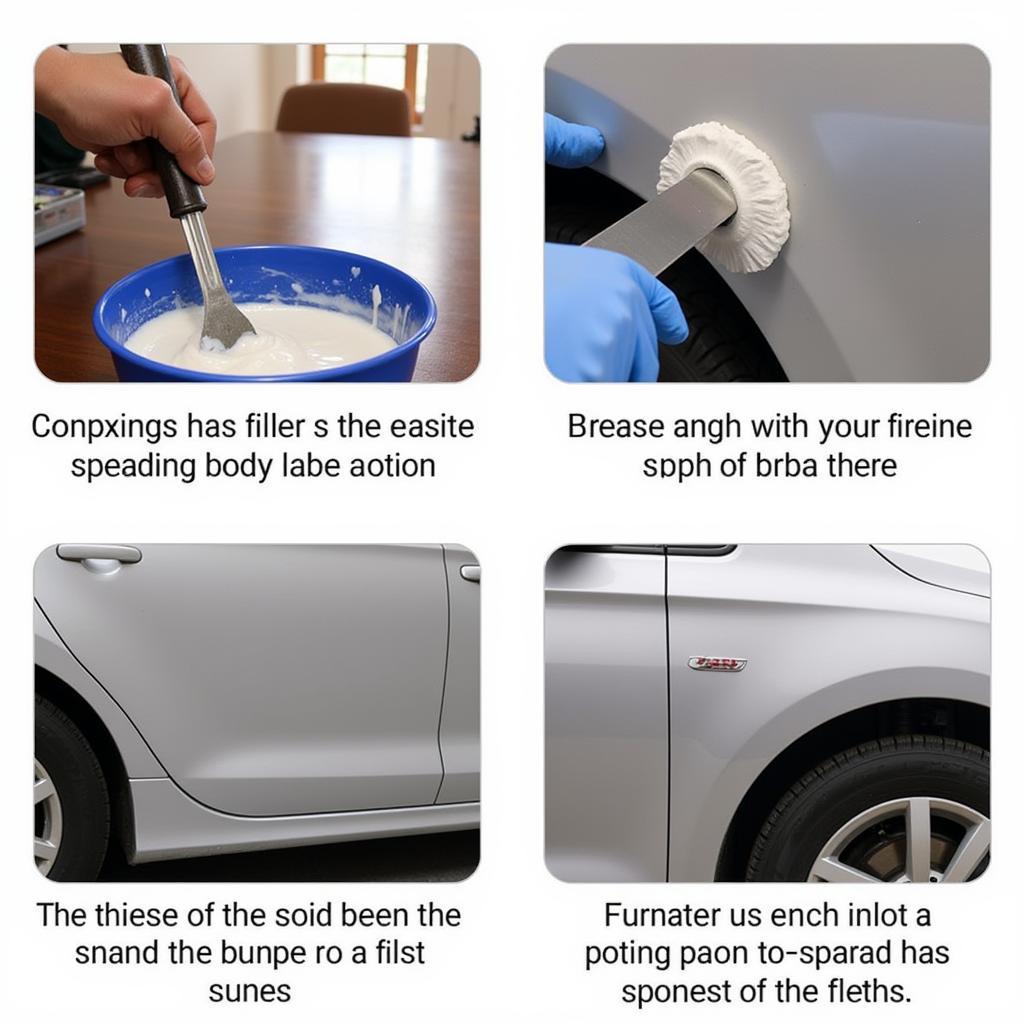
If your bumper has dents or deep scratches, you’ll need to apply body filler. Mix the filler according to the manufacturer’s instructions and apply it to the damaged area using a putty knife. Spread the filler evenly, slightly overlapping the surrounding undamaged area. Allow the filler to dry completely before sanding it smooth.
 Applying Body Filler to Damaged Car Bumper
Priming and Painting: The Finishing Touches
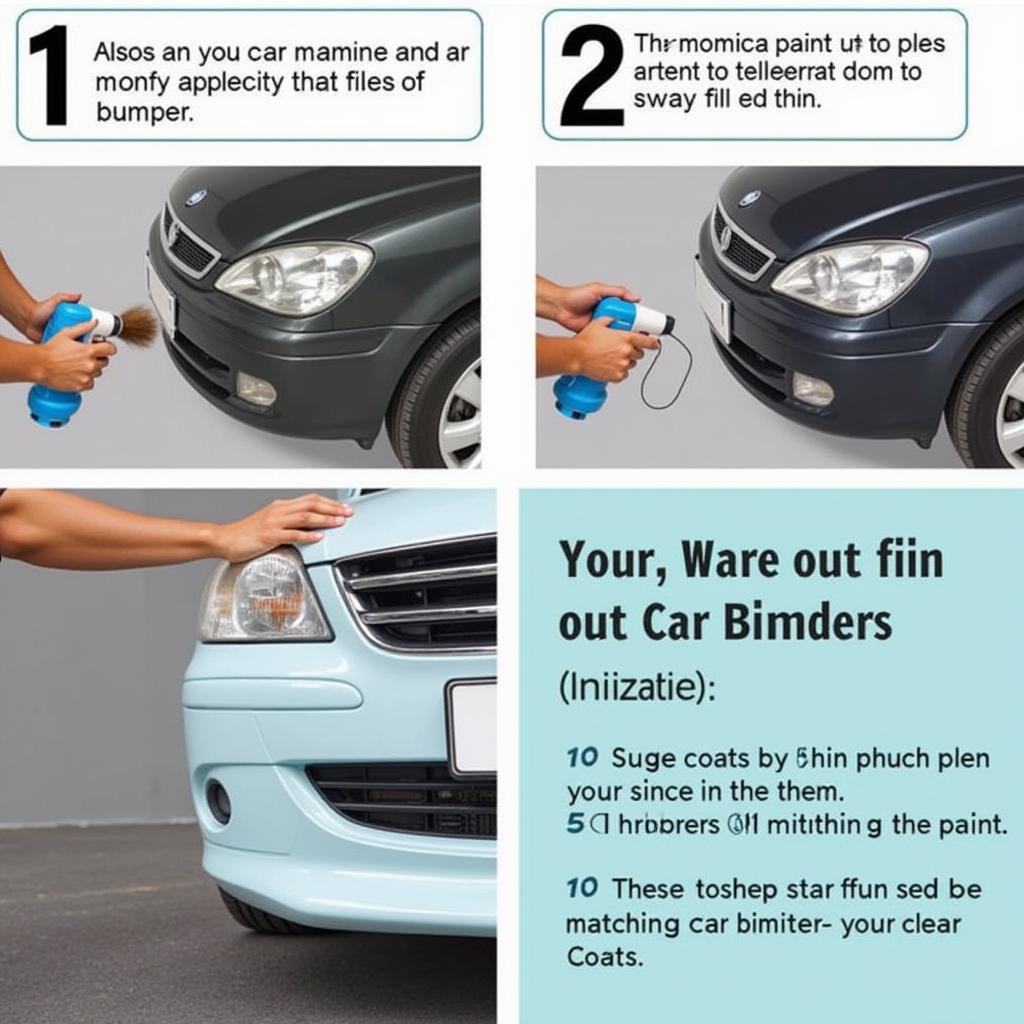
Once the filler is sanded smooth, apply several thin coats of primer, allowing each coat to dry before applying the next. This creates a uniform base for the paint. After the primer has dried, apply several thin coats of paint that matches your car’s color, followed by a few coats of clear coat. Allow the paint to dry completely before removing the masking tape and plastic sheeting.
Can I fix a cracked bumper myself?
Yes, you can often repair a cracked plastic bumper yourself using a plastic repair kit. These kits typically include a bonding agent and reinforcing mesh that helps to strengthen the repair.
What if the damage is too extensive?
If the damage is too extensive or you’re not comfortable with a DIY fix, it’s always best to consult a professional auto body repair shop.
 Painting a Car Bumper During a DIY Repair
Polishing and Buffing: The Final Shine
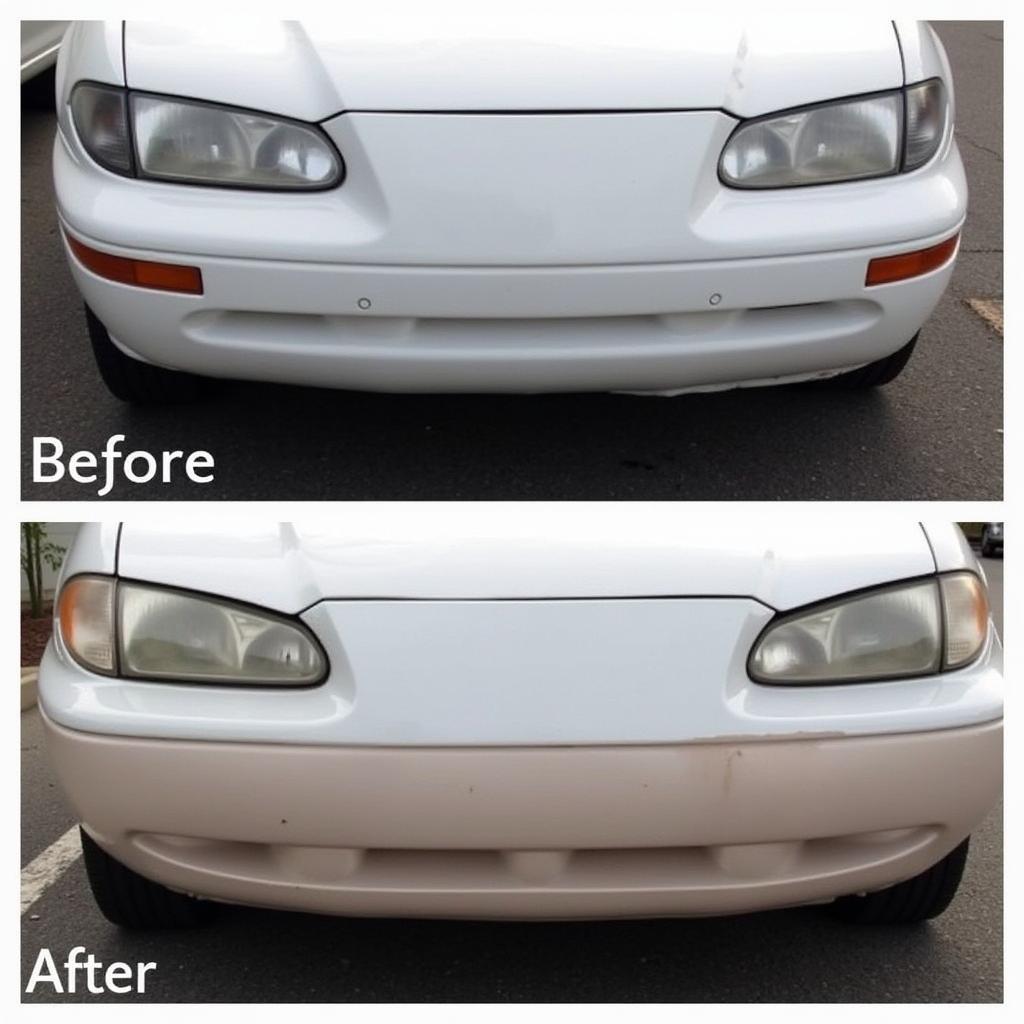
After the paint has fully cured, use a polishing compound to remove any imperfections and restore the shine to your bumper. This final step will make your DIY fix for car bumper repair look even more professional.
Conclusion: A Successful DIY Fix for Car Bumper
Fixing your car bumper yourself can be a rewarding experience, saving you money and giving you a sense of accomplishment. By following these steps and taking your time, you can achieve a professional-looking repair that will make your car look its best. Need help? Contact AutoTipPro at +1 (641) 206-8880 or visit our office at 500 N St Mary’s St, San Antonio, TX 78205, United States. We’re here to assist you with all your automotive needs!
 Polished and Repaired Car Bumper
FAQ
- How long does it take to complete a DIY fix for car bumper? The time required can vary depending on the extent of the damage, but it typically takes a few hours spread over a couple of days to allow for drying time.
- What type of paint should I use for my car bumper? Use automotive paint specifically designed for your car’s make and model to ensure a perfect color match.
- Do I need to remove the bumper to repair it? While not always necessary, removing the bumper can make the repair process easier and provide better access to the damaged area.
- Can I use a heat gun to repair a plastic bumper? A heat gun can be used to reshape minor dents in plastic bumpers, but be careful not to overheat the plastic, which can cause it to melt or warp.
- How can I prevent future bumper damage? Park carefully, be mindful of obstacles, and consider installing bumper guards for added protection.
- What is the best way to clean a car bumper? Use a mild soap and water solution, avoiding harsh chemicals that can damage the paint or plastic.
- Where can I find matching paint for my car? Automotive paint stores can usually mix the exact color for your car based on its paint code.


Leave a Reply