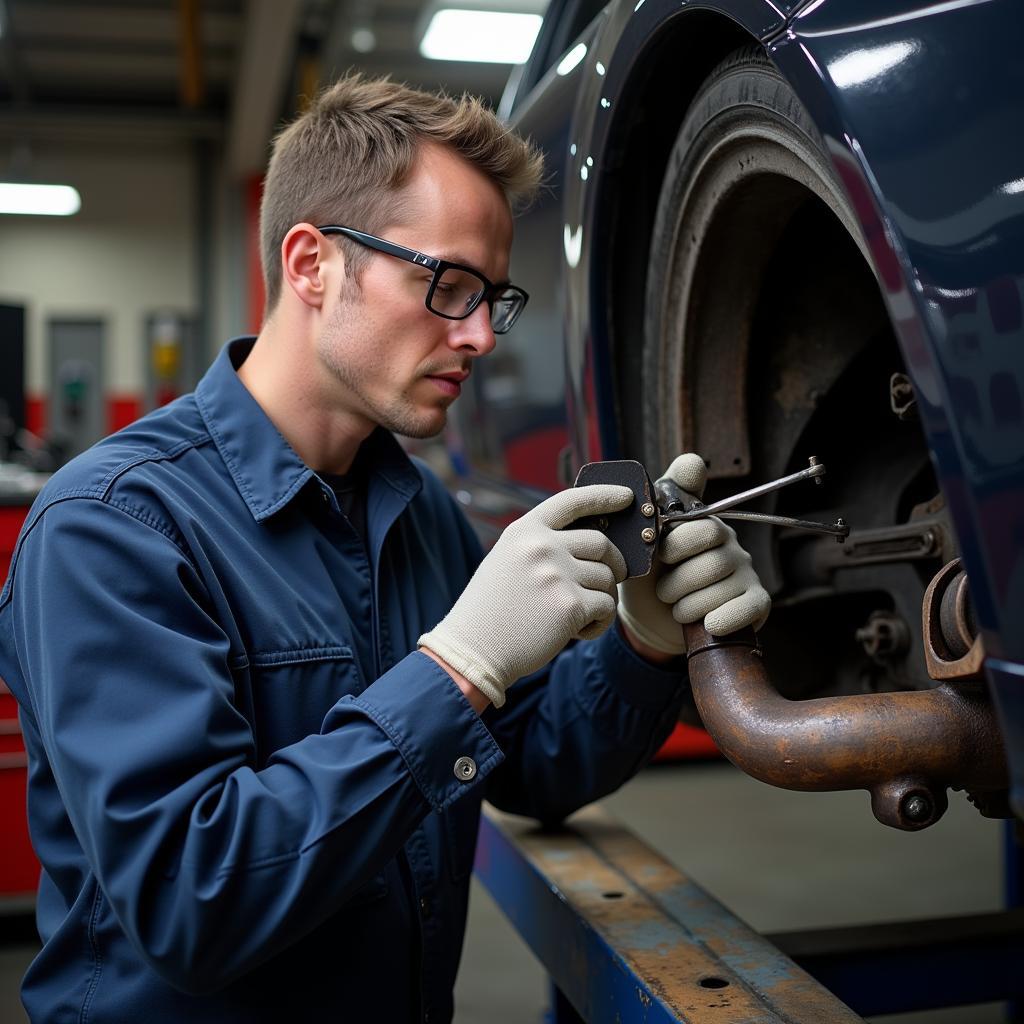
Fixing car headers can seem daunting, but with the right knowledge and tools, it’s a manageable task. Whether you’re a seasoned mechanic or a DIY enthusiast, this guide provides a comprehensive approach to diagnosing and repairing common car header issues.
Understanding Your Car Headers
Headers are a crucial part of your vehicle’s exhaust system. They collect exhaust gases from the engine cylinders and channel them into the exhaust pipe. A faulty header can lead to decreased engine performance, increased emissions, and annoying noises. Understanding their function is the first step to fixing them.
Common Car Header Problems
Several issues can plague your car headers. Rust, cracks, and leaks are the most frequent culprits. Identifying the specific problem is essential for an effective repair.
- Rust: Exposure to the elements can cause headers to rust, especially in areas with harsh winters. Rust can weaken the headers, leading to cracks and leaks.
- Cracks: Cracks can develop from rust, excessive heat, or physical impact. These cracks can cause exhaust leaks, resulting in a loss of power and increased noise.
- Leaks: Leaks at the joints or flanges where the headers connect to other components are also common. These leaks can cause similar problems to cracks.
Diagnosing Header Issues
Before you start wrenching, a proper diagnosis is crucial. Listen for unusual noises like hissing or ticking, especially when the engine is cold. Visually inspect the headers for signs of rust, cracks, or leaks. You can also use a soapy water solution to pinpoint leaks. Apply the solution to the suspected areas and look for bubbles while the engine is running.
Using Soapy Water to Detect Leaks
This simple method can effectively identify small leaks. Mix a small amount of dish soap with water in a spray bottle. With the engine running, spray the solution onto the header joints and flanges. If bubbles form, you’ve found a leak.
How to Fix Car Headers: A Step-by-Step Guide
Once you’ve identified the problem, you can start the repair process. Here’s a general guide for fixing common header issues:
- Gather Your Tools: You’ll need basic hand tools, a jack and jack stands, safety glasses, gloves, and possibly a welder or sealant, depending on the repair.
- Prepare Your Vehicle: Safely lift and secure your vehicle using jack stands. Allow the exhaust system to cool down completely before working on it.
- Remove the Old Header: Disconnect the exhaust system components connected to the header. Then, remove the bolts holding the header to the engine.
- Repair or Replace: If the damage is minor, like a small leak at a flange, you might be able to use a high-temperature sealant. For more severe damage, like cracks or extensive rust, replacing the header is often the best option.
- Install the New or Repaired Header: Install the new header or the repaired one, ensuring all connections are tight and secure.
- Reconnect the Exhaust System: Reconnect all the disconnected components.
- Test Your Work: Start the engine and check for any leaks or unusual noises.
Preventing Future Header Problems
Regular maintenance can prevent future header problems. Applying a high-temperature coating can protect against rust. Inspecting your headers regularly can help you catch issues early before they become major problems.
“Regular inspection is key to preventing costly header repairs. Catching rust or small cracks early can save you a lot of hassle down the road,” says Michael Johnson, Senior Automotive Engineer at Performance Exhaust Solutions.
When to Call a Professional
While some header repairs can be done at home, complex issues may require professional help. If you’re unsure about any step, it’s always best to consult a qualified mechanic.
“If you’re not comfortable working on your exhaust system, don’t hesitate to seek professional help. A qualified mechanic can diagnose and repair the problem quickly and efficiently,” adds Johnson.
 Professional Mechanic Inspecting Car Header
Conclusion
Fixing car headers involves careful diagnosis and proper repair techniques. By following this guide and taking preventative measures, you can keep your exhaust system in top shape and enjoy optimal engine performance. Remember, if you are unsure about anything, don’t hesitate to reach out for assistance. Contact AutoTipPro at +1 (641) 206-8880 or visit our office at 500 N St Mary’s St, San Antonio, TX 78205, United States.
FAQ
-
What are the symptoms of a bad car header? Common symptoms include unusual noises like hissing or ticking, decreased engine performance, and a noticeable exhaust smell.
-
Can I fix a cracked header myself? Minor cracks can sometimes be repaired with a high-temperature sealant, but larger cracks often require replacing the header.
-
How much does it cost to replace a car header? The cost can vary depending on the make and model of your vehicle, as well as the labor costs in your area.
-
How often should I inspect my car headers? It’s a good idea to inspect your headers at least once a year, or more frequently if you live in an area with harsh winters.
-
What is the best way to prevent car header rust? Applying a high-temperature coating can help protect your headers from rust and corrosion.
-
Can a leaking header cause damage to other parts of my car? Yes, a leaking header can cause damage to other components of your exhaust system and potentially even affect your engine’s performance.
-
How long does it take to replace a car header? The time required for replacement varies depending on the vehicle and the complexity of the exhaust system.


Leave a Reply