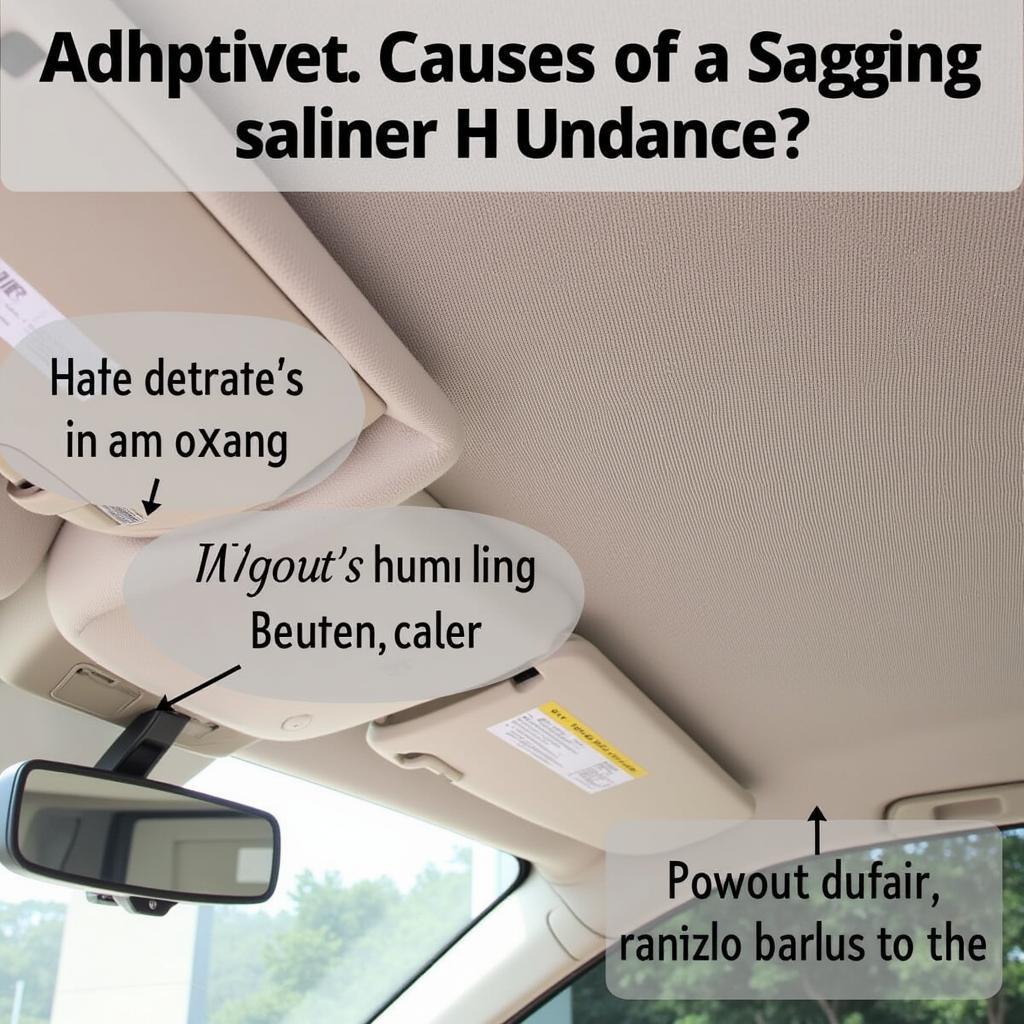
A sagging car headliner can be an annoying eyesore and make your car feel older than it is. Fortunately, fixing a drooping headliner is often a manageable DIY project that can save you a trip to the mechanic. This guide will walk you through several methods for How To Fix A Saggy Car Headliner, from quick fixes to more permanent solutions.
Similar to how do i fix the headliner in my older car, a sagging headliner is a common issue in older vehicles. But don’t worry, whether your car is vintage or just a few years old, the techniques outlined here will help you get your headliner back in shape.
Why is My Car Headliner Sagging?
Over time, the adhesive that holds the headliner fabric to the backing board can deteriorate due to heat, humidity, and age. This causes the fabric to detach and sag. In some cases, the foam backing itself can disintegrate, further contributing to the problem.
 Sagging Car Headliner Common Causes
Quick Fixes for a Sagging Headliner
If you need a temporary fix for a sagging headliner, consider these options:
- Pins or thumbtacks: While not aesthetically pleasing, strategically placed pins or thumbtacks can hold the fabric in place. Choose pins that match your headliner color to make them less noticeable.
- Double-sided tape: Heavy-duty double-sided tape can be effective for small areas of sagging. Make sure the tape is designed for automotive use and can withstand temperature fluctuations.
How to Fix a Sagging Car Headliner Permanently
For a long-lasting solution, you’ll need to reattach the headliner fabric to the backing board. Here’s a step-by-step guide:
-
Gather your materials: You’ll need a headliner adhesive (spray or brush-on), a trim removal tool, a cleaning solution, a brush or roller, and possibly some replacement foam backing.
-
Remove the headliner: Carefully remove any trim pieces or accessories that are attached to the headliner. This might include sun visors, dome lights, or grab handles. Use a trim removal tool to avoid damaging the plastic.
-
Clean the headliner and backing board: Clean both the back of the headliner fabric and the backing board with a suitable cleaning solution to remove any old adhesive residue and dirt.
-
Apply the adhesive: Following the manufacturer’s instructions, apply the headliner adhesive to either the fabric or the backing board. Ensure even coverage for a strong bond.
-
Reattach the headliner: Carefully press the fabric onto the backing board, smoothing out any wrinkles or air bubbles. Use a roller or brush to apply even pressure.
-
Reinstall trim pieces: Once the adhesive has dried, reinstall the trim pieces and accessories.
This method, much like the advice provided in fixing accident cars, involves careful disassembly and reassembly.
Replacing the Foam Backing
If the foam backing is severely deteriorated, you might need to replace it. This involves removing the old foam and gluing new foam to the backing board before reattaching the fabric.
This is similar to how to fix a sagging roof in car in that it addresses structural issues related to the car’s interior.
Expert Advice from John Smith, Automotive Engineer at Autotippro
“A common mistake people make is using the wrong type of adhesive. Make sure you choose an adhesive specifically designed for headliners. This will ensure a strong and lasting bond.”
Preventing Future Sagging
- Park in the shade: Excessive heat is a major contributor to headliner sagging. Parking in the shade whenever possible can help prolong the life of your headliner.
- Use a sunshade: A sunshade can reflect sunlight and reduce the temperature inside your car.
Conclusion
Fixing a saggy car headliner can be a rewarding DIY project. By following these steps, you can restore your car’s interior and avoid costly repairs. For professional assistance or further guidance, feel free to contact us at AutoTipPro. Our phone number is +1 (641) 206-8880 and our office is located at 500 N St Mary’s St, San Antonio, TX 78205, United States. We’re always happy to help!


Leave a Reply