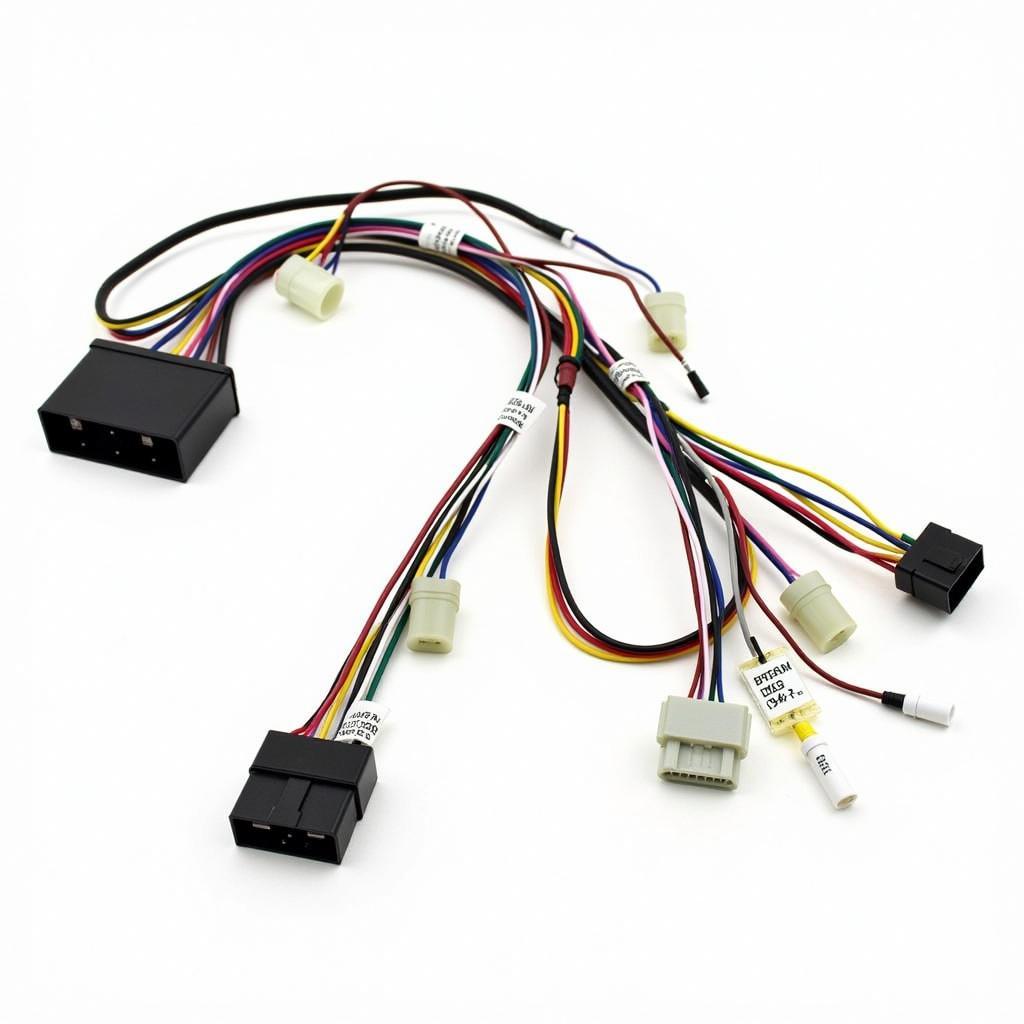
If you’re facing a frustrating issue with the audio jack on your Pioneer car radio, you’re not alone. Many car owners encounter this problem, and luckily, it’s often a simple fix. This guide will walk you through the common causes, troubleshooting steps, and repair techniques you can use to get your audio jack working again.
Understanding the Problem
The audio jack, also known as the auxiliary input, is the connection point for external audio devices like smartphones, MP3 players, and other portable music sources. If your audio jack isn’t working, you might experience issues like:
- No sound from your connected device
- Intermittent sound quality
- Distorted sound
- Complete lack of connection
These issues can stem from a range of problems, including:
- Loose or damaged connector: The physical connection between the jack and your device can be weak or broken.
- Clogged or dirty jack: Dust, debris, or corrosion can hinder the signal flow.
- Internal wiring issues: The wires connecting the jack to the car radio’s internal circuitry might be damaged or disconnected.
- Faulty jack: The jack itself might be defective.
Troubleshooting Steps
Before diving into repairs, it’s essential to diagnose the root cause of the issue. Here’s a step-by-step approach:
- Inspect the Jack: Start by visually examining the audio jack for any signs of damage, bending, or foreign objects.
- Check for Loose Connections: Ensure that the audio jack is securely connected to your device. If it’s a loose connection, try plugging it in and out several times.
- Clean the Jack: Use a compressed air can or a small, soft-bristled brush to carefully clean the jack. Avoid using sharp objects that could damage the internal components.
- Test with Different Devices: If you have multiple devices with audio jacks, test them all to see if the problem persists. This will help you determine if the issue lies with the jack or your devices.
- Try a Different Cable: If the problem persists, use a different audio cable to rule out a faulty cable as the culprit.
- Restart the Car Radio: Sometimes a simple restart can fix minor glitches.
Repairing the Audio Jack
If the troubleshooting steps didn’t resolve the issue, you might need to perform a repair. Here’s a guide to common repairs:
1. Replacing the Audio Jack:
If the jack itself is damaged or faulty, you’ll need to replace it.
- Gather Your Supplies: You’ll need a replacement audio jack, a soldering iron, solder, and a small Phillips screwdriver.
- Remove the Car Radio: Disconnect the battery for safety and remove the car radio from the dashboard using the appropriate tools.
- Desolder the Old Jack: Carefully desolder the old jack from the car radio’s circuit board.
- Solder the New Jack: Solder the new jack in place, ensuring a secure and clean connection.
- Reconnect the Radio: Reinstall the car radio, reconnect the battery, and test the audio jack.
2. Repairing Internal Wiring:
In some cases, the wires connecting the audio jack to the car radio’s internal circuitry might be damaged or disconnected.
- Identify the Problem: Carefully inspect the wires for any signs of damage, disconnections, or breaks.
- Repair the Wiring: If the wires are damaged, use electrical tape to secure any exposed wires and reconnect the disconnected ones.
- Resolder Connections: If necessary, resolder any loose or damaged connections.
3. Seeking Professional Help:
If you’re not comfortable performing repairs yourself, it’s best to seek professional help from a qualified car audio technician. They have the necessary tools, experience, and expertise to diagnose and repair your audio jack effectively.
Expert Tip:
“A good audio jack repair starts with a thorough diagnosis. You need to determine the exact cause of the problem before attempting any repairs. Sometimes it’s as simple as cleaning the jack, while other times it might require replacing the entire jack or repairing the internal wiring,” says John Smith, a car audio technician with over 15 years of experience.
Conclusion
A faulty audio jack on your Pioneer car radio can be a frustrating problem, but with the right steps and a bit of effort, you can often fix it yourself. By following the troubleshooting and repair guidance provided, you can get your audio jack back in working order and enjoy your favorite music again.
If you need assistance with more complex repairs or have any questions, feel free to contact AutoTipPro for expert advice.
Frequently Asked Questions
Q: What are some common signs of a faulty audio jack?
A: Common signs include no sound, intermittent sound quality, distorted sound, or a complete lack of connection.
Q: How do I know if the problem is with the jack or my device?
A: Try connecting your device to another audio source. If the problem persists, the issue is likely with your device. If it works with another source, the problem is likely with the jack.
Q: Can I use a different audio jack for my Pioneer car radio?
A: Yes, you can use a compatible replacement audio jack. Just make sure the new jack is designed for your car radio and that it has the same dimensions and wiring configuration.
Q: How do I clean the audio jack?
A: Use a compressed air can or a small, soft-bristled brush to carefully clean the jack. Avoid using sharp objects that could damage the internal components.
Q: How do I remove my car radio?
A: Consult your car’s owner manual or search online for instructions specific to your vehicle. It usually involves removing the trim around the radio and then using special tools to release the radio from the dashboard.


Leave a Reply