A malfunctioning car stereo can be frustrating. Often, the culprit isn’t the stereo itself, but the wiring harness. Knowing How To Fix A Car Stereo Wiring Harness can save you a trip to the mechanic and get your tunes back on track. This guide will provide a comprehensive approach to troubleshooting and repairing your car stereo wiring harness.
Similar to how to fix car stereo no sound, addressing wiring harness issues can resolve many audio problems. A faulty wiring harness can lead to a variety of issues, from a completely dead stereo to intermittent sound problems, and even issues with other car systems. Understanding the basics of your car’s electrical system and the specific wiring for your stereo is crucial for a successful repair.
Understanding Your Car Stereo Wiring Harness
The wiring harness is the central nervous system of your car stereo, transmitting power, speaker signals, and other essential information. Each wire within the harness has a specific function, denoted by its color. Miswiring or damage to even a single wire can cause significant problems.
Identifying the Wires
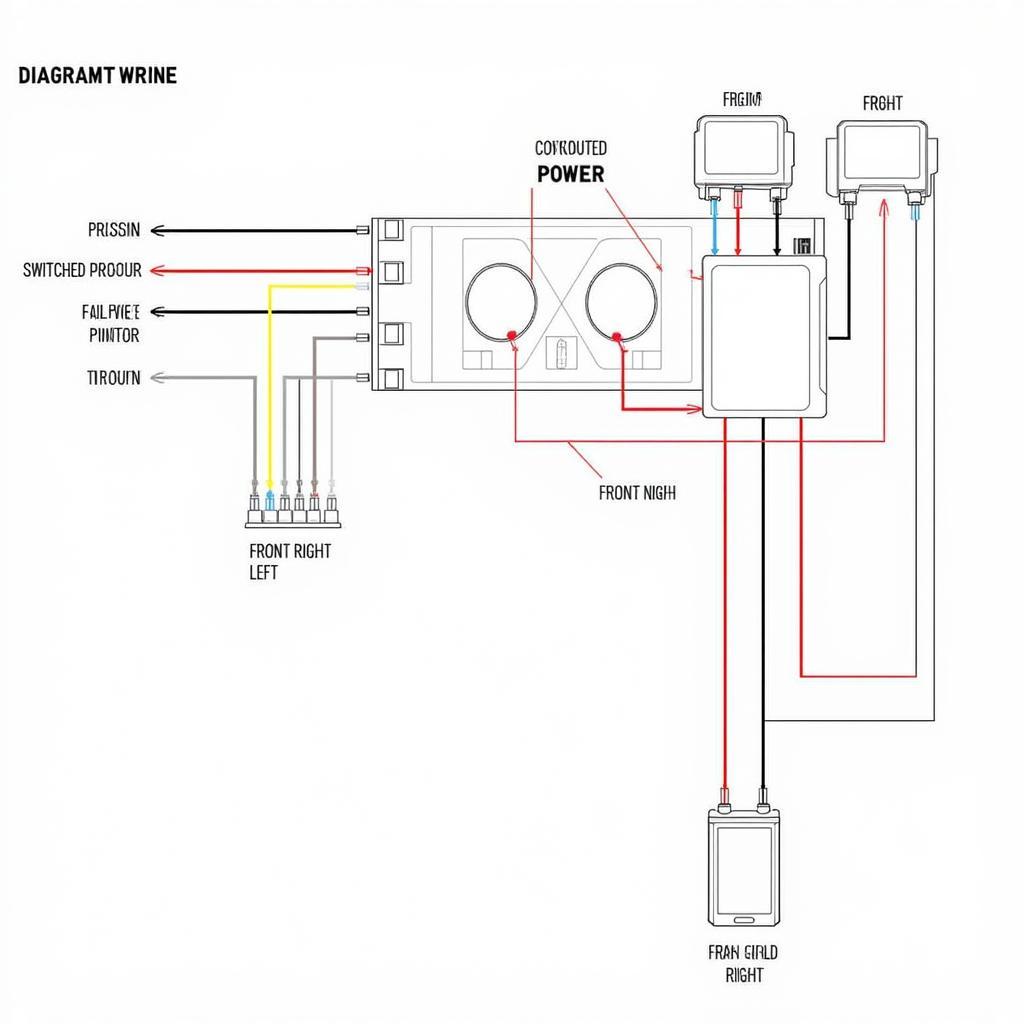
Before you begin any repairs, you’ll need to identify the purpose of each wire in your stereo’s wiring harness. Consult your car’s owner’s manual or search online for a wiring diagram specific to your car’s make, model, and year. Common wire colors and their functions include: yellow (constant 12V power), red (switched 12V power), black (ground), and various colors for the speakers (e.g., green, purple, gray, white).
 Car Stereo Wiring Harness Diagram
Troubleshooting Common Wiring Harness Issues
Once you’ve identified the wires, you can begin troubleshooting. Start with the most common issues:
- Blown Fuses: Check the fuses related to your car stereo. A blown fuse is often the simplest problem to fix and can be easily replaced.
- Loose Connections: Inspect the connections at both the stereo and the car’s wiring harness. Loose or corroded connections can disrupt the flow of electricity.
- Damaged Wires: Carefully examine the wires for any signs of damage, such as cuts, fraying, or burns.
Testing for Continuity
A multimeter is a valuable tool for testing the wiring harness. You can use it to check for continuity, which means ensuring that the wire is conducting electricity properly. Connect the multimeter leads to each end of the wire you’re testing. A reading of zero ohms indicates good continuity.
Repairing a Damaged Wiring Harness
If you’ve identified a damaged wire, you have a few options:
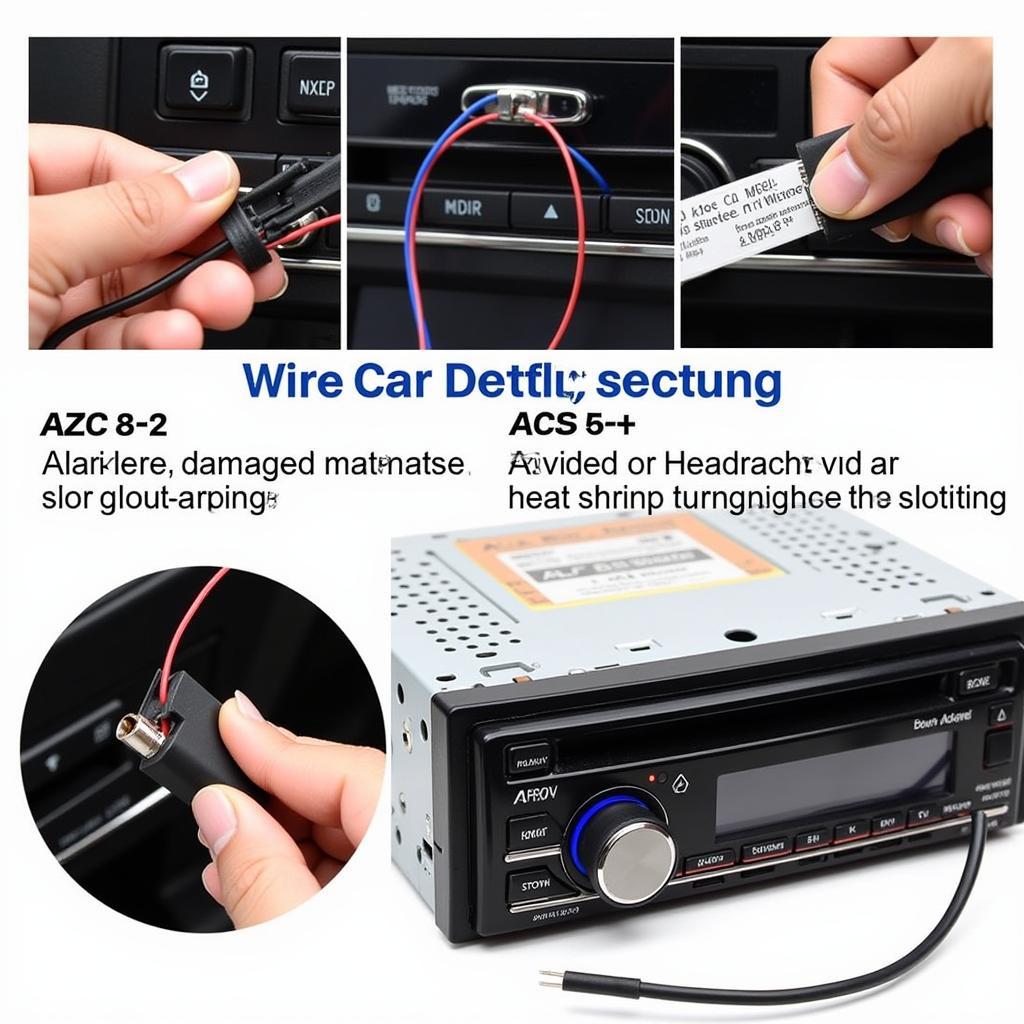
- Repairing the Wire: If the damage is minor, you can repair the wire using electrical tape or heat shrink tubing. Make sure to clean the wire thoroughly before applying the repair.
- Splicing a New Wire: For more extensive damage, you can splice a new section of wire into the harness. Use butt connectors or solder the wires together for a secure connection.
- Replacing the Wiring Harness: In some cases, it may be easier to replace the entire wiring harness, especially if there is extensive damage or corrosion.
Just as with how to fix a blown out speaker in car, accurately diagnosing the problem is key. Incorrect wiring can lead to further damage, so always double-check your connections. Remember, safety is paramount when working with electrical systems. Always disconnect the battery’s negative terminal before starting any work on your car’s electrical system.
 Repairing Damaged Car Stereo Wiring Harness
Preventing Future Problems
Preventing problems is always better than fixing them. Here are some tips to keep your car stereo wiring harness in good condition:
- Regularly Inspect the Wiring: Periodically check the wiring for any signs of wear and tear.
- Secure the Wiring: Make sure the wiring harness is properly secured and not rubbing against any sharp edges.
- Protect the Wiring from Moisture: Moisture can cause corrosion, so ensure the wiring is protected from water and other liquids.
Fix my radio car isn’t always a simple task, but understanding the wiring harness is a big step. Regular maintenance and careful handling can prevent many wiring harness problems.
For those looking into how to fix tape deck in car, understanding wiring is fundamental. While tape decks are less common now, the principles of wiring remain the same.
Conclusion
Fixing a car stereo wiring harness can seem daunting, but with a little patience and the right tools, it’s a manageable task. By understanding how the system works and following these steps, you can save yourself time and money. If you’re unsure about any aspect of this process, don’t hesitate to seek professional help. You can connect with AutoTipPro for further assistance at +1 (641) 206-8880 or visit our office at 500 N St Mary’s St, San Antonio, TX 78205, United States. Getting your car stereo working correctly can significantly enhance your driving experience, so don’t let a faulty wiring harness keep you from enjoying your favorite tunes.
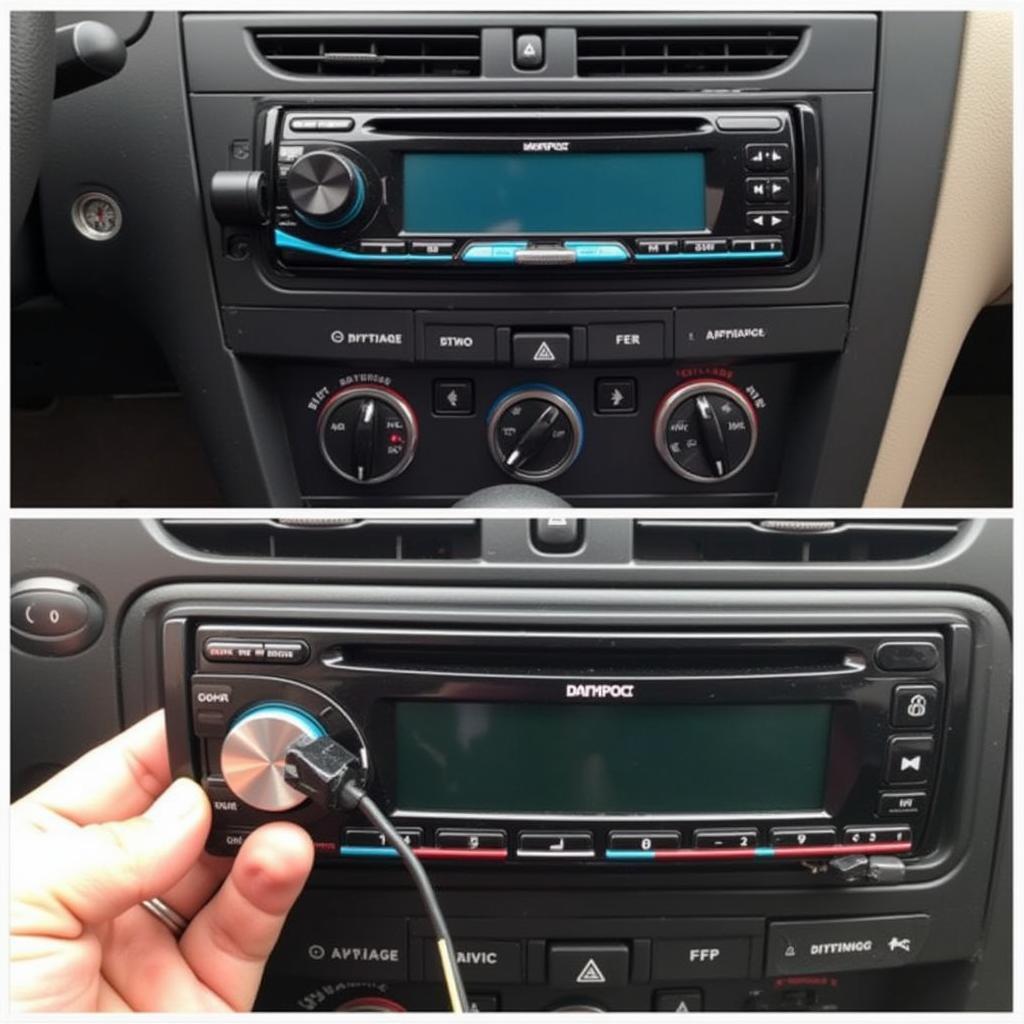
 Completed Car Stereo Wiring Harness Repair
If you are wondering how much to fix a broken car speaker, keep in mind that wiring harness issues can sometimes be the underlying cause.
FAQ
- What tools do I need to fix a car stereo wiring harness? You’ll need a multimeter, wire strippers, electrical tape or heat shrink tubing, and possibly butt connectors or a soldering iron.
- Where can I find a wiring diagram for my car stereo? Check your car’s owner’s manual or search online for a diagram specific to your car’s make, model, and year.
- What is the most common cause of car stereo wiring harness problems? Loose connections, damaged wires, and blown fuses are the most frequent culprits.
- Is it safe to work on my car’s electrical system myself? Yes, as long as you disconnect the battery’s negative terminal before starting any work.
- What should I do if I’m not comfortable working on my car’s electrical system? Seek the help of a qualified car audio professional.
- How can I prevent future car stereo wiring harness problems? Regularly inspect the wiring, secure it properly, and protect it from moisture.
- What does it mean if my car stereo only works intermittently? This could indicate a loose connection, a damaged wire, or a problem with the stereo itself.


Leave a Reply