Dealing with a dent on your car’s hood can be frustrating, but it doesn’t have to be a costly repair. With the right tools and techniques, you can tackle this problem yourself and save some money. In this comprehensive guide, we’ll walk you through the process of fixing hood dents, from assessing the damage to achieving a smooth finish.
Assessing the Damage
Before you start any repairs, it’s crucial to assess the severity of the dent. This will help you determine the best approach for fixing it. Here are some key points to consider:
- Size and Shape: Small, shallow dents are often easier to repair than large, deep ones.
- Location: Dents on flat surfaces are generally simpler to address than those on curved areas.
- Material: The type of material your car’s hood is made of will affect the repair process. Aluminum hoods may require different techniques compared to steel hoods.
Common Methods for Fixing Hood Dents
There are several popular methods used to fix hood dents, each with its own pros and cons. Let’s explore some of the most effective options:
1. Dent Removal Tools
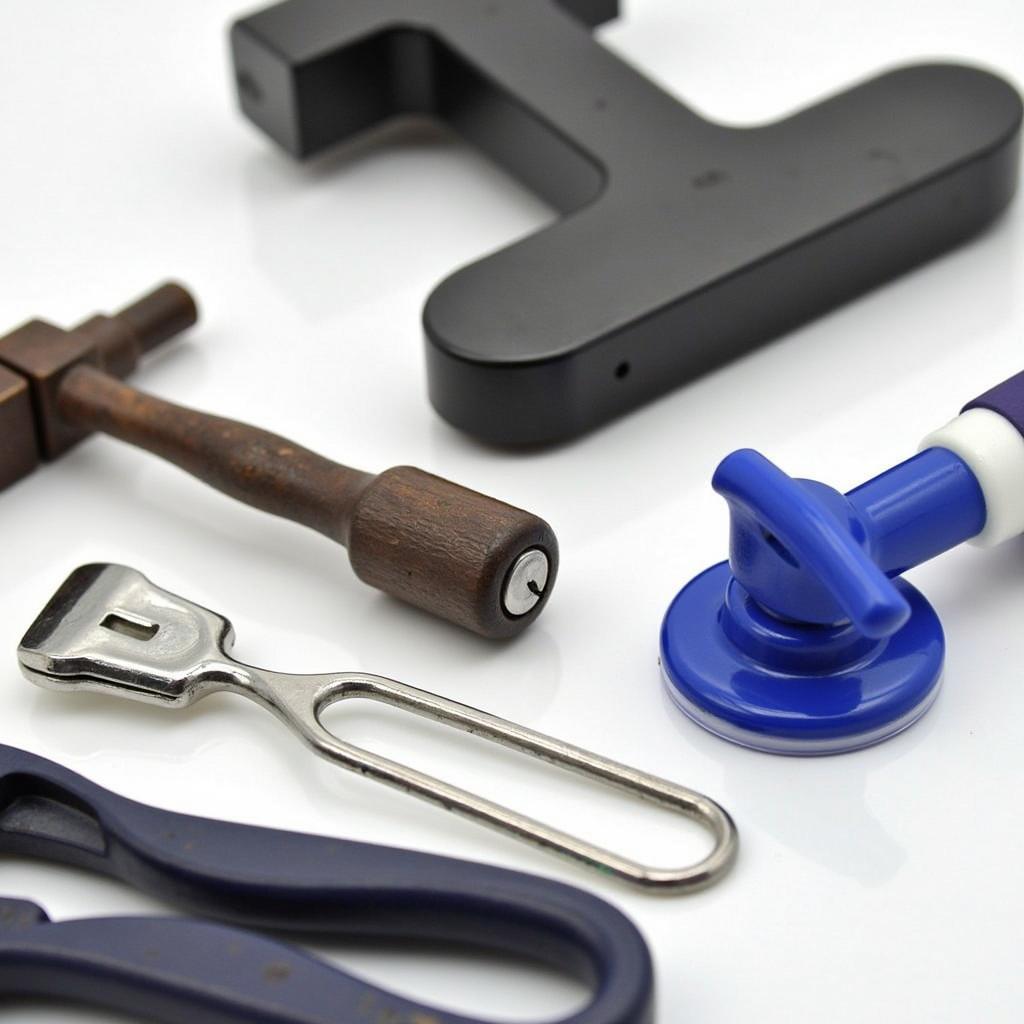
Dent removal tools are specifically designed to pull out minor dents without damaging the paint. These tools can be purchased online or at auto supply stores.
- Pros: Cost-effective, easy to use, and can be done quickly.
- Cons: Not suitable for deep or complex dents, may not fully remove the dent, and could leave slight imperfections.
 Dent Removal Tools
2. PDR (Paintless Dent Removal)
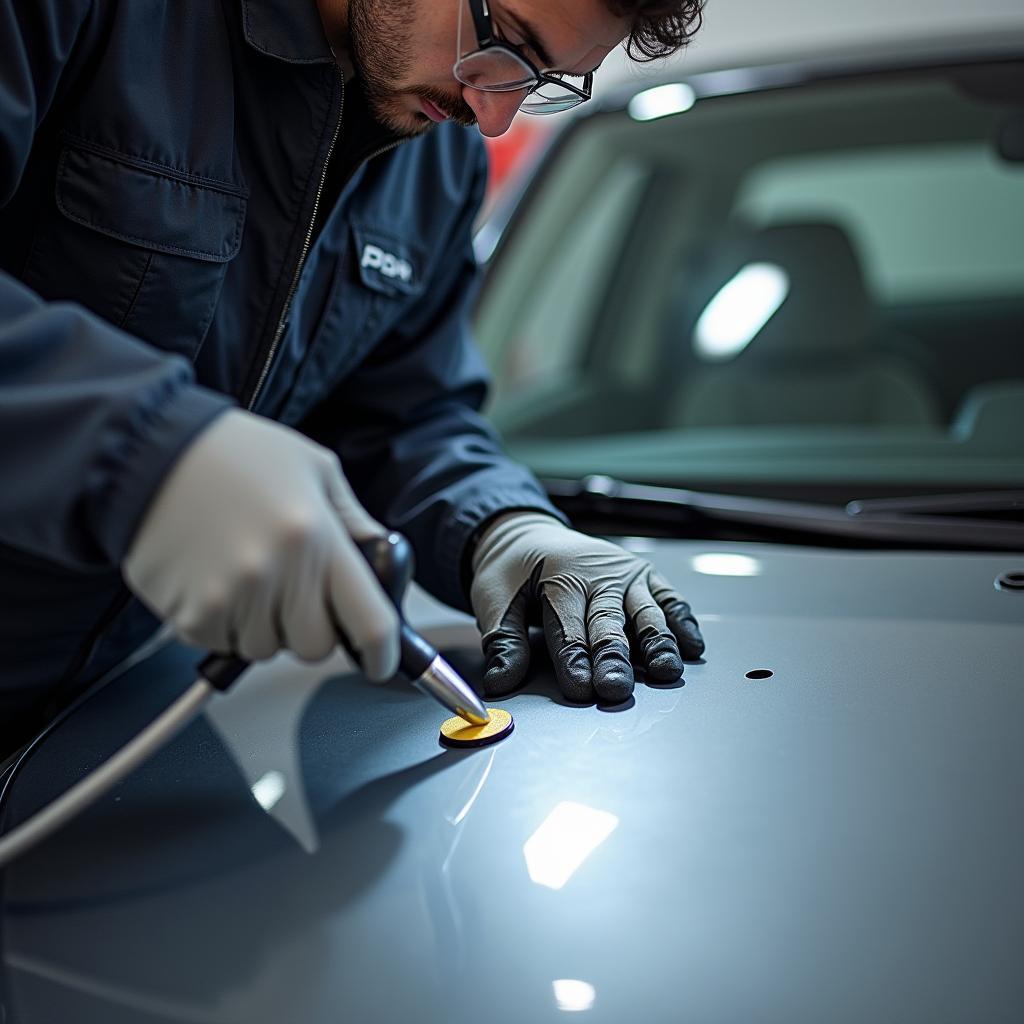
Paintless dent removal (PDR) is a specialized technique used by trained professionals to remove dents without repainting the car. They use specialized tools to massage the metal back into its original shape.
- Pros: Preserves the original paint, avoids costly repairs, and leaves a near-perfect finish.
- Cons: Requires specialized skills and equipment, can be more expensive than DIY methods, and may not be suitable for all dents.
 PDR Technician
3. DIY Body Filler
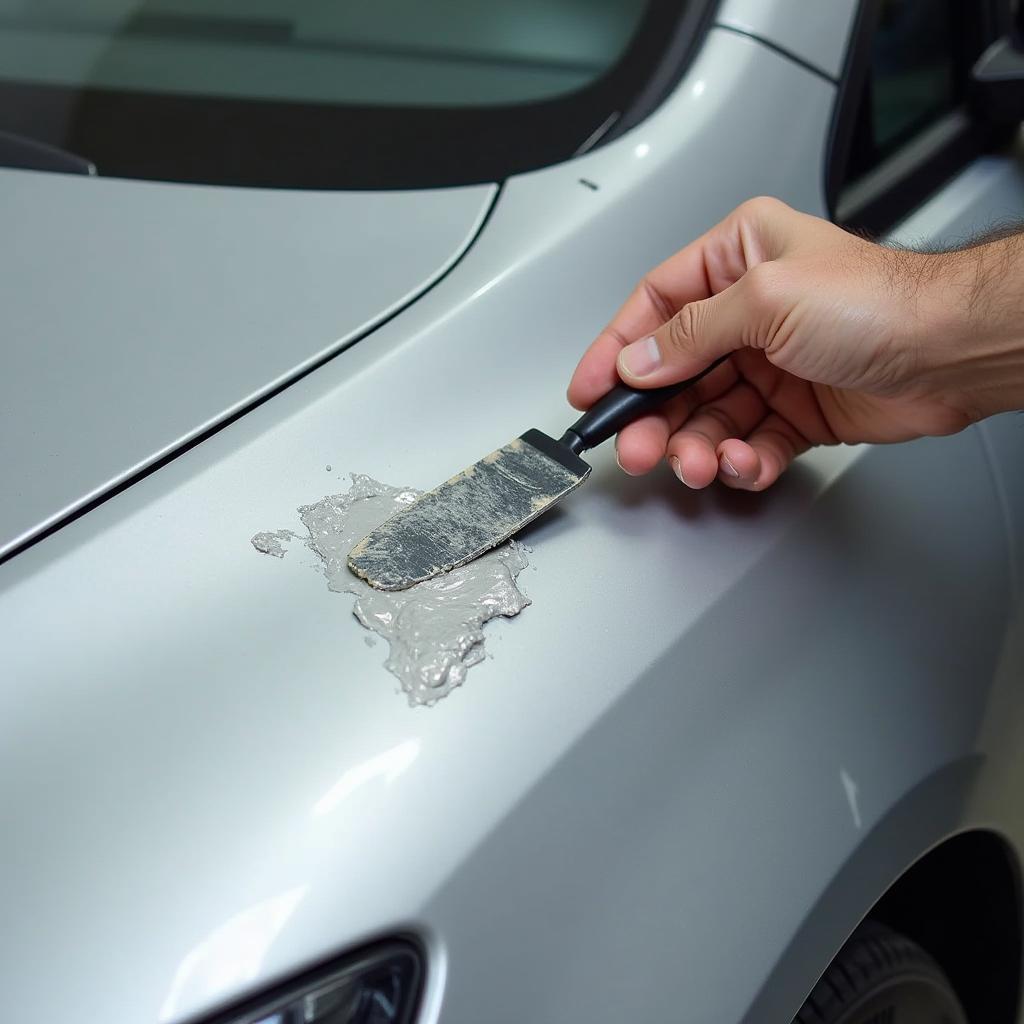
If the dent is too deep or complex for other methods, you might consider using body filler. This involves applying a putty-like substance to the dent, sanding it smooth, and then painting it to match the surrounding area.
- Pros: Can be used for deep dents, relatively affordable, and can be done at home.
- Cons: Requires more time and effort, can be messy, and may not achieve a perfect finish.
 Body Filler Application
Step-by-Step Guide to Fixing a Hood Dent
Here’s a step-by-step guide to fixing a hood dent using DIY methods:
- Clean the Surface: Thoroughly clean the dent area with soap and water to remove dirt, grease, or any debris. This ensures proper adhesion for any repair materials.
- Prepare the Dent: If the dent has any sharp edges, gently file them down to smooth the surface.
- Apply Primer: Apply a thin layer of primer to the dent. This creates a smooth surface for the body filler to adhere to.
- Apply Body Filler: Mix the body filler according to the manufacturer’s instructions and apply it to the dent using a putty knife. Ensure you cover the entire dent with a consistent layer.
- Sand the Filler: Once the body filler has dried, use sandpaper to smooth out the surface and create a seamless transition with the surrounding area. Start with coarse grit sandpaper and gradually move to finer grits for a smoother finish.
- Prime and Paint: Apply a final layer of primer and let it dry completely. Then, use automotive paint to match the surrounding area, applying multiple thin coats for the best results.
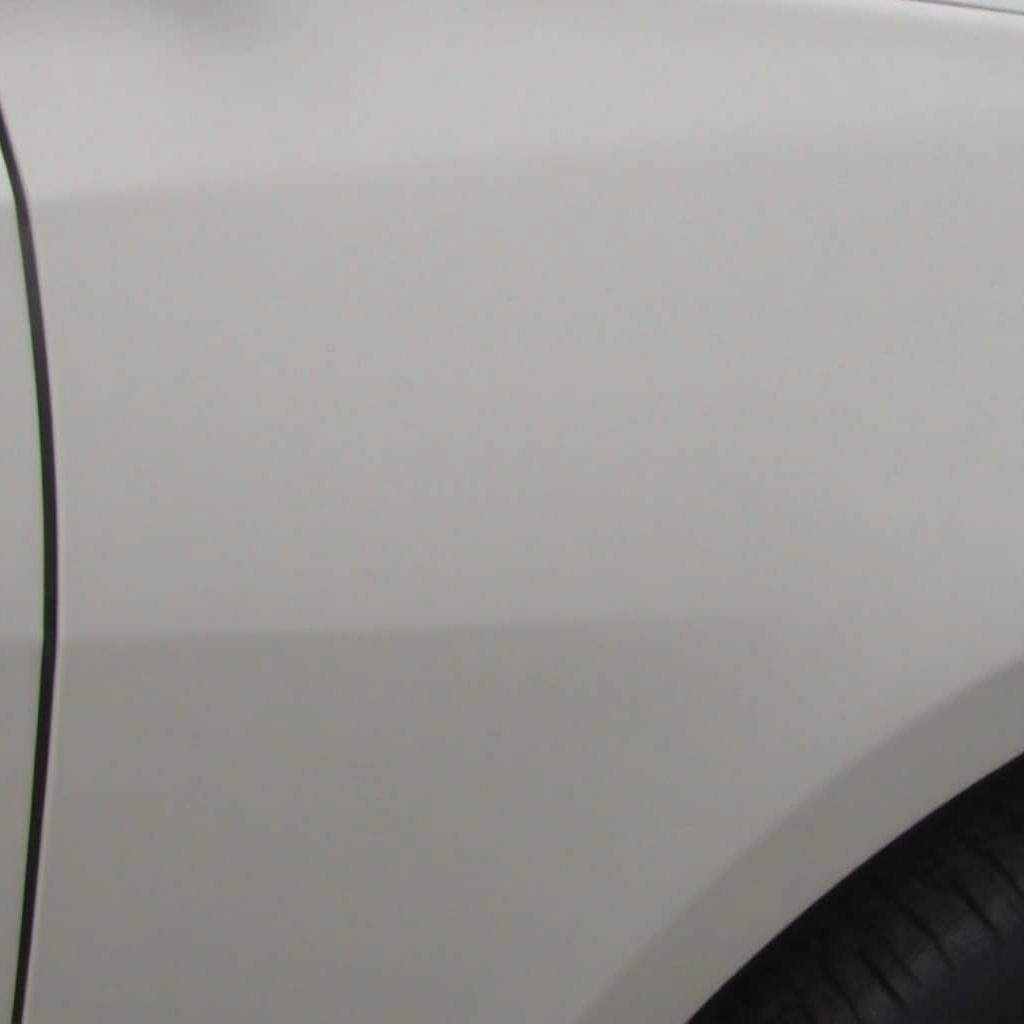
 Hood Dent Repair
Expert Insights
“Don’t rush the process; take your time and use the right tools for the job. A well-prepared surface is key for a successful repair.” – John Davis, Master Automotive Technician
“If you’re unsure about any of the steps, don’t hesitate to seek professional help. It’s always better to be safe than sorry.” – Mary Smith, Experienced Automotive Body Shop Owner
Conclusion
Fixing a hood dent can be a rewarding DIY project. By understanding the different methods and following these steps, you can achieve a professional-looking repair that saves you money.
For further assistance, visit AutoTipPro at 500 N St Mary’s St, San Antonio, TX 78205, United States or call us at +1 (641) 206-8880. We’re here to help you get your car looking its best!
FAQ
Q: Can I fix a dent without using body filler?
A: For minor dents, dent removal tools or PDR can often be used without body filler.
Q: What type of primer should I use?
A: Use an automotive primer that is specifically designed for use on car bodies.
Q: How long should I wait for the body filler to dry before sanding?
A: The drying time will vary depending on the type of body filler used. Check the manufacturer’s instructions for the recommended drying time.
Q: What kind of paint should I use?
A: Use automotive paint that is compatible with your car’s paint type.
Q: Should I use a clear coat?
A: Applying a clear coat over the painted surface helps protect the paint and provide a durable, glossy finish.


Leave a Reply