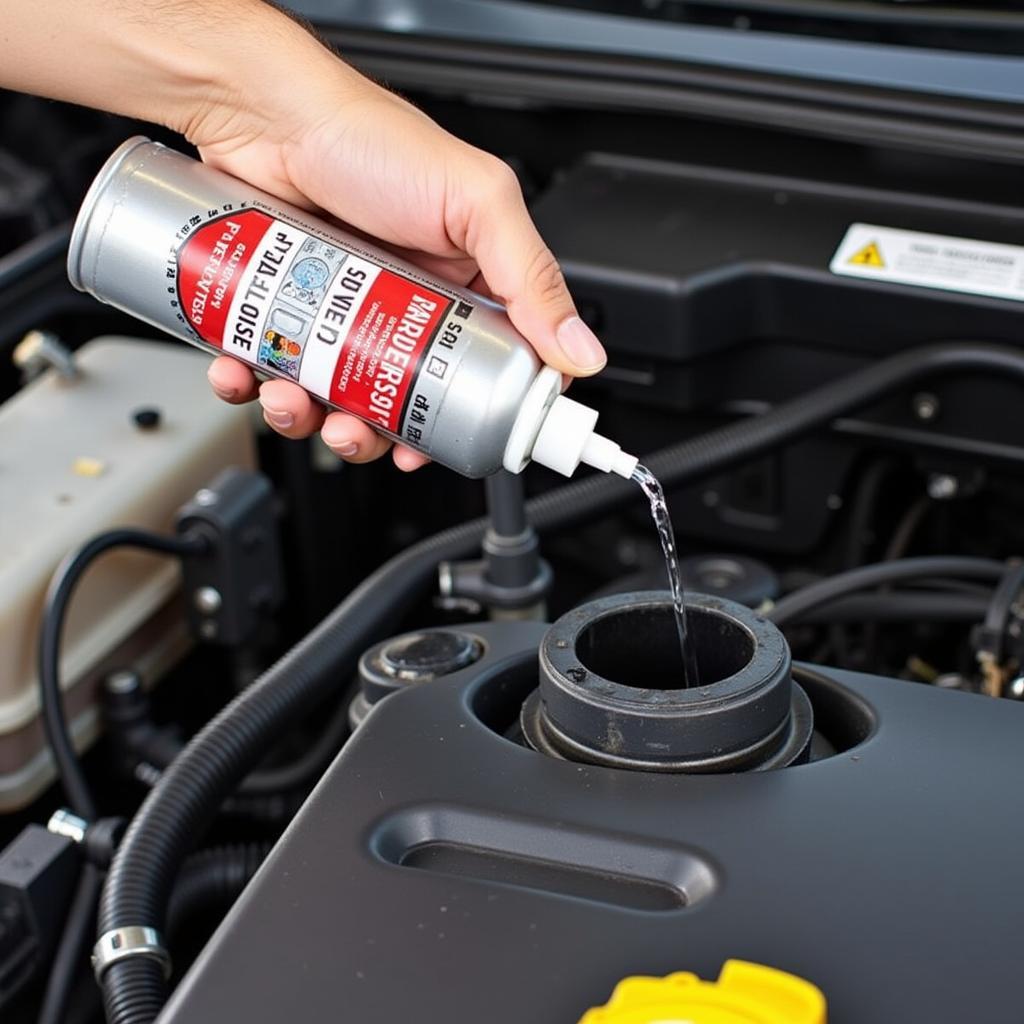
Cracked car seam sealer is a common issue that can lead to rust, leaks, and other problems. This comprehensive guide will walk you through the process of fixing cracked seam sealer, from identifying the problem to applying a new sealant, ensuring your car remains protected from the elements.
Why is Fixing Cracked Seam Sealer Important?
Seam sealer plays a crucial role in protecting your car’s body from moisture, dust, and debris. When it cracks, these elements can infiltrate the seams, leading to corrosion and potentially costly repairs down the line. Addressing cracked seam sealer early on can prevent these issues and maintain your car’s structural integrity.
Identifying Cracked Car Seam Sealer
Identifying cracked seam sealer is often straightforward. Look for areas where the sealer appears dry, brittle, or has visible cracks or gaps. These cracks can be hairline thin or quite substantial. Common locations include around windows, doors, trunk lids, and along the body panels. A careful inspection, perhaps with a flashlight, will reveal any problem areas.
Common Signs of Cracked Seam Sealer
- Visible cracks or gaps: This is the most obvious sign.
- Dry or brittle appearance: The sealer may look aged and weathered.
- Rust formation: Rust near seams can indicate a sealer failure.
- Leaks: Water intrusion can be a symptom of compromised seam sealer.
Gathering Your Tools and Materials
Before you begin the repair, ensure you have the necessary tools and materials:
- Seam sealer remover: This helps remove the old, cracked sealer effectively.
- Plastic scraper or putty knife: Use this to carefully remove the old sealer without damaging the paint.
- Adhesion promoter: This ensures the new sealer adheres properly to the metal.
- Car seam sealer: Choose a high-quality sealer designed for automotive applications.
- Caulk gun: For applying the new seam sealer.
- Masking tape: To protect surrounding areas from the sealer.
- Cleaning solvent (e.g., isopropyl alcohol): To clean the area before applying new sealer.
- Gloves and eye protection: For safety.
How to Fix Cracked Car Seam Sealer: A Step-by-Step Guide
- Clean the area: Thoroughly clean the area around the cracked seam sealer with a cleaning solvent. This removes dirt, grease, and any loose debris, ensuring proper adhesion of the new sealer.
- Remove the old sealer: Carefully remove the old, cracked sealer using a plastic scraper or putty knife. Be gentle to avoid scratching the paint. A seam sealer remover can be helpful in this process.
- Prepare the surface: Apply adhesion promoter to the bare metal where the old sealer was removed. This promotes a strong bond between the metal and the new sealer.
- Apply the new sealer: Using a caulk gun, apply a smooth, continuous bead of car seam sealer along the seam. Ensure full coverage and a consistent thickness.
- Smooth the sealer (optional): You can use a gloved finger or a plastic tool dipped in soapy water to smooth the bead of sealer for a more professional finish.
- Allow to dry: Let the sealer dry completely according to the manufacturer’s instructions.
Preventing Future Cracking
- Regular inspections: Inspect your car’s seam sealer regularly, especially after harsh weather conditions.
- Proper washing and drying: Avoid harsh chemicals and high-pressure washing, which can damage the sealer. Dry the car thoroughly after washing.
- Garage storage: Storing your car in a garage can help protect the sealer from extreme temperatures and UV exposure.
“Maintaining your car’s seam sealer is a small investment that can prevent major problems down the road,” advises John Davis, a seasoned automotive engineer at Auto Experts Inc. “Regular checks and prompt repairs can save you time and money in the long run.”
Another expert, Maria Sanchez, Lead Technician at Precision Auto Care, adds, “Using a high-quality seam sealer and following the proper application techniques is crucial for a lasting repair. Don’t skimp on the preparation steps – they’re just as important as the application itself.”
In conclusion, fixing cracked car seam sealer is a relatively simple DIY project that can significantly extend the life of your car. By following the steps outlined in this guide, you can effectively protect your vehicle from rust and other damage caused by moisture and debris. For further assistance or for professional help, connect with us at AutoTipPro. Our phone number is +1 (641) 206-8880, and our office is located at 500 N St Mary’s St, San Antonio, TX 78205, United States.
FAQ
- What type of seam sealer should I use? Use a high-quality, automotive-grade seam sealer.
- Can I paint over the new seam sealer? Yes, you can paint over the sealer once it is fully cured.
- How long does seam sealer last? The lifespan varies depending on the quality of the sealer and environmental conditions, but typically several years.
- What happens if I don’t fix cracked seam sealer? Rust, leaks, and structural damage can occur.
- Is this a difficult DIY project? No, fixing cracked seam sealer is relatively easy with the right tools and instructions.
- Can I use any type of caulk gun? A standard caulk gun will work for most automotive seam sealers.
- How can I prevent seam sealer from cracking in the future? Regular inspections, proper washing/drying, and garage storage can help prevent future cracking.


Leave a Reply