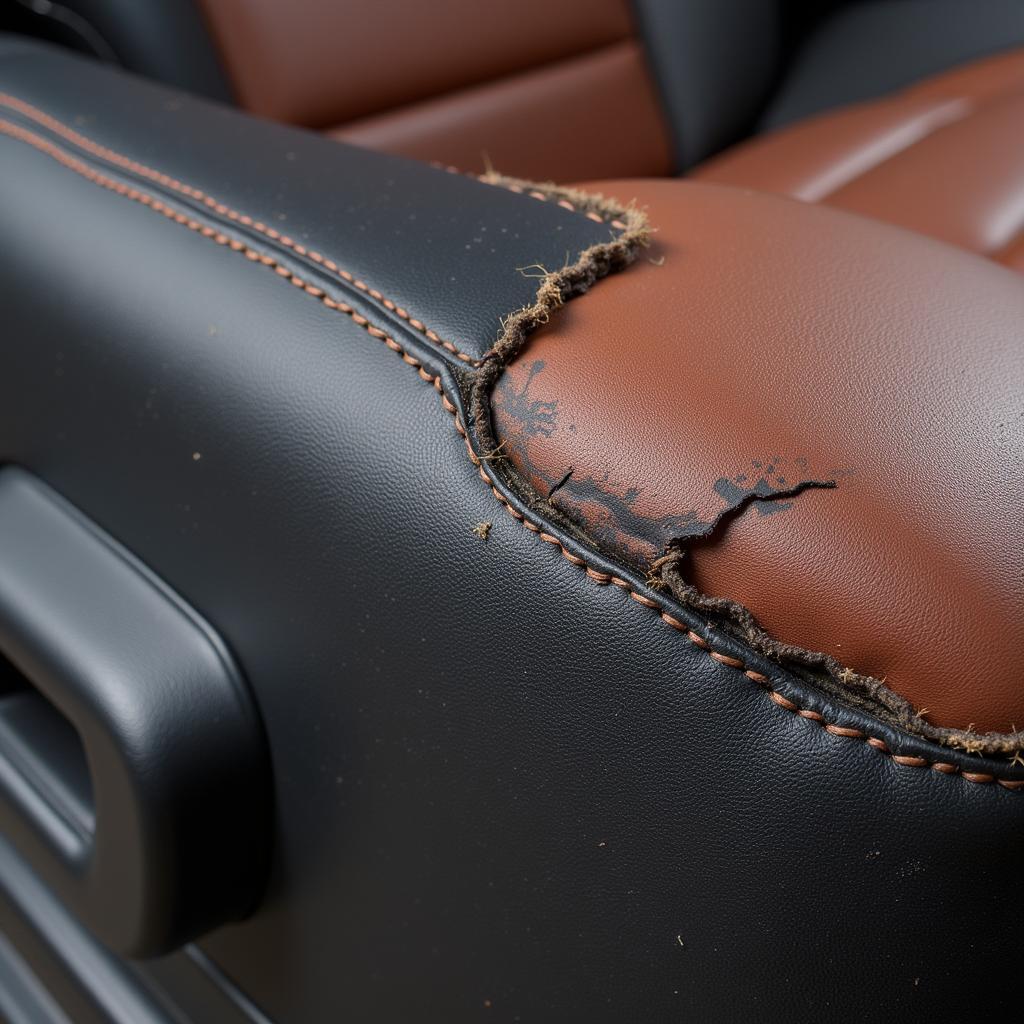
Ripped leather car seats are an unsightly nuisance. Whether it’s a small tear or a gaping hole, knowing how to fix a leather rip in your car can save you a significant amount of money. This guide will explore various methods, from DIY solutions to professional repairs, helping you choose the best approach for your specific situation.
 Repairing a Small Tear in Car Leather
A small tear can often be repaired using a leather repair kit. These kits typically include a patching material, adhesive, and color-matching compounds. The process involves cleaning the area, applying the patch from the underside of the tear, and then using the color-matching compound to blend the repair with the surrounding leather. Remember to follow the specific instructions provided with your chosen kit for the best results. For more detailed instructions, check out how to fix car seat leather rip.
Understanding the Rip and Choosing the Right Fix
Not all rips are created equal. A small nick requires a different approach than a large tear or a deep gash. Before you start, assess the damage. Is it a surface scratch, a tear through the leather, or has it penetrated the underlying padding? This will determine the complexity of the repair and the materials you’ll need. You can learn more about fixing ripped car seat leather here.
DIY vs. Professional Repair: Which is Right for You?
Small tears and scratches can often be tackled with DIY repair kits. These are readily available and relatively inexpensive. However, larger rips or damage to the seat’s structural integrity may require professional intervention. Consider your skill level and the extent of the damage before making a decision. Need help deciding? This guide on how to fix ripped leather seat in car provides valuable insights.
Fixing a Small Tear: A Step-by-Step Guide
- Clean the Area: Use a leather cleaner to remove dirt and debris from the ripped area. This ensures proper adhesion of the repair materials.
- Prepare the Patch: If your kit includes a backing patch, cut it to a size slightly larger than the tear.
- Apply Adhesive: Apply the leather adhesive sparingly to the underside of the tear or to the backing patch.
- Position the Patch: Carefully align the patch under the tear and press it firmly in place.
- Fill the Gap (if necessary): Use a leather filler to fill any remaining gaps or uneven surfaces.
- Color Matching: Apply the color-matching compound to blend the repair with the surrounding leather.
- Finishing Touches: Allow the repair to dry completely before applying a leather conditioner to protect and restore the leather’s suppleness.
“A clean working area is crucial for a successful leather repair. Dust and dirt can interfere with adhesion and compromise the final result,” advises John Miller, a seasoned automotive upholstery specialist.
Dealing with Larger Tears and Professional Repairs
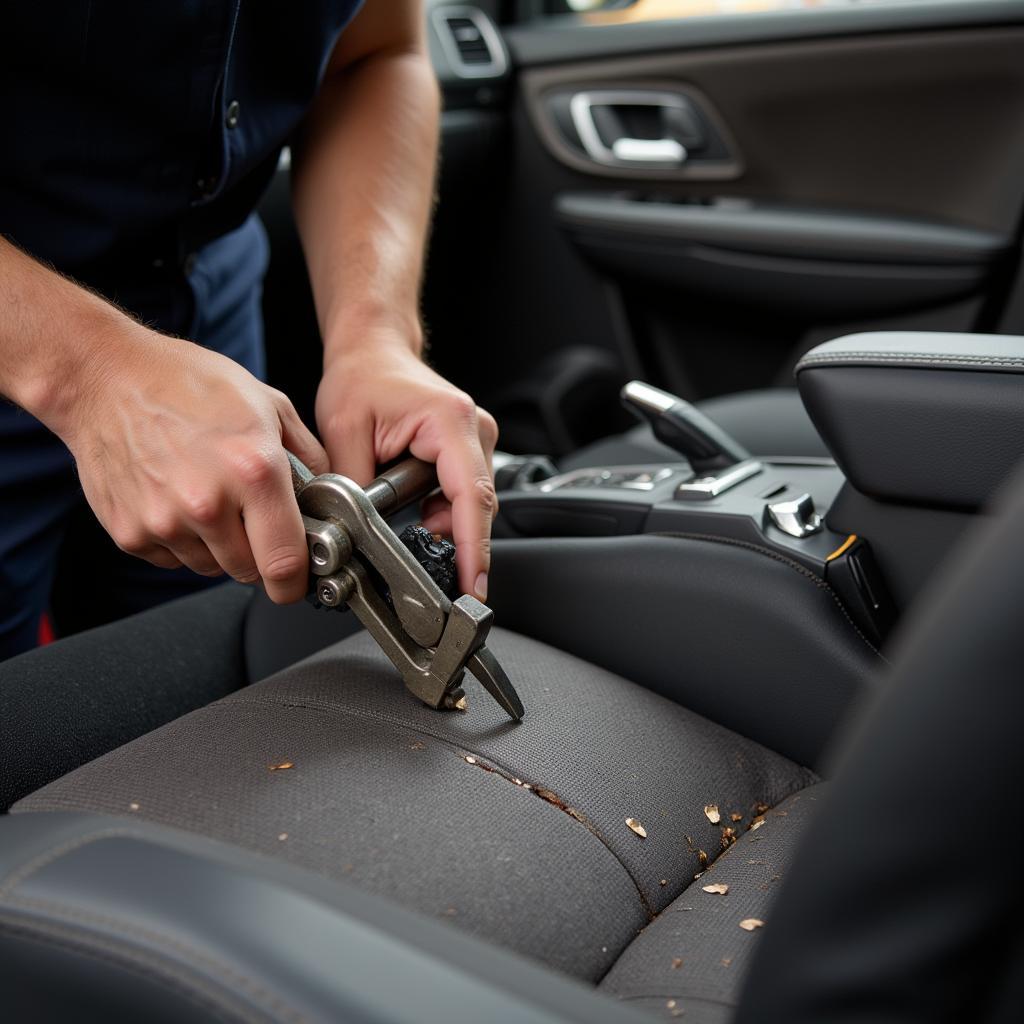
For larger tears or damage beyond the scope of a DIY kit, professional upholstery repair is the recommended course of action. Professionals have the expertise and tools to handle complex repairs, including patching, stitching, and re-dyeing. They can also address underlying structural damage, ensuring a long-lasting and aesthetically pleasing result. If you are considering getting it professionally fixed, find out more about the cost to fix ripped leather car seats.
 Professional Leather Car Seat Repair Process
Preventing Future Rips
Prevention is always better than cure. Here are some tips to protect your leather car seats:
- Regular Cleaning and Conditioning: Keeping your leather clean and conditioned helps prevent it from drying out and becoming more susceptible to tearing.
- Avoid Sharp Objects: Be mindful of sharp objects like keys, pens, and tools that can scratch or puncture the leather.
- Pet Protection: Use seat covers to protect your leather seats from pet claws and scratches.
- Sun Protection: Park in the shade or use sunshades to prevent UV damage, which can weaken the leather over time.
“Regular leather care is an investment that pays off in the long run. It keeps the leather supple and less prone to damage, preserving the value and appearance of your car’s interior,” says Sarah Chen, a leading automotive detailing expert. You can fix leather rip car seat using the methods described above.
Conclusion
Fixing a leather rip in your car can be a manageable DIY project or a task best left to professionals, depending on the severity of the damage. By understanding the different repair options and following the right steps, you can restore your car’s interior and protect your investment. If you need further assistance, don’t hesitate to connect with AutoTipPro at +1 (641) 206-8880 or visit our office at 500 N St Mary’s St, San Antonio, TX 78205, United States. We can help you fix ripped car seat leather effectively.


Leave a Reply