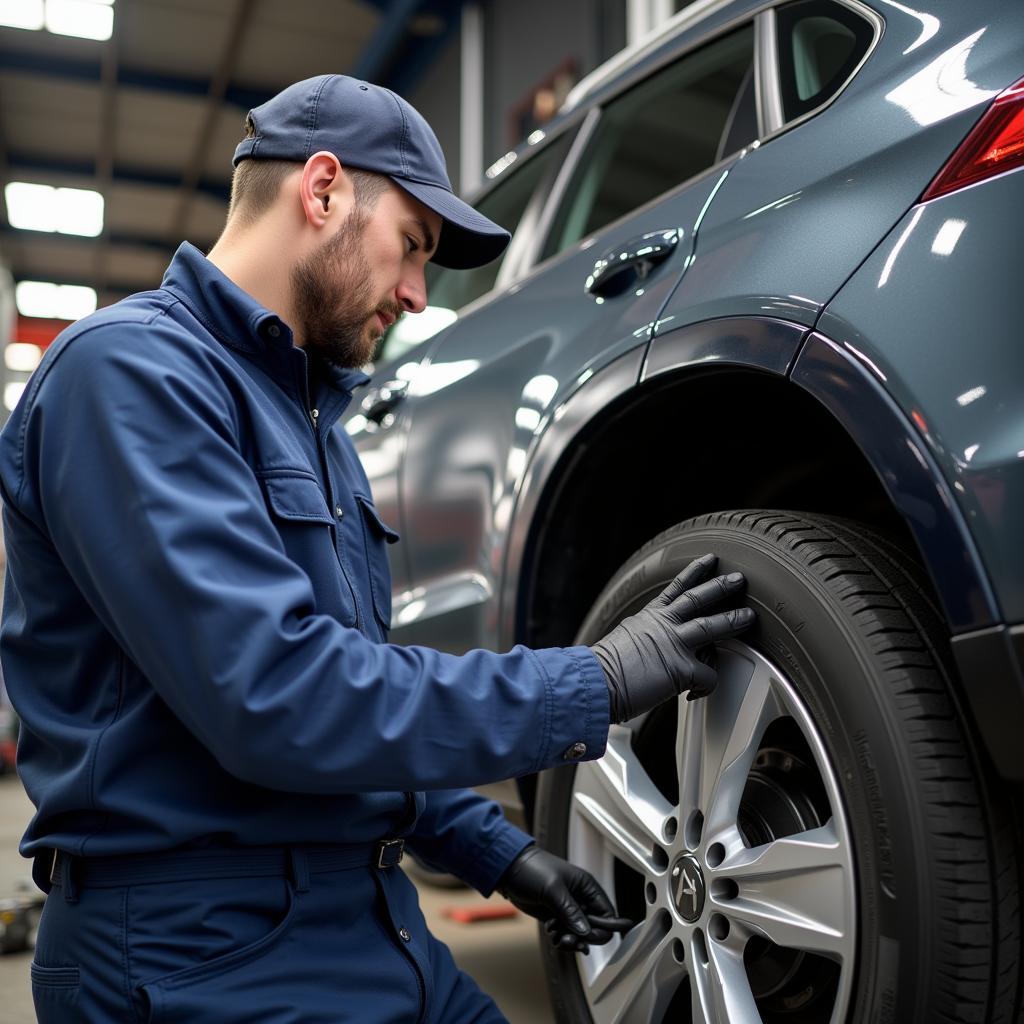
Flaky paint on your car can be frustrating and can even lead to rust if left untreated. It’s a common problem that can affect any car, regardless of age or make. The good news is that it can be fixed with a little time and effort. This guide will walk you through the steps on how to fix flaky paint on your car.
Understanding Flaky Paint
Flaky paint occurs when the paint layers on your car start to separate and peel off. This can happen due to various reasons, including:
- Weathering: Exposure to sun, rain, and temperature fluctuations can weaken the paint and cause it to flake.
- Poor Quality Paint: If your car was painted with low-quality paint, it’s more susceptible to flaking.
- Lack of Proper Preparation: Improper preparation before painting can cause paint to flake.
- Prior Damage: Scratches or dents that have not been repaired properly can lead to flaking.
Determining the Extent of the Damage
Before you begin fixing flaky paint, it’s important to assess the severity of the damage.
How to Inspect Your Car
- Visual Inspection: Carefully look at the affected areas for signs of peeling, chipping, or bubbling. Check for signs of rust under the paint.
- Test the Paint: Gently scratch the paint with your fingernail to see if it flakes off easily.
- Check for Rust: If you see rust, the damage is more extensive and might require professional assistance.
Fixing Flaky Paint: Step-by-Step Guide
Fixing flaky paint involves several steps, which are outlined below.
1. Gather Your Supplies
Before you begin, ensure you have the necessary materials:
- Sandpaper (Various grits): 80, 120, 220, 400, 600, and 800 grit.
- Primer: Choose a primer specifically designed for your car’s paint type.
- Paint: Match the existing paint color as closely as possible.
- Clear Coat: This adds a layer of protection to your paint.
- Masking Tape: To protect areas you don’t want to paint.
- Paint Thinner: To clean brushes and tools.
- Paint Tray: To hold paint.
- Paint Roller: To apply paint smoothly.
- Paint Brush: For touch-ups and corners.
- Gloves: To protect your hands.
- Safety Glasses: To protect your eyes.
- Dust Mask: To protect your respiratory system.
- Shop Towels: To clean up spills and messes.
2. Prepare the Surface
This is crucial for a smooth and durable finish.
- Clean the Surface: Wash the affected area thoroughly using car wash soap and water. Make sure to remove any dirt, grime, or debris.
- Tape Off the Area: Mask off the surrounding areas using masking tape to protect them from paint.
- Sand the Surface: Using sandpaper of varying grits, start with a rougher grit (80-120) and work your way up to a finer grit (600-800). Sand the affected area until all loose paint is removed and the surface is smooth. Be careful not to sand through the primer layer if present.
- Remove Sanding Dust: After sanding, wipe the area thoroughly with a clean cloth to remove all sanding dust.
3. Apply Primer
Primer acts as a base for the paint and helps it adhere better.
- Choose the Right Primer: Opt for a primer that’s compatible with your car’s paint type. Consult a paint specialist if unsure.
- Apply the Primer: Use a paint roller or brush to apply the primer evenly. Let it dry completely according to the manufacturer’s instructions.
4. Apply Paint
The paint will give your car its desired color.
- Choose the Right Paint: Match the paint color as closely as possible to your car’s existing paint. If necessary, get a paint chip from your local auto parts store or consult a professional to ensure color accuracy.
- Apply the Paint: Apply the paint in thin, even coats. Allow each coat to dry completely before applying the next. You may need several layers to achieve the desired color depth.
5. Apply Clear Coat
Clear coat adds a protective layer that will help prevent future damage.
- Choose the Right Clear Coat: Opt for a high-quality clear coat that’s compatible with your car’s paint type.
- Apply the Clear Coat: Apply the clear coat in thin, even coats, just like the paint. Allow each coat to dry completely before applying the next. You may need two or three coats for optimal protection.
6. Remove Tape and Clean Up
After the clear coat has dried completely, remove the masking tape.
- Remove Tape: Gently peel the tape off the surface, making sure to do it slowly to avoid damaging the paint.
- Clean Up: Clean your tools and workspace thoroughly. Dispose of any leftover materials responsibly.
7. Inspect Your Work
After cleaning, inspect your work thoroughly for any imperfections.
- Examine the Surface: Look for any flaws in the paint job, such as uneven coats, drips, or runs.
- Touch Up if Needed: If you notice any imperfections, use a fine-grit sandpaper (800 or higher) to smooth them out. Then, apply additional paint or clear coat as needed.
Tips for Successful Flaky Paint Repair
- Patience is Key: Take your time and follow the instructions carefully.
- Use the Right Tools: Having the proper tools will make the process much easier.
- Work in a Well-Ventilated Area: Ensure proper ventilation while working with paints, primers, and thinners.
- Protect Your Skin and Eyes: Wear gloves and safety glasses to protect your skin and eyes.
- Clean as You Go: Keep your workspace clean and organized to avoid dust contamination.
- Use a Paint Gun (Optional): For a professional finish, consider using a paint gun.
Professional Assistance
If you’re not confident about fixing flaky paint yourself, or if the damage is extensive, it’s best to seek professional assistance from a reputable auto body shop.
“Flaky paint repair is a complex process and often requires specialized skills and equipment. While DIY repair is possible for minor issues, consulting a professional is highly recommended for larger or more intricate problems.” – John Smith, Certified Automotive Technician
FAQ
Q: How long does it take to fix flaky paint?
A: The time it takes to fix flaky paint can vary depending on the severity of the damage, the size of the affected area, and the number of coats needed.
Q: How much does it cost to fix flaky paint?
A: The cost of fixing flaky paint can range from a few dollars for minor repairs to several hundred dollars for larger repairs.
Q: How long does paint last on a car?
A: The lifespan of paint on a car depends on various factors, including the quality of the paint, the type of clear coat, and the amount of exposure to the elements. With proper care, paint can last for several years.
Q: Can I prevent flaky paint on my car?
A: Yes, you can help prevent flaky paint by:
- Regularly Washing Your Car: Washing your car removes dirt, grime, and other contaminants that can damage the paint.
- Waxing Your Car: Waxing your car provides a layer of protection that helps prevent the paint from fading and weathering.
- Avoiding Harsh Chemicals: Avoid using harsh chemicals, such as acid-based cleaners, on your car’s paint.
Get Expert Advice
If you have any further questions about fixing flaky paint or need professional assistance, please contact us at Autotippro.
AutoTipPro
+1 (641) 206-8880
500 N St Mary’s St, San Antonio, TX 78205, United States
We are here to help you keep your car looking its best!


Leave a Reply