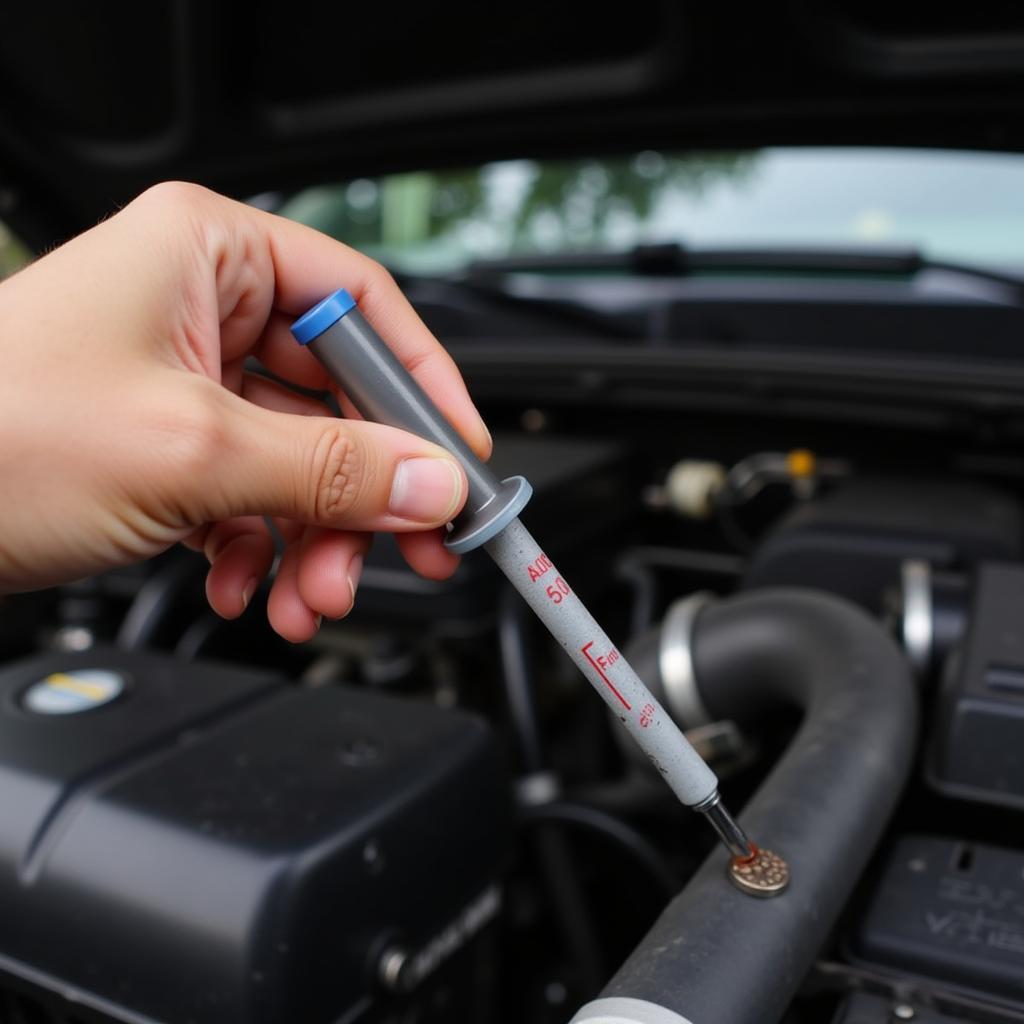
Fixing a small chip in your car paint may seem daunting, but with the right tools and techniques, it’s a manageable DIY project. Addressing these minor blemishes promptly prevents rust and maintains your car’s appearance. This guide provides a comprehensive approach to How To Fix A Small Chip In Car Paint, covering everything from identifying the damage to applying the final touches.
Do you know what’s worse than a small ding on your car? A small chip that exposes the metal underneath! It’s an invitation for rust and corrosion. Thankfully, fixing a small chip in car paint is easier than you think. Let’s dive into the step-by-step process.
Assessing the Damage: Is it Just a Chip?
Before you begin, determine the extent of the damage. Is it truly just a chip, or is it a deeper scratch that reaches the primer or even bare metal? This will determine the appropriate repair method. A tiny, superficial chip might only require touch-up paint, while deeper damage may necessitate sanding, priming, and even professional attention.
Identifying the Severity of the Chip
- Superficial Chip: Only the clear coat is affected. This is the easiest to fix.
- Primer Chip: The chip reaches the primer coat, revealing a slightly different color. This requires slightly more attention.
- Bare Metal Chip: The chip exposes the bare metal. This needs immediate attention to prevent rust. You may be wondering [how to fix rusted paint chips on a car](https://autotippro.com/how-to-fix-rusted-paint-chips-on-a car/).
“Identifying the type of chip is the first crucial step,” says automotive expert, Michael Stevenson. “This allows you to choose the right repair method and avoid unnecessary work.”
Gathering Your Supplies: The Right Tools for the Job
Having the correct supplies makes the repair process smoother and yields better results. You’ll need the following:
- Cleaning Solution: Automotive soap and water or rubbing alcohol.
- Microfiber Cloth: For cleaning and drying the affected area.
- Automotive Touch-Up Paint: Match your car’s paint code.
- Paint Applicator: A fine-tipped brush or touch-up pen is ideal.
- Sandpaper (if needed): Fine-grit sandpaper (2000-grit or higher) for smoothing.
- Primer (if needed): For deeper chips that reach bare metal.
- Clear Coat (optional): For added protection and shine.
The Repair Process: Step-by-Step Guide
1. Clean the Area
Thoroughly clean the chipped area with soap and water or rubbing alcohol. This removes dirt and debris, ensuring proper paint adhesion.
2. Apply Primer (If Needed)
If the chip has reached bare metal, apply a thin layer of automotive primer. Allow it to dry completely before proceeding.
3. Apply Touch-Up Paint
Carefully apply the touch-up paint to the chip, using a fine-tipped brush or touch-up pen. Apply several thin coats, allowing each coat to dry before applying the next. Avoid applying too much paint at once, as this can lead to drips and an uneven finish. For tips on other minor car repairs, you can check out resources like how to fix a small dent in a car fendor.
4. Sanding and Leveling (If Needed)
If the paint builds up slightly, use fine-grit sandpaper to carefully level the surface once the paint is completely dry. This step requires patience and a light touch.
5. Apply Clear Coat (Optional)
Applying a clear coat adds a layer of protection and enhances the shine. Allow the clear coat to dry completely. Consider also learning how to use a tool to fix car dent for more comprehensive car body repairs.
“Patience is key when applying touch-up paint,” advises Maria Sanchez, a seasoned auto body technician. “Multiple thin coats will provide a smoother and more professional-looking finish.”
When to Call a Professional
While minor chips can often be fixed at home, deeper or more extensive damage might require professional attention. If you are unsure about your ability to fix the chip yourself, or if the damage is significant, it’s best to consult a body shop. Sometimes, even seemingly small repairs can be tricky. For further information about professional options, check resources like can body shops fix small paint chips on car. Or learn more about fix car chipped paint.
Conclusion
Knowing how to fix a small chip in car paint is a valuable skill for any car owner. By addressing these minor blemishes promptly and using the correct techniques, you can prevent rust, maintain your car’s appearance, and potentially save money on costly repairs down the road. Remember, a little touch-up paint goes a long way in preserving your vehicle’s value and aesthetics. For further assistance or to schedule an appointment for repairs, please contact AutoTipPro at +1 (641) 206-8880 or visit our office at 500 N St Mary’s St, San Antonio, TX 78205, United States.
FAQ:
-
How long does touch-up paint take to dry? Typically, touch-up paint dries to the touch within 30-60 minutes, but complete curing can take up to 24 hours.
-
Where can I find my car’s paint code? The paint code is usually located on a sticker inside the driver’s side doorjamb, glove box, or under the hood.
-
Can I use nail polish to fix a paint chip? While tempting, nail polish isn’t formulated for automotive paint and can damage the existing finish.
-
What if the chip is on a plastic bumper? The process is similar, but ensure the primer and paint are compatible with plastic.
-
How can I prevent paint chips? Regular washing and waxing, parking in covered areas, and avoiding driving too close to other vehicles can help minimize the risk of paint chips.
-
Should I sand the area before applying touch-up paint? Sanding is usually only necessary for deeper chips or to level the touch-up paint after it dries.
-
Can I fix a paint chip in cold weather? Ideally, touch-up paint should be applied in temperatures above 50°F (10°C) for proper drying and adhesion.


Leave a Reply