Fixing Dent With Bondo On Car is a common practice for minor to moderate dents. It offers a DIY approach to auto body repair that can save you money and time. However, a successful Bondo repair requires careful preparation and application. This comprehensive guide will walk you through the process, offering expert tips and tricks for a flawless finish.
Understanding Bondo and its Applications
Bondo, a brand name for a two-part polyester body filler, is widely used in auto body repair to fill dents, scratches, and other imperfections. It’s a versatile product suitable for various materials, including metal and fiberglass. Before you begin fixing dent with bondo on car, it’s essential to understand the limitations of Bondo. It isn’t designed for structural repairs or large, deep dents. For significant damage, consult a professional auto body repair shop. Check our guide on how to fix a cracked metal body of a car for more complex repairs.
When Should You Use Bondo?
Bondo is ideal for:
- Small to medium-sized dents
- Shallow scratches and imperfections
- Filling rust holes after proper treatment (See our guide on fix car rust hole window)
- Smoothing out uneven surfaces
“Bondo is a great tool for minor bodywork,” says automotive expert John Miller, “but remember, preparation is key. A properly prepared surface ensures a strong and lasting Bondo repair.”
Preparing the Damaged Area for Bondo Application
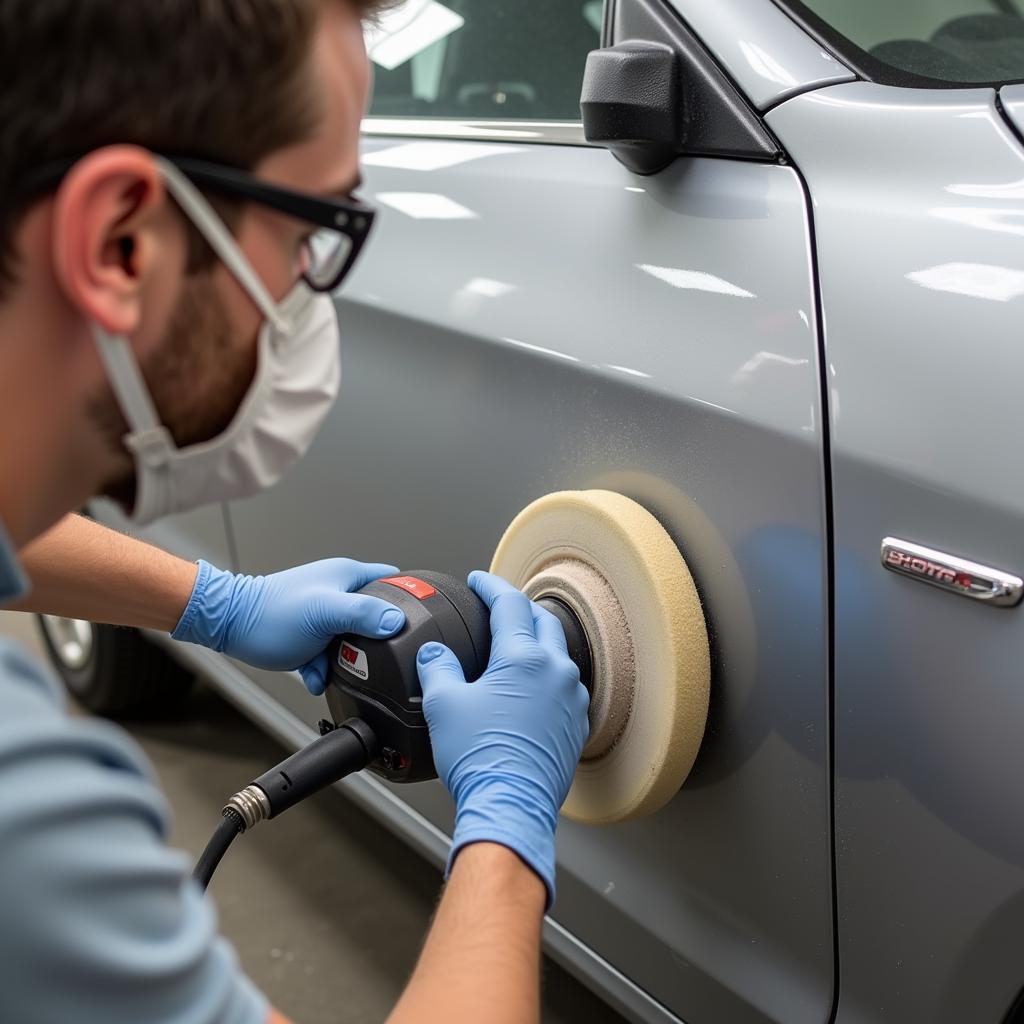
Surface preparation is crucial for a successful Bondo application. Clean the area thoroughly with soap and water, then degrease it with a wax and grease remover.  Sanding a Car Dent Before Applying Bondo Next, sand the dent and surrounding area with coarse grit sandpaper (around 80-grit) to create a rough surface for the Bondo to adhere to. Feather the edges of the sanded area to blend it seamlessly with the surrounding paint.
How Do You Clean the Dent Properly?
Use a good quality automotive soap and water. Rinse thoroughly and dry completely before moving on to the degreasing step. Any remaining dirt or grease can compromise the Bondo’s adhesion.
Mixing and Applying Bondo
Bondo comes in two parts: the filler and the hardener. Mix them according to the manufacturer’s instructions on a clean, non-porous surface like a piece of cardboard. Use a plastic spreader to apply the Bondo to the dent, working in thin, even layers. Allow each layer to dry and harden before applying the next. If you’re working with fiberglass, refer to our guide on fixing fiberglass cracks on car.
What Happens if You Mix Too Much Hardener?
Adding too much hardener will cause the Bondo to cure too quickly, making it difficult to work with. Follow the manufacturer’s instructions carefully for the correct ratio.
Sanding and Finishing
Once the final layer of Bondo has cured, sand it down with progressively finer grits of sandpaper, starting with 80-grit and working your way up to 400-grit or even finer. This process will smooth out the Bondo and blend it seamlessly with the surrounding body panel. After sanding, prime and paint the repaired area to match the rest of the car’s finish. For other dent repair options, you can explore how to fix car dents my summer car. “Patience is crucial during the sanding process,” advises Maria Sanchez, an experienced auto body technician. “Take your time and use progressively finer grits to achieve a smooth, professional finish.”
Conclusion
Fixing dent with Bondo on car can be a rewarding DIY project. By following these steps and taking your time, you can achieve a professional-looking repair and save money in the process. If you are interested in learning more about car repair, check out some of the best car fixing games. Remember, meticulous preparation and application are key to a successful Bondo repair. For assistance or if you’re dealing with more extensive damage, contact AutoTipPro at +1 (641) 206-8880 or visit our office at 500 N St Mary’s St, San Antonio, TX 78205, United States. We are always ready to help!


Leave a Reply