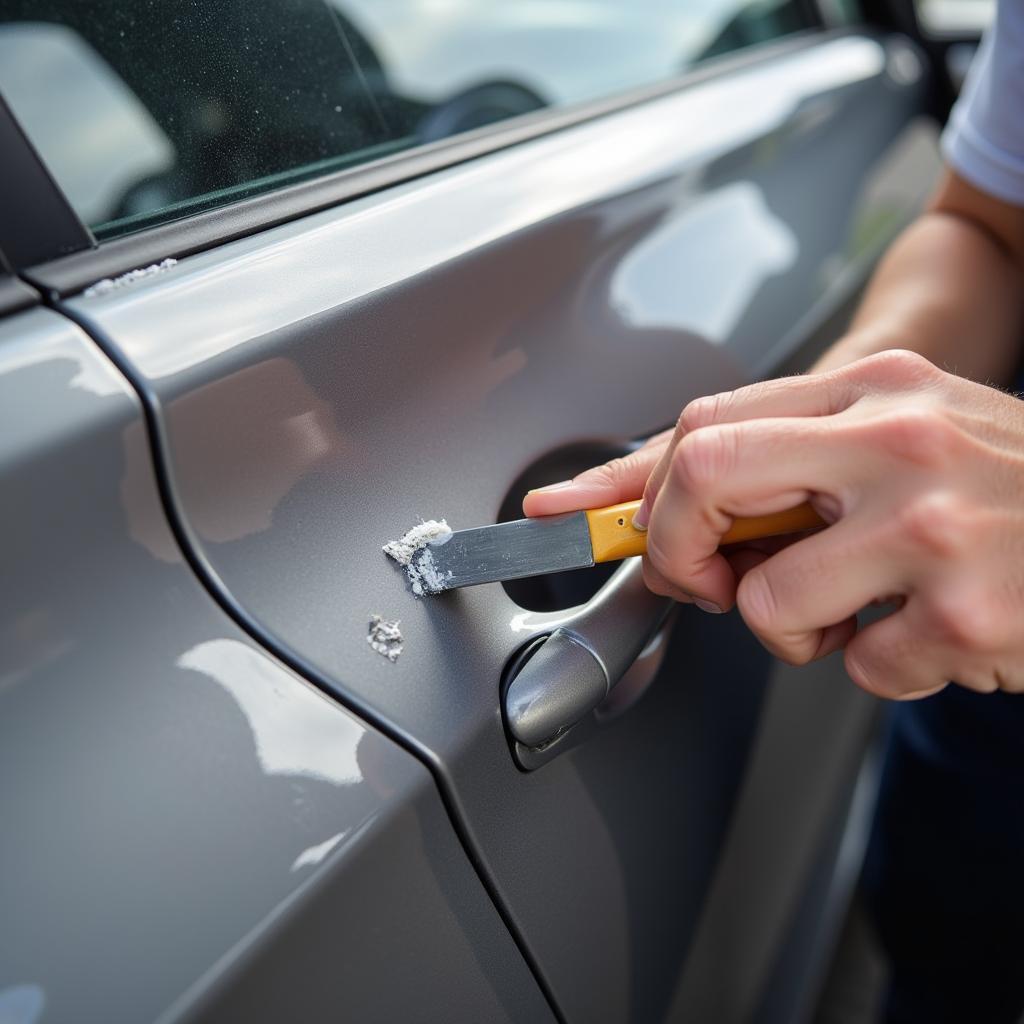
Deep car scratches can be a real eyesore, diminishing your vehicle’s appearance and potentially affecting its resale value. Using Fix Deep Car Scratches Putty is a common and effective DIY repair method. This guide provides a step-by-step approach to using putty effectively, along with tips and tricks to achieve a professional-looking finish.
Understanding Car Scratch Repair Putty
Car scratch repair putty, also known as spot putty or glazing putty, is a polyester-based filler used to repair minor dents and scratches on car bodies. It’s designed to fill in the damaged area, creating a smooth surface for painting. This affordable solution is perfect for DIY enthusiasts looking to tackle minor bodywork repairs. What’s the magic behind it? The putty hardens relatively quickly, allowing for sanding and painting within a reasonable timeframe.  Applying Car Scratch Putty to a Deep Scratch
Are you tired of unsightly scratches marring your car’s finish? Fix deep car scratches putty offers a cost-effective and convenient solution for minor repairs. From preparation to finishing touches, this guide will equip you with the knowledge to restore your car’s pristine appearance. Remember a smooth finish is key for a seamless repair. You can learn more about fixing other car problems by looking at how to fix a car dent with hair dryer.
Preparing the Damaged Area
Proper preparation is crucial for successful fix deep car scratches putty application. Start by thoroughly cleaning the scratched area with soap and water, then degrease it with a wax and grease remover. This ensures proper adhesion of the putty. Next, lightly sand the scratch and the surrounding area with fine-grit sandpaper (around 220-grit) to create a smooth surface for the putty to adhere to. This also helps to feather the edges of the scratch, ensuring a seamless blend with the surrounding paint.
Why is cleaning so important? Dirt and grease can prevent the putty from bonding properly, leading to an uneven finish and potential future issues.
Applying the Putty: A Step-by-Step Guide
- Mix the putty: If you’re using a two-part putty, carefully mix the hardener and the filler according to the manufacturer’s instructions.
- Apply the putty: Using a putty knife or spreader, apply a thin, even layer of putty to the scratched area. Overlapping strokes ensure complete coverage.
- Remove excess putty: Gently scrape off any excess putty with the putty knife, leaving the filled scratch slightly raised above the surrounding surface. This allows for sanding and leveling later.
Remember, less is more when applying fix deep car scratches putty. Multiple thin coats are always better than one thick coat, as it prevents cracking and ensures proper curing.
Sanding and Finishing
Once the putty has fully cured (refer to the manufacturer’s instructions for drying times), sand the area smooth with progressively finer grits of sandpaper, starting with 320-grit and working your way up to 1500-grit. This process blends the repaired area seamlessly with the surrounding surface.
Looking to fix your car’s interior as well? Check out our guide on how to fix car interior door panel.
“A common mistake is using too much pressure when sanding,” advises automotive expert, Robert Miller. “This can create uneven dips and waves, making the repair more noticeable. Patience and a light touch are key.”
Priming and Painting
After sanding, clean the area thoroughly. Apply a thin coat of automotive primer to the repaired area. Once the primer dries, you can apply your car’s paint color. For small repairs, touch-up paint is a suitable option. For larger areas, professional repainting may be required.
“Always test your paint color on a hidden area of your car first to ensure a perfect match,” recommends automotive specialist, Sarah Chen. This helps avoid color discrepancies and ensures a flawless finish. If you are looking for more car maintenance guides, you may find this article on how to fix braeking car panel helpful.
Conclusion
Fixing deep car scratches with putty is a straightforward DIY project that can save you money and restore your vehicle’s appearance. By following this comprehensive guide, you can achieve professional-looking results. Remember, patience and attention to detail are key. Feel free to reach out to AutoTipPro at +1 (641) 206-8880 or visit our office at 500 N St Mary’s St, San Antonio, TX 78205, United States for personalized assistance with your car repair needs. For bumper fixes, you may want to check out this DIY guide on diy fix for car bummper.
You can also consider fixing those annoying scratches on your dashboard by following this guide: can you fix scratches on car dash board glove box.


Leave a Reply