Fixing car side molding can seem daunting, but with the right tools and a little patience, you can restore your car’s appearance and protect it from further damage. This guide covers everything you need to know about How To Fix Side Molding On Car, from identifying the problem to choosing the right adhesives and completing the repair.
Understanding Car Side Molding Problems
Side molding serves both aesthetic and protective purposes. It can enhance the look of your vehicle while also shielding it from minor dings and scratches. However, over time, side molding can become loose, cracked, or completely detached due to weather exposure, impacts, or even improper installation. Before attempting a fix, identify the specific issue with your side molding. Is it loose? Cracked? Missing entirely? This will determine the best course of action.
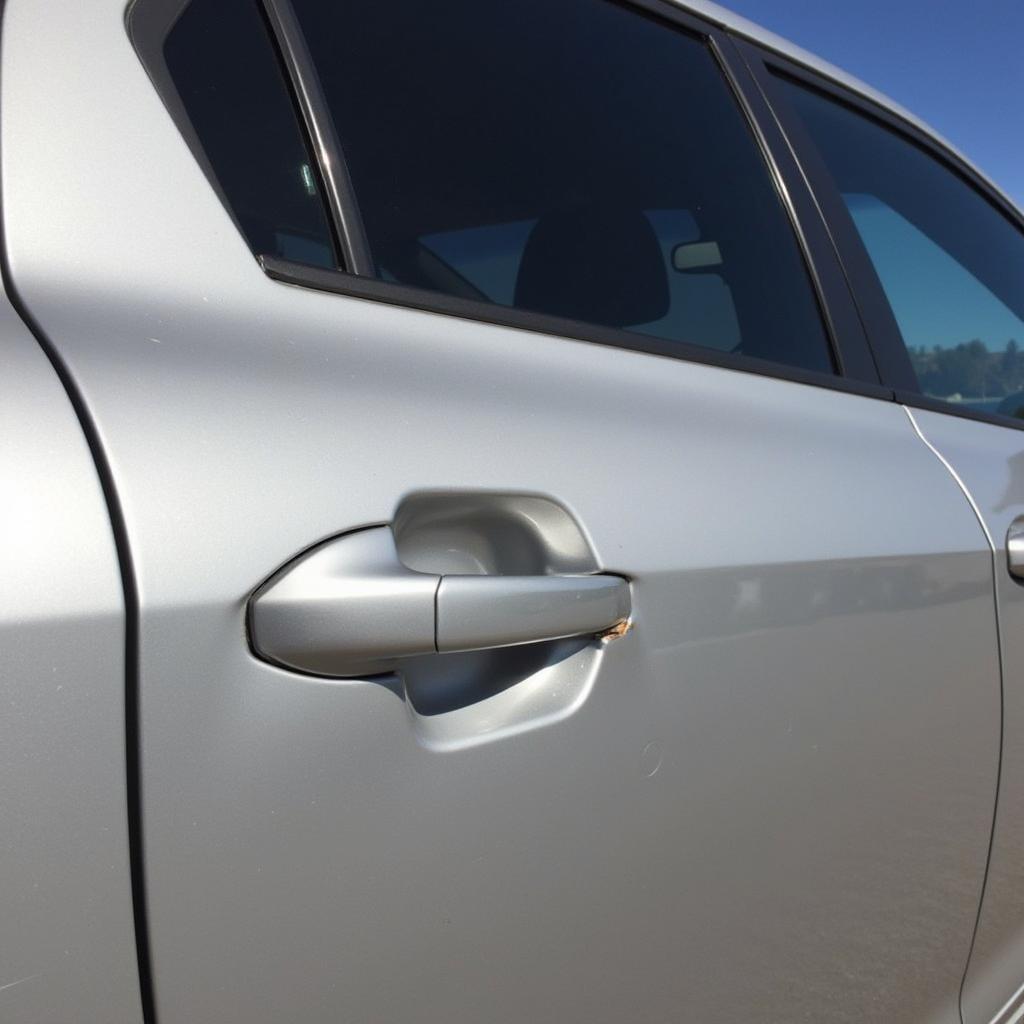
 Loose Side Molding on Car Door
Loose molding can often be reattached with strong adhesive. Cracked molding might require patching or replacement. If the molding is missing altogether, you’ll need to find a replacement piece that matches your car’s make, model, and year.
One common issue is adhesive failure. Over time, the original adhesive can weaken, allowing the molding to peel away. This is often exacerbated by extreme temperatures, car washes, and general wear and tear. Another issue is impact damage. A stray shopping cart or a minor collision can crack or break the molding.
Tools and Materials You’ll Need
Before starting the repair, gather the necessary tools and materials. Having everything on hand will make the process smoother and more efficient. You’ll likely need:
- Automotive-grade adhesive (3M double-sided tape is a popular choice)
- Cleaning solution (isopropyl alcohol is recommended)
- A plastic scraper or putty knife
- Masking tape
- Fine-grit sandpaper (optional)
- Replacement molding (if necessary)
- Gloves
Step-by-Step Guide to Fixing Side Molding
-
Clean the surface: Thoroughly clean the area where the molding will be attached using a cleaning solution like isopropyl alcohol. This will remove any dirt, grime, or residue from the old adhesive, ensuring a strong bond.
-
Prepare the molding: If the molding is cracked or damaged, you may need to repair it with a plastic epoxy or replace it entirely. If the molding is just loose, ensure it’s clean and dry.
-
Apply adhesive: Apply the automotive-grade adhesive to the back of the molding or to the car body, following the manufacturer’s instructions. Be careful not to apply too much adhesive, as this can make a mess.
-
Attach the molding: Carefully align the molding and press it firmly onto the car body. Use masking tape to hold it in place while the adhesive cures.
-
Finishing touches: Once the adhesive has cured, remove the masking tape and inspect the repair. If there are any gaps or imperfections, you can use a plastic scraper or putty knife to smooth them out. You can find more helpful tips on car repairs at gta 5 pc fix car cheat.
Tips for a Successful Repair
-
Choose the right adhesive: Using the correct adhesive is crucial for a long-lasting repair. Automotive-grade adhesive is designed to withstand the elements and vibrations of driving.
-
Be patient: Allow the adhesive to cure completely before removing the masking tape. This will ensure a strong and permanent bond.
-
Seek professional help: If you’re not comfortable performing the repair yourself, don’t hesitate to contact a professional auto body shop. For specific GTA 5 related fixes, you can look up how to fix car cheat gta 5.
“Proper surface preparation is key to a successful side molding repair. A clean and dry surface allows the adhesive to bond properly and prevents future issues.” – John Smith, Automotive Engineer
“Investing in high-quality automotive-grade adhesive is worth it. It ensures the repair will last and prevents the molding from coming loose again.” – Jane Doe, Auto Body Technician
Conclusion
Fixing side molding on a car is a manageable DIY project that can save you money and improve the appearance of your vehicle. By following the steps outlined in this guide and using the right tools and materials, you can achieve a professional-looking repair. Remember to choose the correct adhesive, be patient, and don’t hesitate to seek professional help if needed. For issues related to fixing police cars in GTA 5 online, refer to how to fix a cop car in gta 5 online. Need assistance with fixing your side molding? Connect with us at AutoTipPro at +1 (641) 206-8880 or visit our office at 500 N St Mary’s St, San Antonio, TX 78205, United States.
FAQ
- What type of adhesive is best for car side molding? Automotive-grade double-sided tape or specialized bonding adhesive is recommended.
- Can I repair cracked side molding? Minor cracks can be repaired with plastic epoxy, but significant damage may require replacement.
- How long does it take for the adhesive to cure? Refer to the adhesive manufacturer’s instructions for curing time.
- Do I need to remove the old adhesive before applying new adhesive? Yes, removing the old adhesive is crucial for proper bonding. If you’re having trouble fixing a car in GTA 5 on PS3, consider gta 5 cheat codes ps3 fix car.
- Where can I find replacement side molding? Replacement molding can be purchased online, from auto parts stores, or from dealerships.
- How much does it cost to have side molding professionally repaired? Costs vary depending on the extent of the damage and the labor rates of the auto body shop. For insights into situations where a car cannot be fixed in GTA 5, see gta 5 can’t fix car.
- How can I prevent side molding from coming loose in the future? Use high-quality adhesive, ensure proper surface preparation, and avoid harsh chemicals or high-pressure car washes.


Leave a Reply