Fixing a malfunctioning car horn can seem daunting, but with a little know-how, it’s often a straightforward DIY project. This guide will walk you through the common causes of horn failure and provide step-by-step instructions on how to troubleshoot and fix the issue, saving you a trip to the mechanic.
Identifying the Problem: Where to Start
Before diving into repairs, it’s essential to pinpoint the root of the problem. Is the horn completely silent, or does it produce a weak or intermittent sound? This initial diagnosis will guide your troubleshooting process. Sometimes, the issue isn’t with the horn itself, but with the related components like the fuse, relay, or wiring. Understanding these parts is key to a successful fix.
Checking the Fuse: A Quick and Easy Fix
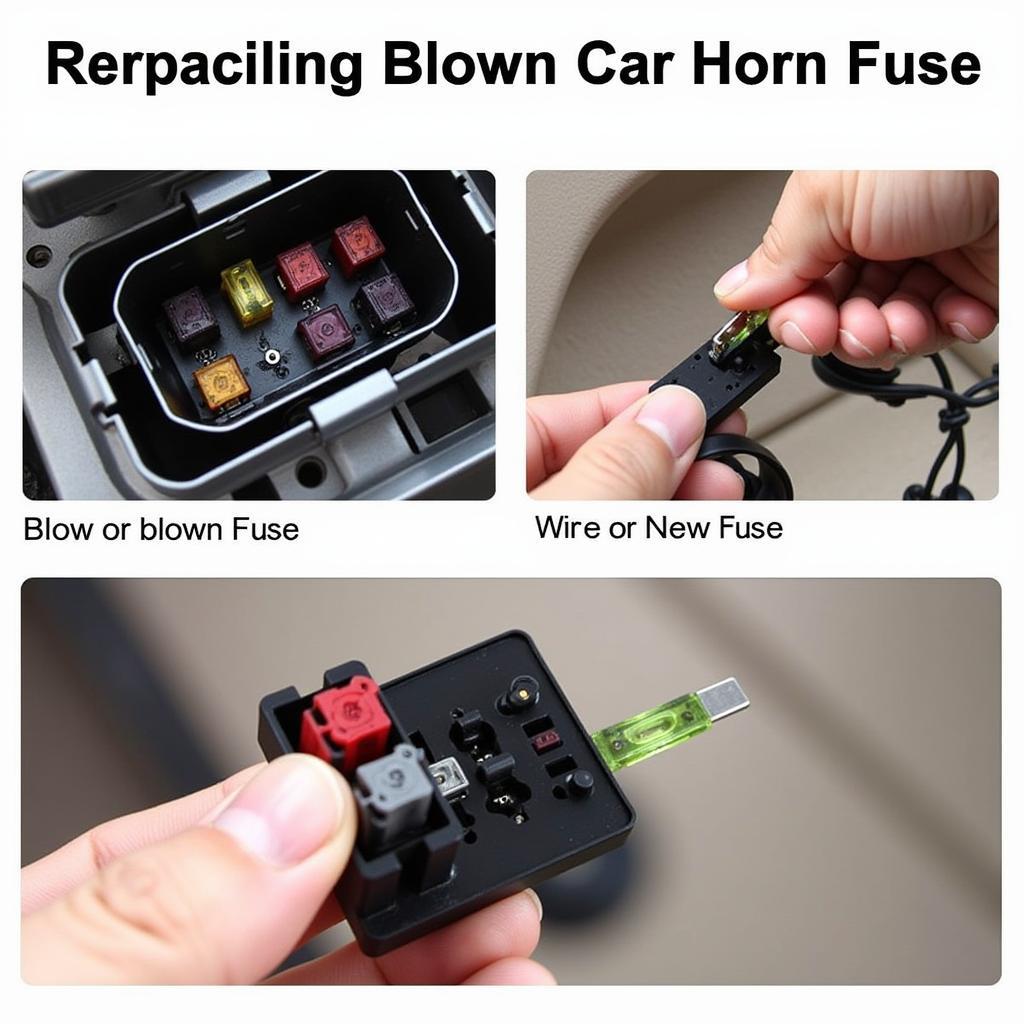
The horn fuse is the first component to check. It’s a small, inexpensive part that protects the horn circuit from power surges. Locate the fuse box, usually under the dashboard or in the engine compartment, and consult your car’s owner’s manual to identify the correct fuse for the horn. Remove the fuse and inspect it visually. A blown fuse will have a broken filament. If the fuse is blown, replace it with a new one of the same amperage.
 Replacing a Blown Car Horn Fuse
Testing the Horn Relay: The Unsung Hero
If the fuse is intact, the next step is to check the horn relay. The relay acts as a switch, controlling the power flow to the horn. You can usually swap the horn relay with a similar relay from another circuit in your car, like the headlights. If the horn works after swapping the relay, you’ve found your culprit. Replace the faulty relay with a new one. Remember relays are small but mighty components!
Inspecting the Horn Itself: Getting Down to Business
If the fuse and relay are fine, the problem likely lies with the horn itself. Locate the horn(s), usually mounted behind the front grille. Disconnect the electrical connector and use a multimeter to test the horn’s resistance. A reading of zero or infinity indicates a faulty horn. You can also try applying 12 volts directly to the horn terminals. If the horn doesn’t sound, it needs to be replaced.
Wiring Woes: Tracing the Path
Sometimes, the issue is a broken or corroded wire in the horn circuit. Carefully inspect the wiring from the steering wheel to the horn relay, fuse, and the horn itself. Look for any signs of damage, such as fraying, cuts, or corrosion. Repair or replace any damaged wiring as needed. This might require some electrical tape and patience. If you’re unsure about working with electrical components, seeking professional help is always a good idea. Remember, your safety is paramount. You might find this article about what happens when a garage fixed car without permission helpful if you are considering taking your car to a mechanic.
Conclusion: Honk Your Horn with Confidence
Fixing a car horn is often a simple task that can be accomplished with basic tools and a little patience. By following the steps outlined in this guide, you can diagnose the problem and get your horn back in working order. If you are still experiencing issues or are uncomfortable working on your car’s electrical system, don’t hesitate to reach out to the experts at AutoTipPro for assistance. You can reach us at +1 (641) 206-8880 or visit our office at 500 N St Mary’s St, San Antonio, TX 78205, United States. We’re always happy to help you get back on the road, horn blaring and ready to go!
Do you have any further questions about how to fix your car horn? Let us know!


Leave a Reply