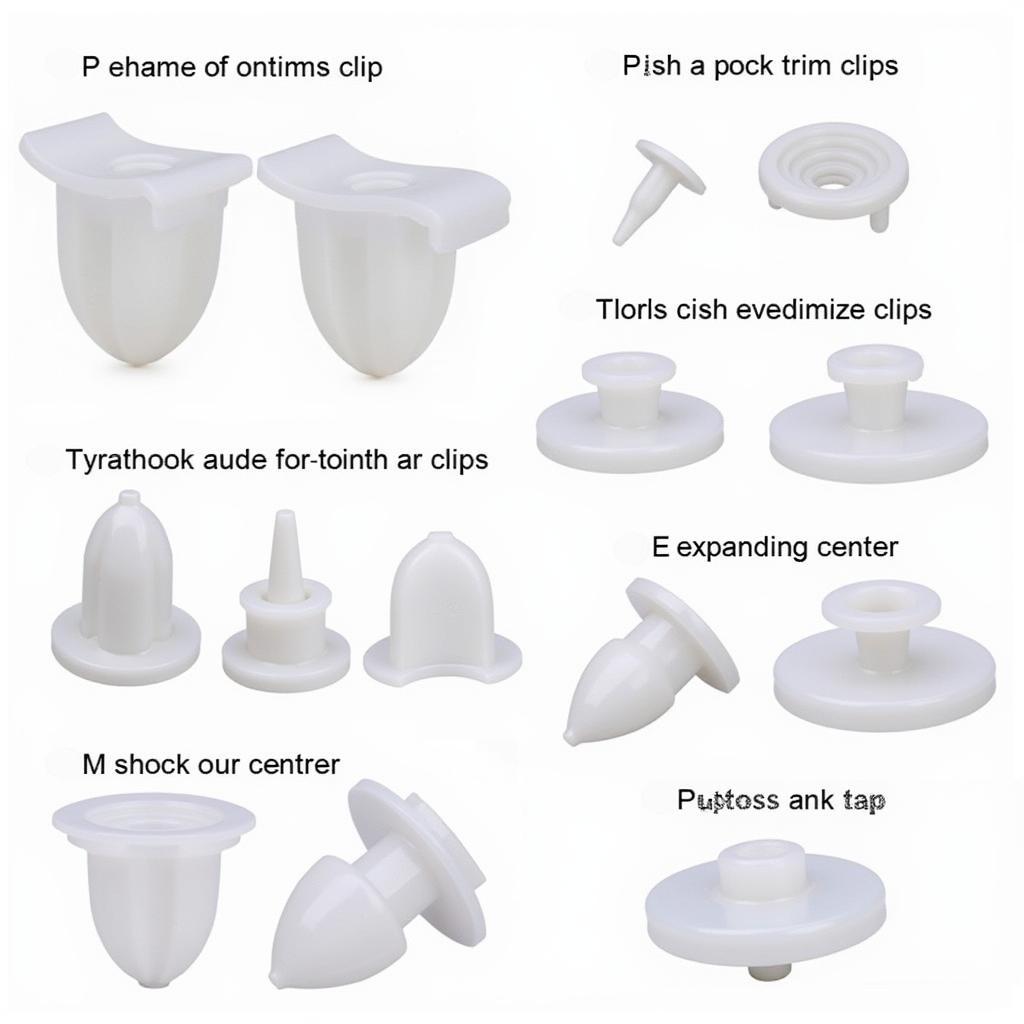
Car Door Trim Fixings are essential components that keep your car’s interior looking sleek and functioning properly. They secure the door panel, preventing rattles, and ensuring all components are held firmly in place. Knowing how to work with these fixings is crucial for both DIY enthusiasts and professional mechanics. how to fix interior rattles in car
Understanding Car Door Trim Fixings
Car door trim fixings come in various shapes and sizes, including plastic clips, screws, bolts, and even adhesive strips. The specific type used depends on the make, model, and year of your vehicle. Understanding these different types is the first step to successfully removing and reinstalling your door panel without causing damage.
Plastic clips are the most common type of car door trim fixings. They are designed to be easily removed and reinstalled, but they can become brittle over time and break easily. Knowing the correct technique for removing them is crucial to prevent damage.
 Car Door Trim Fixings: Plastic Clips in Different Sizes
Screws and bolts are also commonly used, particularly for securing heavier components like door handles and power window switches. These are generally more robust than plastic clips but can still become stripped or corroded over time.
Identifying the Right Fixings for Your Car
Knowing the correct car door trim fixings for your vehicle is essential for a successful repair. You can find this information in your car’s owner’s manual, online repair manuals, or by consulting with a parts specialist. Providing the correct year, make, and model of your vehicle is critical to getting the right parts.
Removing and Installing Car Door Trim Fixings
Removing car door trim fixings requires patience and the right tools. A trim removal tool kit is highly recommended to prevent damage to the panel and the fixings themselves. Using improper tools can lead to broken clips, scratched paint, and a frustrating repair experience. Remember, a gentle approach is key.
Step-by-Step Guide to Removing Door Trim
- Gather your tools: Trim removal tool, screwdriver set, and potentially a panel popper.
- Locate all fixings: Carefully inspect the door panel to identify all screws, bolts, and clips. Hidden fixings are often located behind covers or inside door handles.
- Remove screws and bolts: Use the appropriate screwdriver to remove all visible screws and bolts. Keep them organized to avoid losing them during reassembly.
- Release plastic clips: Carefully insert the trim removal tool under the edge of the door panel near a clip. Gently pry the panel away from the door, releasing the clip. Repeat this process for all remaining clips.
- Disconnect electrical connectors: Once all fixings are removed, carefully disconnect any electrical connectors for power windows, door locks, and speakers.
Reinstalling the Door Trim
Reinstalling the door trim is essentially the reverse of the removal process.
- Reconnect electrical connectors: Ensure all connectors are securely reattached.
- Align the door panel: Carefully align the door panel with the door frame, ensuring all holes for fixings are properly aligned.
- Install plastic clips: Push the panel firmly against the door to snap the clips into place.
- Reinstall screws and bolts: Tighten the screws and bolts, being careful not to overtighten them.
- Test functionality: Check that all door functions, such as power windows and locks, are working correctly. car door panel fixings
“Taking your time and using the right tools will prevent damage and ensure a professional-looking result,” advises John Miller, a seasoned automotive technician with over 20 years of experience.
Common Problems with Car Door Trim Fixings
Over time, car door trim fixings can become worn, brittle, or damaged. This can lead to rattles, loose panels, and even components falling off.
“One common issue is broken plastic clips,” says Sarah Jones, an automotive engineer. “Extreme temperatures, rough handling, and even the simple act of opening and closing the door repeatedly can cause these clips to fail.” ford car mat fixings, fix rush on car
Troubleshooting Tips
- Rattles: Check for loose or broken fixings. Tighten or replace as needed.
- Loose panels: Inspect for broken clips or missing screws.
- Components falling off: Ensure all fixings are present and secure.
Conclusion
Understanding car door trim fixings is crucial for maintaining the appearance and functionality of your vehicle. By following the proper techniques and using the right tools, you can easily remove and reinstall your door panels without causing damage. Remember, proper maintenance and timely repairs will keep your car looking its best. Contact us at AutoTipPro at +1 (641) 206-8880 or visit our office at 500 N St Mary’s St, San Antonio, TX 78205, United States for any assistance with your car door trim fixings.


Leave a Reply