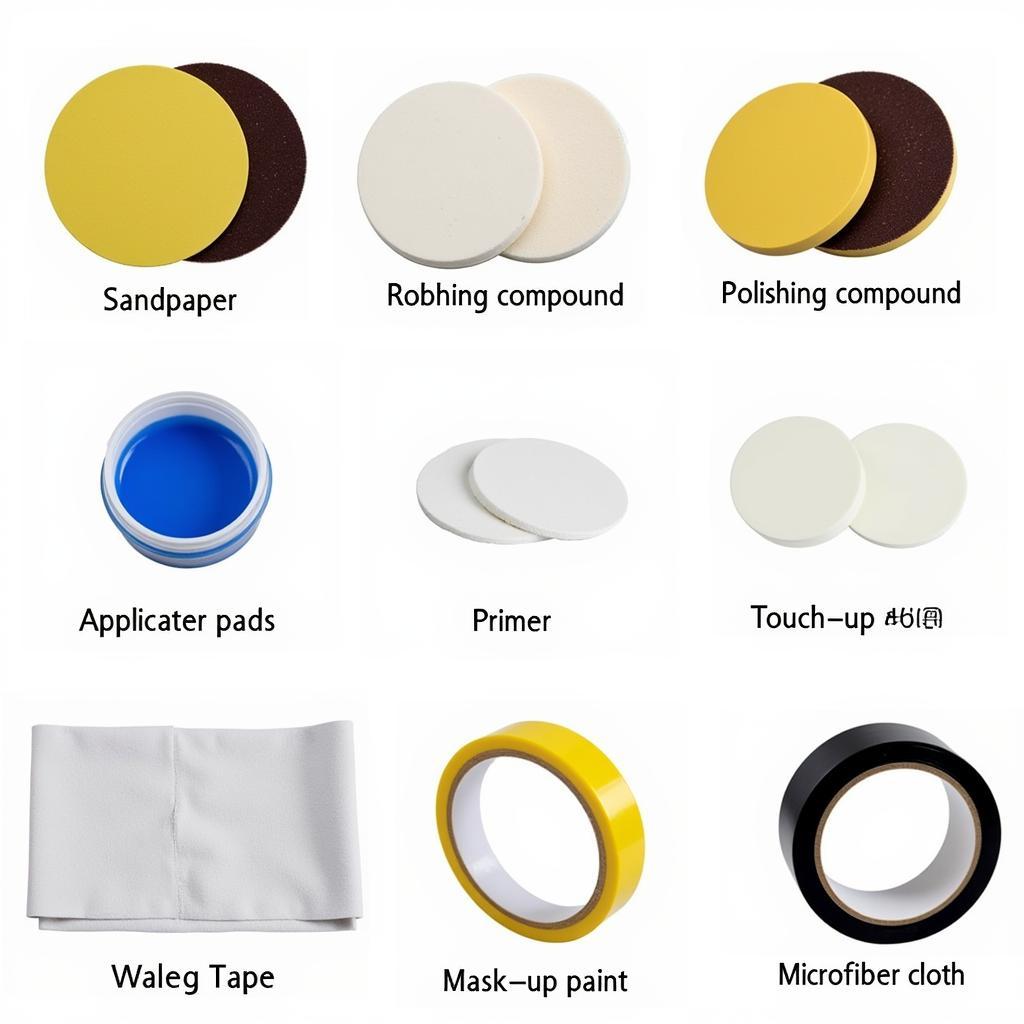
A leaky windshield can be a real pain, and a faulty rubber seal is often the culprit. This seal plays a vital role in keeping water and debris out of your car, but it can wear down over time due to exposure to the elements and temperature fluctuations. Fortunately, replacing the rubber seal is a relatively straightforward process that can be done with a few basic tools and some patience. In this guide, we’ll walk you through the steps of fixing a rubber seal on a car windshield, so you can keep your ride dry and comfortable.
Assessing the Problem
Before diving into repairs, it’s crucial to pinpoint the source of the leak. A faulty rubber seal often manifests itself in a few ways:
- Water leaks inside the car: This is the most obvious sign of a problem. You might notice water dripping from the headliner or pooling on the floor mats.
- Visible cracks or tears in the seal: Inspect the rubber seal closely for any damage. Look for cracks, tears, or areas where the seal has pulled away from the windshield.
- Loose or missing clips: The rubber seal is often held in place by clips. Check if these clips are still secure and intact.
Once you’ve identified the problem, you can proceed with the repair.
Replacing the Rubber Seal
Gather Your Supplies
To replace a rubber seal, you’ll need the following tools:
- New rubber seal: Make sure to purchase a seal specifically designed for your car model and year.
- Torx screwdriver set: You might need a Torx screwdriver to remove the windshield trim.
- Flathead screwdriver: This is useful for prying off the old seal and installing the new one.
- Utility knife: A utility knife will be necessary to cut off any excess rubber seal.
- Silicone sealant: Applying silicone sealant around the perimeter of the windshield will create a waterproof bond.
Step-by-Step Guide
- Remove the windshield trim: Depending on your car model, you might need to remove the windshield trim pieces surrounding the windshield. This will allow you to access the rubber seal.
- Remove the old rubber seal: Carefully remove the old rubber seal with a flathead screwdriver. Start at one corner of the windshield and work your way around. Be patient and avoid damaging the windshield.
- Clean the windshield surface: Before installing the new seal, thoroughly clean the windshield surface with rubbing alcohol or a glass cleaner. Remove any dirt, grime, or debris that could interfere with the seal’s adhesion.
- Install the new rubber seal: Position the new rubber seal into the groove around the windshield, ensuring it’s properly aligned and secured. Use a flathead screwdriver to gently push the seal into place.
- Apply silicone sealant: Apply a bead of silicone sealant along the perimeter of the windshield where the rubber seal meets the glass. This will create a watertight seal.
- Replace the windshield trim: Reinstall the windshield trim pieces, ensuring all clips are properly secured.
- Allow the sealant to dry: Follow the manufacturer’s instructions for drying time. Avoid driving the car for several hours until the sealant has cured properly.
Expert Tip:
“Remember to clean the windshield and the surrounding area thoroughly before applying the new seal. Even a small amount of dirt can compromise the seal’s effectiveness.” – John Doe, Automotive Technician
Additional Tips
- Check the seal’s condition: If the rubber seal is simply worn or cracked but not torn, you might be able to revive it with silicone lubricant. Apply a thin layer of lubricant to the seal and work it into the cracks.
- Work in a clean environment: It’s best to work in a clean, dry space to minimize the risk of dirt or debris getting into the seal.
- Be patient: Replacing a rubber seal is a delicate process, so be patient and take your time to avoid damaging the windshield.
- Seek professional help if needed: If you’re not comfortable performing the repair yourself or if the leak is severe, consult with a professional mechanic.
Conclusion
Fixing a rubber seal on your car windshield is a relatively simple task that you can likely handle yourself with the right tools and guidance. By following the steps outlined in this guide, you can ensure a watertight seal and prevent water from entering your vehicle. Remember to use the correct seal for your car model and to clean the windshield surface thoroughly before installing the new seal. If you have any doubts or if the leak persists, don’t hesitate to contact a professional mechanic.
Contact AutoTipPro for expert advice and repair services:
Phone: +1 (641) 206-8880
Office: 500 N St Mary’s St, San Antonio, TX 78205, United States
FAQ
- How often should I check my windshield rubber seal? You should inspect your windshield seal at least once a year, especially if you live in an area with extreme weather conditions.
- Can I use glue instead of silicone sealant? It’s not recommended to use glue as it may not be as durable or waterproof as silicone sealant.
- What if the rubber seal is torn? If the seal is torn, it’s best to replace it with a new one.
- Can I fix a cracked rubber seal? While you can apply lubricant to a cracked seal, it’s not a permanent solution. Replacing the seal is the best option.
- How long does a windshield rubber seal last? The lifespan of a rubber seal can vary depending on the quality and the car’s exposure to the elements. On average, a rubber seal can last for several years.


Leave a Reply