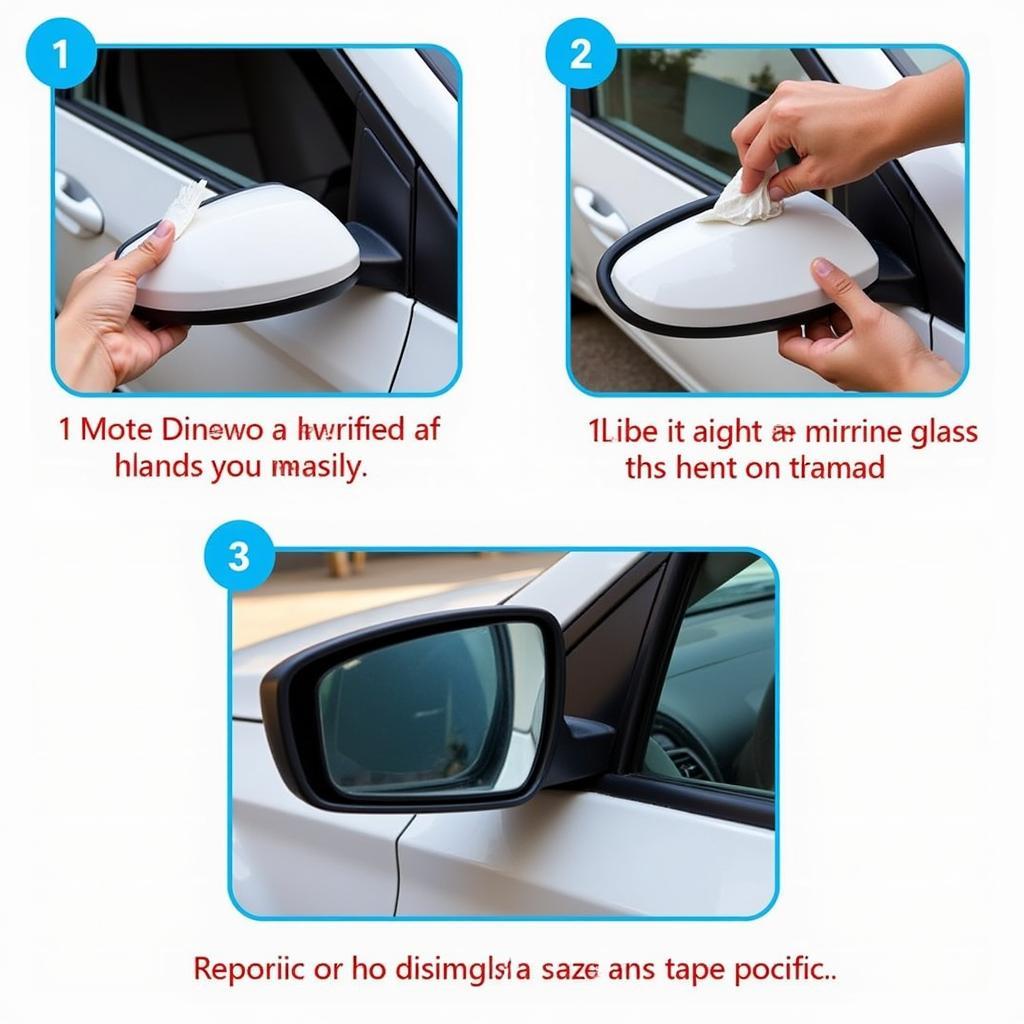
If your car side mirror glass has fallen off, don’t panic! It’s a surprisingly common issue and often a relatively easy fix. Whether it’s due to vandalism, a collision, or simply age, knowing how to reattach or replace your side mirror glass can save you a trip to the mechanic and a hefty repair bill. This guide provides a comprehensive walkthrough for fixing a detached car side mirror glass, covering everything from simple reattachments to full replacements. how much is it to fix a broken car mirror
Identifying the Damage and Necessary Tools
Before you begin, assess the damage. Is the glass simply detached, or is it cracked or broken? This will determine your course of action. Gather the necessary tools which might include: a screwdriver, adhesive, replacement glass (if needed), gloves, a plastic pry tool, and cleaning solution.
Reattaching the Glass: A Step-by-Step Guide
If your side mirror glass is intact and simply detached, you can often reattach it yourself. Here’s how:
- Clean the surfaces: Thoroughly clean both the back of the mirror glass and the mirror housing with a suitable cleaning solution. This ensures proper adhesion.
- Apply adhesive: Apply a strong adhesive designed for automotive use to the back of the mirror glass or the mirror housing, following the manufacturer’s instructions.
- Reattach the glass: Carefully align the mirror glass with the housing and press firmly for the duration specified by the adhesive instructions.
- Secure and cure: Use tape to secure the glass in place while the adhesive cures. Avoid using the mirror until the adhesive has fully set.
 Reattaching Car Side Mirror Glass
Replacing the Glass: When Reattachment Isn’t an Option
If the glass is damaged, replacement is necessary. You can purchase replacement glass online or at an auto parts store.
- Remove any remaining pieces: Carefully remove any broken glass fragments from the mirror housing.
- Prepare the new glass: Clean the back of the new mirror glass with a suitable cleaning solution.
- Install the new glass: Most replacement glass comes with pre-applied adhesive. Remove the protective backing and carefully align and press the new glass into the housing.
- Secure and cure: Secure the new glass with tape while the adhesive cures.
Troubleshooting Common Problems
Sometimes, the mirror might not adjust properly after reattachment or replacement. This could be due to a misaligned mirror or a problem with the mirror’s adjustment motor. Check the wiring and connections if this is the case. cars 3 quick fix tool box
What type of adhesive should I use?
Use a strong adhesive specifically designed for automotive use and mirror reattachment. Avoid using generic super glue, as it may not hold up to the elements.
How long does the adhesive take to cure?
Curing times vary depending on the adhesive used. Consult the manufacturer’s instructions for specific curing times. Typically, it’s best to wait at least 24 hours before using the mirror.
“A properly reattached or replaced side mirror is crucial for safe driving. Take your time and ensure the job is done right,” advises John Davis, a seasoned automotive technician with over 20 years of experience.
Conclusion
Fixing a car side mirror with detached glass can be a straightforward DIY project if the glass is intact. However, if the glass is broken, replacement is the best course of action. Following these steps and using the correct tools and materials ensures a safe and effective repair. Remember, a properly functioning side mirror is essential for safe driving. Contact us at AutoTipPro for any further assistance. Our number is +1 (641) 206-8880 and our office is located at 500 N St Mary’s St, San Antonio, TX 78205, United States.
“Always prioritize safety. If you’re unsure about any step of the process, it’s always best to consult a professional,” adds Maria Sanchez, an automotive engineer specializing in vehicle safety systems.


Leave a Reply