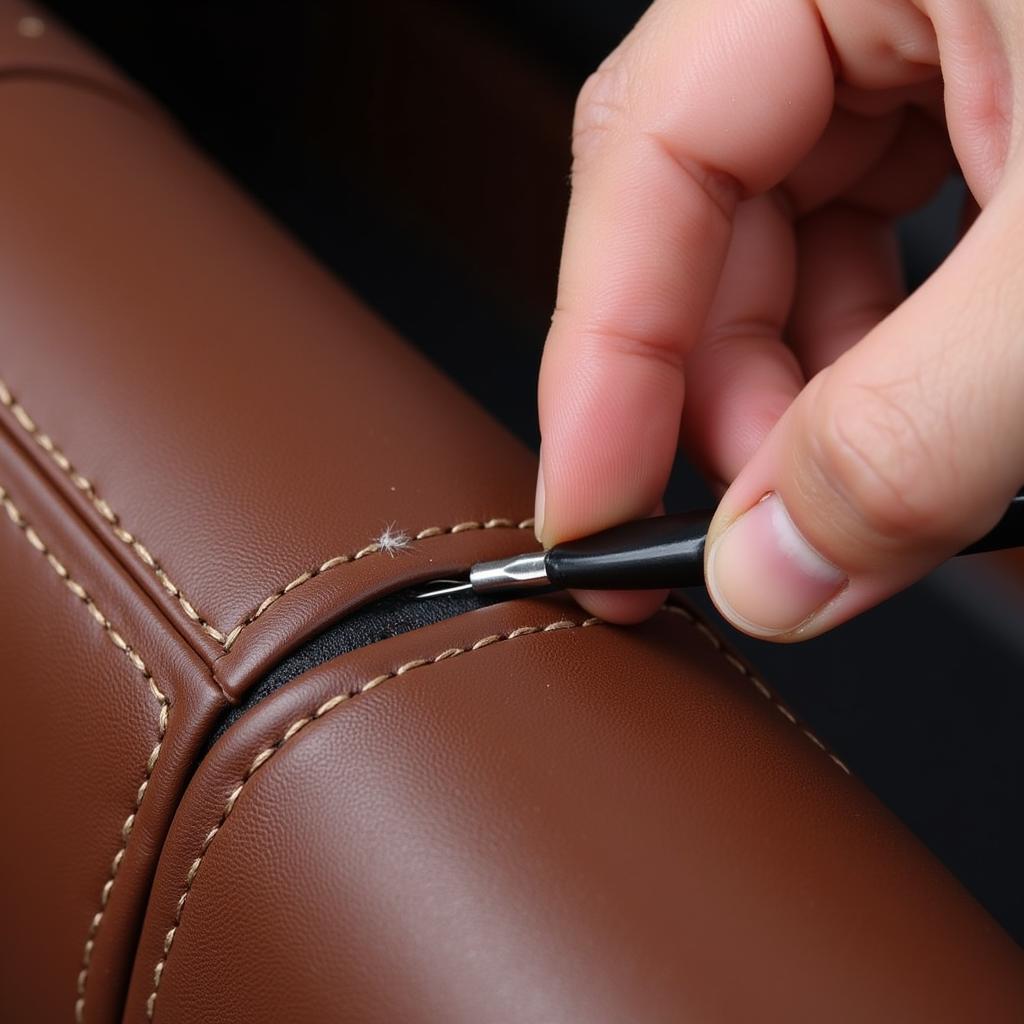
Torn car seat stitching can make your vehicle’s interior look worn and unprofessional. Fixing car seat stitching, whether it’s leather or cloth, can seem daunting, but with the right tools and techniques, you can often restore your seats to their former glory. This guide provides step-by-step instructions, expert tips, and helpful advice to help you tackle this common car upholstery issue.
 Fixing Torn Leather Car Seat Stitching
Understanding the Problem: Why Does Car Seat Stitching Fail?
Car seat stitching can fail for a variety of reasons, ranging from normal wear and tear to accidental damage. Constant friction from getting in and out of the car, exposure to sunlight and temperature fluctuations, and even pets can weaken the threads over time. Sharp objects, such as keys or tools, can also cause snags and tears. Identifying the cause can help you prevent future damage.
“Preventing further damage is just as important as the repair itself. Consider using seat covers or being mindful of what you bring into your vehicle,” advises John Miller, a seasoned auto upholstery specialist at Miller’s Auto Upholstery.
DIY Fix Car Seat Stitching: Materials and Preparation
Before you begin, gather the necessary materials. You’ll need an upholstery needle, heavy-duty thread that matches your car seat’s color, scissors, pliers (optional), and a leather repair kit (if working with leather). For leather seats, how to fix leather car seat stitching provides an in-depth tutorial on specialized techniques and materials.
Preparing the Area
Clean the area around the damaged stitching with a suitable cleaner for your seat material. If you’re working with leather, use a leather cleaner and conditioner. For cloth seats, a fabric cleaner will suffice. This ensures a clean surface for the repair and helps the new stitching blend seamlessly.
How to Fix Stitching on Leather Car Seat: Step-by-Step Guide
If your leather car seat has a ripped seam, how to fix stitching on leather car seat provides detailed instructions. For a general approach:
- Assess the Damage: Determine the extent of the damage. Is it a small tear or a larger rip? This will inform your approach.
- Thread the Needle: Double the thread and knot the end. This creates a stronger stitch.
- Begin Stitching: Start from the inside of the seat, if possible, to hide the knot. Follow the existing stitch pattern for a professional look.
- Secure the Stitch: Once you’ve finished stitching, knot the thread securely on the inside of the seat.
“Take your time and focus on precision. A neat stitch will not only look better but will also hold up longer,” says Sarah Johnson, an experienced automotive upholsterer from Johnson’s Auto Interiors.
Fix Car Seat Stitching: Dealing with Cloth Seats
Fixing cloth car seat stitching follows a similar process. However, you may not need a leather repair kit. fix car seats las vegas offers professional services if you prefer expert assistance.
Can You Fix a Rip in Leather Car Seat? Beyond Stitching
Sometimes, a rip in the leather requires more than just stitching. can you fix a rip in leather car seat explores different repair options for larger tears. A leather repair kit can help patch the rip before stitching, ensuring a more durable and aesthetically pleasing repair. If you’re dealing with a seam issue, fix leather car seat seam may provide specific guidance.
Conclusion: Keeping Your Car Seats Looking Their Best
Fixing car seat stitching is a manageable task that can significantly improve the appearance of your car’s interior. By following the steps outlined in this guide and using the right tools and materials, you can achieve professional-looking results. Remember, regular maintenance and preventative measures can help prolong the life of your car seats and prevent future stitching issues. For further assistance or professional help, contact AutoTipPro at +1 (641) 206-8880 or visit our office at 500 N St Mary’s St, San Antonio, TX 78205, United States. We’re here to help you keep your car looking its best!


Leave a Reply