A paint scrape on your car can be a frustrating sight. It can significantly impact your car’s aesthetic appeal, potentially decrease its resale value, and leave you feeling a little deflated. But don’t despair! Fixing a paint scrape is manageable, and with the right steps, you can restore your car’s shine and protect it from further damage. This comprehensive guide covers everything you need to know about fixing a paint scrape on your car, whether you’re a seasoned car enthusiast or just starting your DIY journey.
Assessing the Damage: How Severe Is It?
Before you begin any repairs, it’s essential to understand the extent of the paint scrape. This will help you determine the best course of action and the necessary tools and materials.
Here’s what to look for:
- Surface Scratches: If the damage is only on the clear coat and doesn’t reach the primer, it’s considered a surface scratch. This is usually the easiest to fix.
- Deep Scratches: These scratches penetrate the primer and potentially the metal beneath. They require more attention and might need specialized tools.
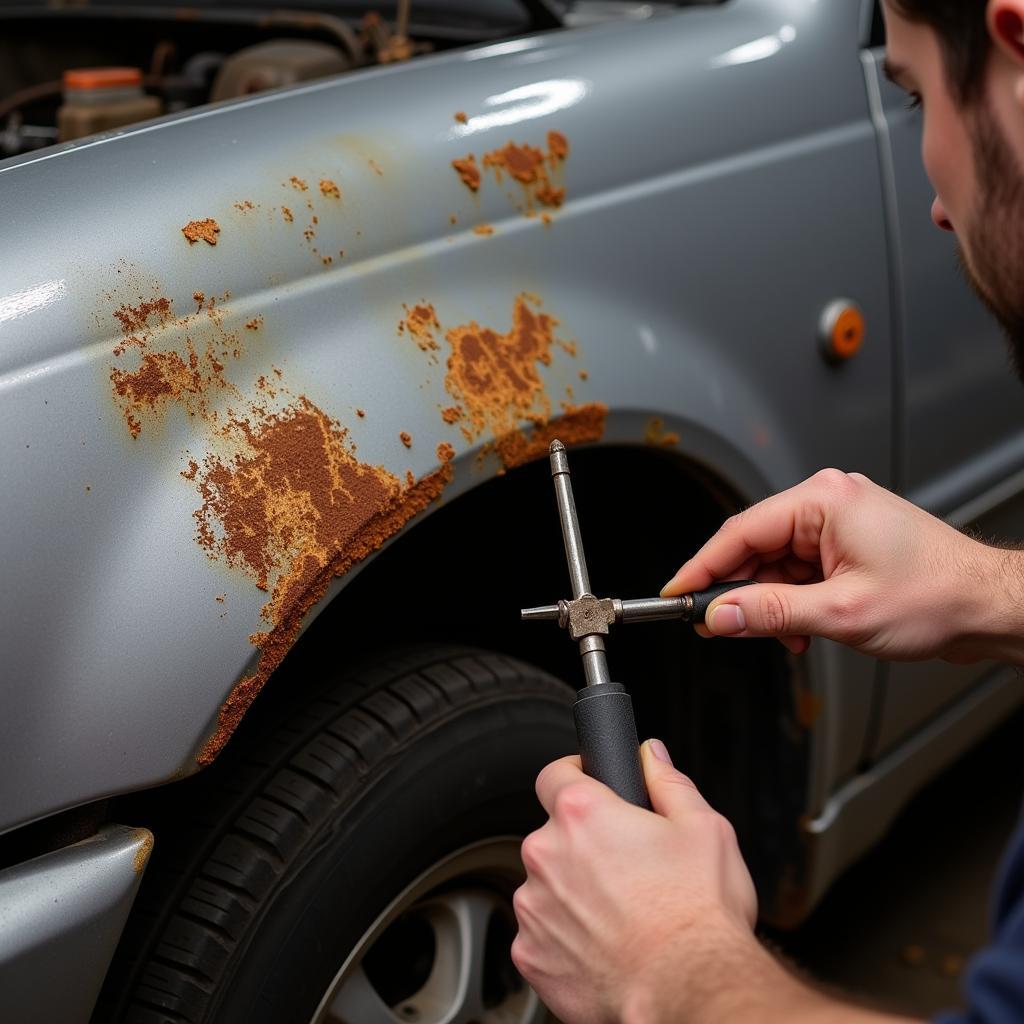
- Rust Formation: If rust is present, you’ll need to address it before tackling the paint scrape. Rust can spread rapidly and further damage the car’s body.
Fixing a Paint Scrape on Your Car: A Step-by-Step Guide
Now that you’ve assessed the damage, let’s dive into the repair process. Here’s a detailed guide for fixing a paint scrape:
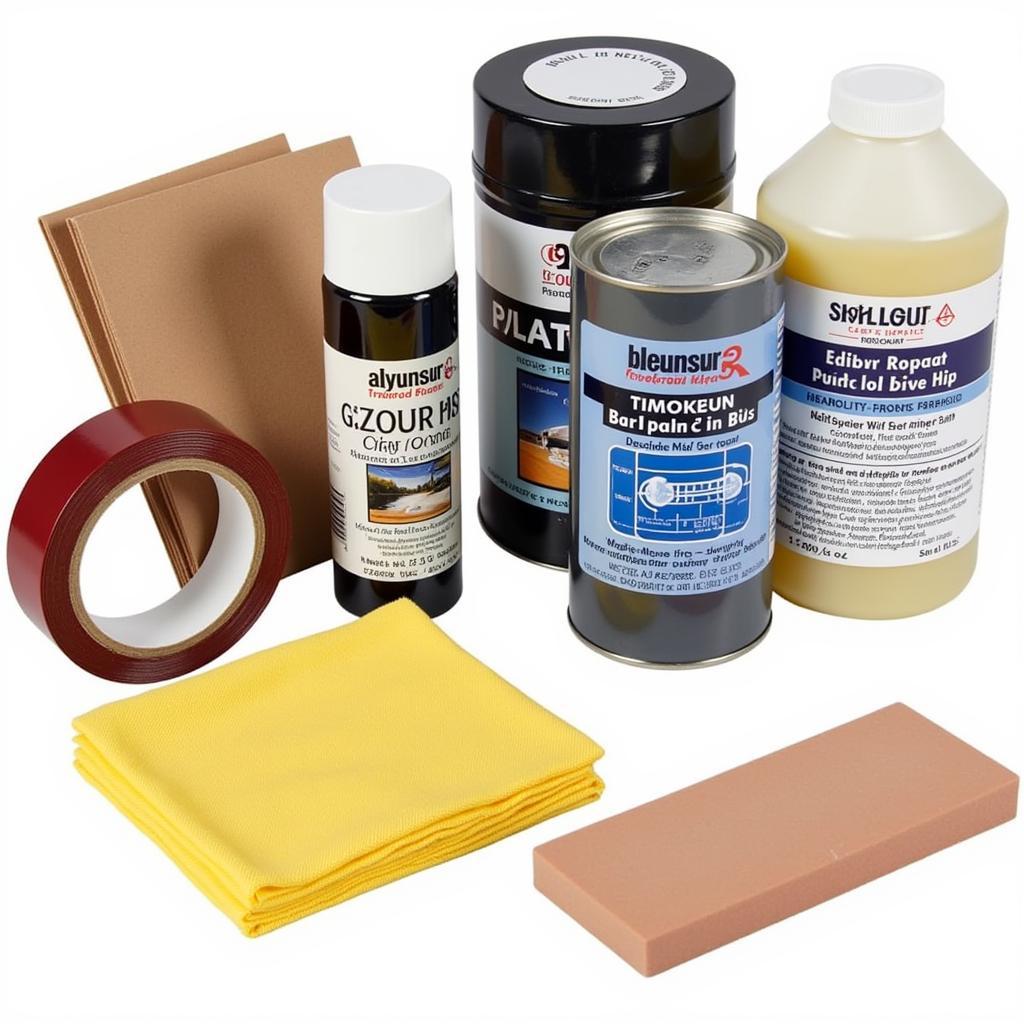
1. Gather Your Tools:
- Cleaning Supplies: A bucket of soapy water, microfiber cloths, and a mild dish soap are essential for cleaning the area.
- Sandpaper: Assorted grits (200, 400, 600, 800, 1000, 1200, 1500) are necessary for sanding and smoothing the affected area.
- Masking Tape: This helps to protect the surrounding paint.
- Primer: Matching your car’s color is crucial for a seamless repair.
- Paint: Use a high-quality touch-up paint that matches your car’s color code.
- Clear Coat: This protects the paint from UV damage and scratches.
- Paint Thinner: For cleaning brushes and tools.
- Sanding Block: For precise sanding.
- Primer Sealer: This helps to ensure adhesion of the primer to the metal.
- Optional: A paint pen for quick touch-ups.
 Car paint scrape repair tools
2. Preparation is Key:
- Thoroughly Clean the Area: Remove any dirt, debris, or contaminants from the scrape using soapy water and a microfiber cloth.
- Mask Off the Surrounding Area: Securely mask off the surrounding area using masking tape to prevent accidental paint overspray.
- Sand the Damaged Area: Start with a coarse grit sandpaper (200-400) to roughen the surface. Gradually move to finer grits (600-1200) for a smooth finish.
3. Primer Application:
- Apply Primer Sealer (if needed): If the damaged area is bare metal, apply a primer sealer to ensure proper adhesion of the primer.
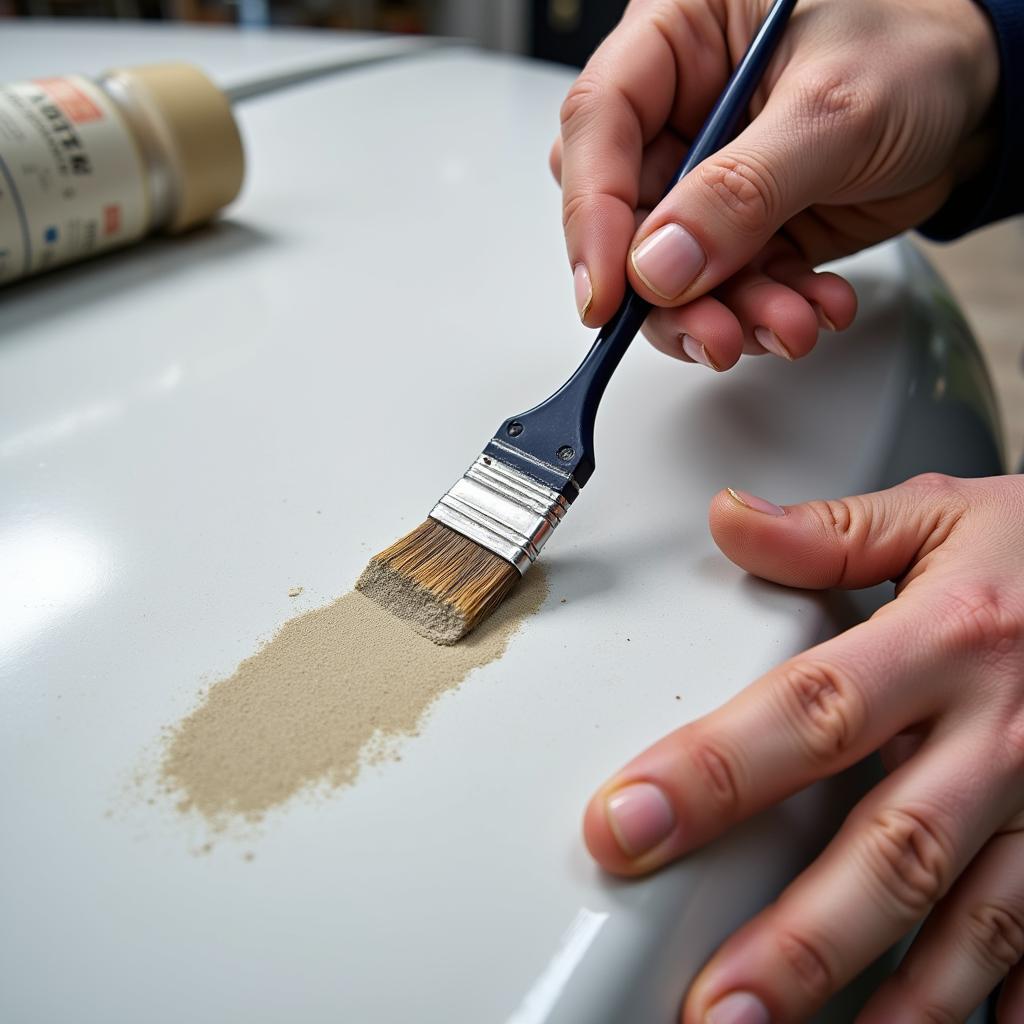
- Apply Primer: Use a primer that matches the color of your car. Apply thin, even coats, allowing each coat to dry completely before applying the next.
 Applying primer to a car paint scrape
4. Paint Application:
- Apply Touch-Up Paint: Use a high-quality touch-up paint that matches your car’s color code. Apply thin coats, allowing each coat to dry completely before applying the next.
- Allow the Paint to Dry: Refer to the paint’s drying time instructions on the container.
5. Clear Coat Application:
- Apply Clear Coat: Apply a clear coat to protect the paint from UV damage and scratches. Apply thin, even coats, allowing each coat to dry completely before applying the next.
- Allow the Clear Coat to Dry: Refer to the clear coat’s drying time instructions on the container.
6. Final Touches:
- Remove Masking Tape: Once the clear coat is completely dry, carefully remove the masking tape.
- Sand and Polish (if needed): Use fine-grit sandpaper (1500) to smooth any rough edges or imperfections. You can also polish the repaired area to match the surrounding paint.
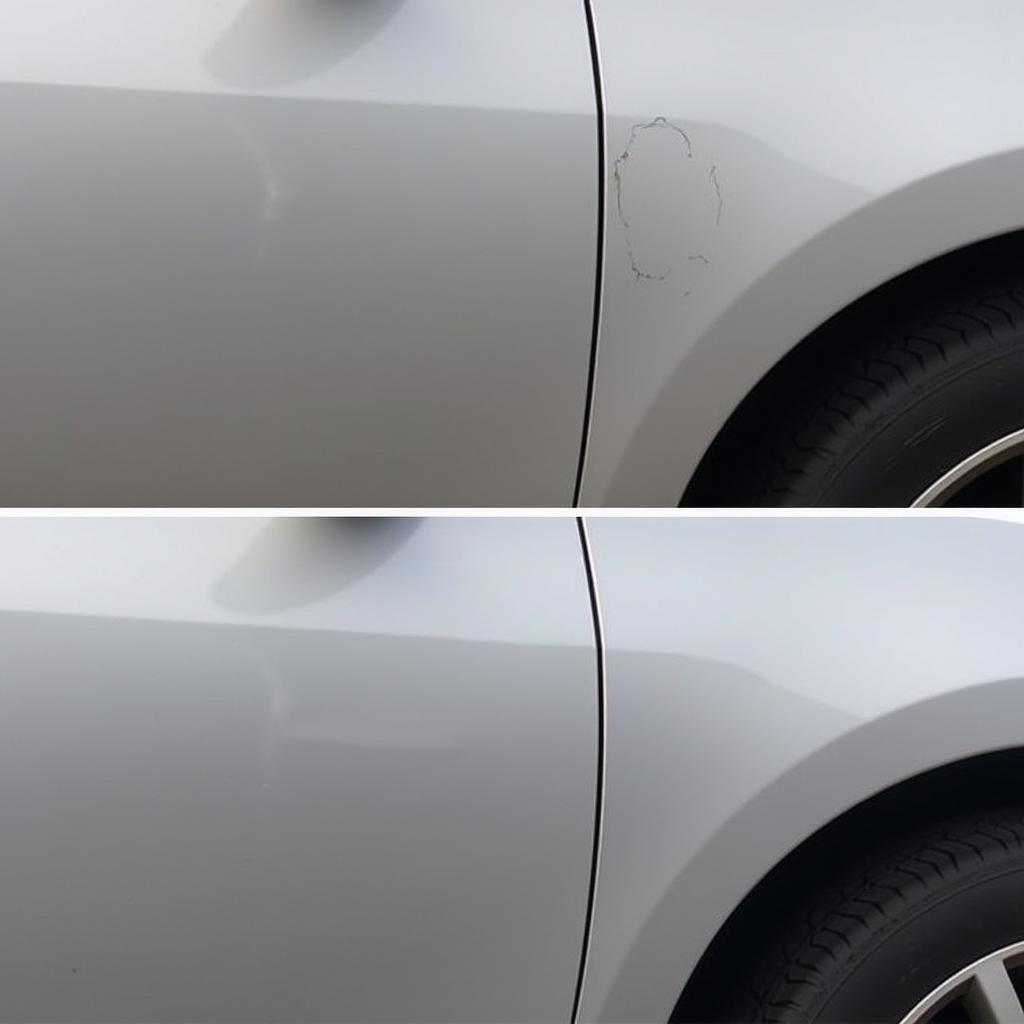
 Car paint scrape after repair
7. Patience is Key:
Allow the repair to cure completely before exposing it to harsh weather conditions. This could take a few days or even weeks, depending on the type of paint and clear coat used.
Tips for Success:
- Work in a Well-Ventilated Area: Paint fumes can be harmful, so it’s crucial to work in a well-ventilated area.
- Practice on a Scrap Piece: If you’re new to paint repair, it’s a good idea to practice on a scrap piece of metal before tackling your car.
- Use Protective Gear: Wear gloves, a mask, and eye protection to safeguard yourself from chemicals and dust.
- Avoid Overlapping: When applying paint or clear coat, avoid overlapping coats, as this can lead to unevenness.
- Choose the Right Tools: Investing in quality tools will make the job easier and ensure better results.
Common Mistakes to Avoid
- Not Cleaning the Area Thoroughly: Dirt or contaminants can prevent the paint from adhering properly.
- Using the Wrong Primer or Paint: Using a primer or paint that doesn’t match the color of your car can leave a noticeable blemish.
- Applying Too Much Paint or Clear Coat: Too much paint or clear coat can lead to runs and sags.
- Not Allowing Each Coat to Dry Completely: Applying the next coat before the previous one has dried can result in unevenness.
Professional Help for More Severe Damage
For deep scratches, rust, or large areas of paint damage, it’s best to seek professional help. A professional body shop will have the necessary tools and expertise to repair the damage effectively.
What About Rust?
Rust can significantly impact the effectiveness of your paint repair. If you encounter rust during the repair process, it’s crucial to address it before proceeding.
Here’s how to deal with rust:
- Remove the Rust: Use a wire brush or sandpaper to remove the loose rust. You can also purchase a rust converter product to help neutralize the rust and prevent further corrosion.
- Apply Primer: Apply a rust-inhibiting primer to the cleaned area to prevent the rust from returning.
- Apply Paint and Clear Coat: Once the primer has dried, proceed with the paint and clear coat application as outlined above.
Frequently Asked Questions:
1. Can I just use touch-up paint without sanding?
While touch-up paint can be helpful for minor scratches, sanding is essential for deeper damage. Sanding helps create a smooth surface for the paint to adhere properly, resulting in a better finish.
2. How long does it take for paint to dry completely?
The drying time varies depending on the type of paint and clear coat used. Consult the product instructions for specific drying times.
3. Can I use a paint pen for a paint scrape?
Paint pens are good for minor scratches, but they may not be effective for larger paint scrapes. For deeper damage, it’s best to use a proper touch-up paint.
4. What should I do if I don’t know my car’s paint code?
You can usually find your car’s paint code on a sticker located under the hood, inside the glove box, or on the driver’s side doorjamb. If you can’t find the code, a local body shop or auto parts store can help you identify it.
5. Can I wash my car after fixing a paint scrape?
It’s best to wait a few days or weeks after fixing a paint scrape before washing your car. This allows the paint and clear coat to cure properly and avoid damage.
6. How often should I wax my car?
Waxing your car regularly helps protect the paint from UV damage, scratches, and other elements. Aim to wax your car every 3-6 months or as needed.
Need Expert Assistance?
If you’re unsure about fixing a paint scrape or need guidance, don’t hesitate to reach out to us. Our team of expert technicians at AutoTipPro is here to assist you with all your car repair needs.
Contact Us:
- Phone: +1 (641) 206-8880
- Office: 500 N St Mary’s St, San Antonio, TX 78205, United States
Remember, a well-maintained car is a joy to drive. By taking the time to fix paint scrapes and other minor blemishes, you can keep your car looking its best and maintain its value for years to come.


Leave a Reply