Dealing with a car scratch can be frustrating, but don’t panic! With a Car Scratch Fix Kit, you can tackle those minor blemishes yourself and save money on professional repairs. This guide will walk you through everything you need to know about car scratch fix kits, from choosing the right kit to applying it properly.
Choosing the Right Car Scratch Fix Kit
The first step to fixing a car scratch is choosing the right car scratch fix kit. There are many different types of kits available, each designed for different types of scratches and paint types.
Here are some key factors to consider:
- Severity of the scratch: For minor scratches that only affect the clear coat, a touch-up pen or a basic scratch repair kit might be enough. For deeper scratches that reach the base coat, you’ll need a more comprehensive kit that includes filler and primer.
- Paint type: Different car paint types require different types of repair kits. If you’re unsure about your car’s paint type, you can check your owner’s manual or consult with a local auto parts store.
- Color match: The kit should be a perfect match for your car’s paint color. If you can’t find an exact match, consider visiting a professional auto body shop for a custom color match.
What to Look for in a Car Scratch Fix Kit
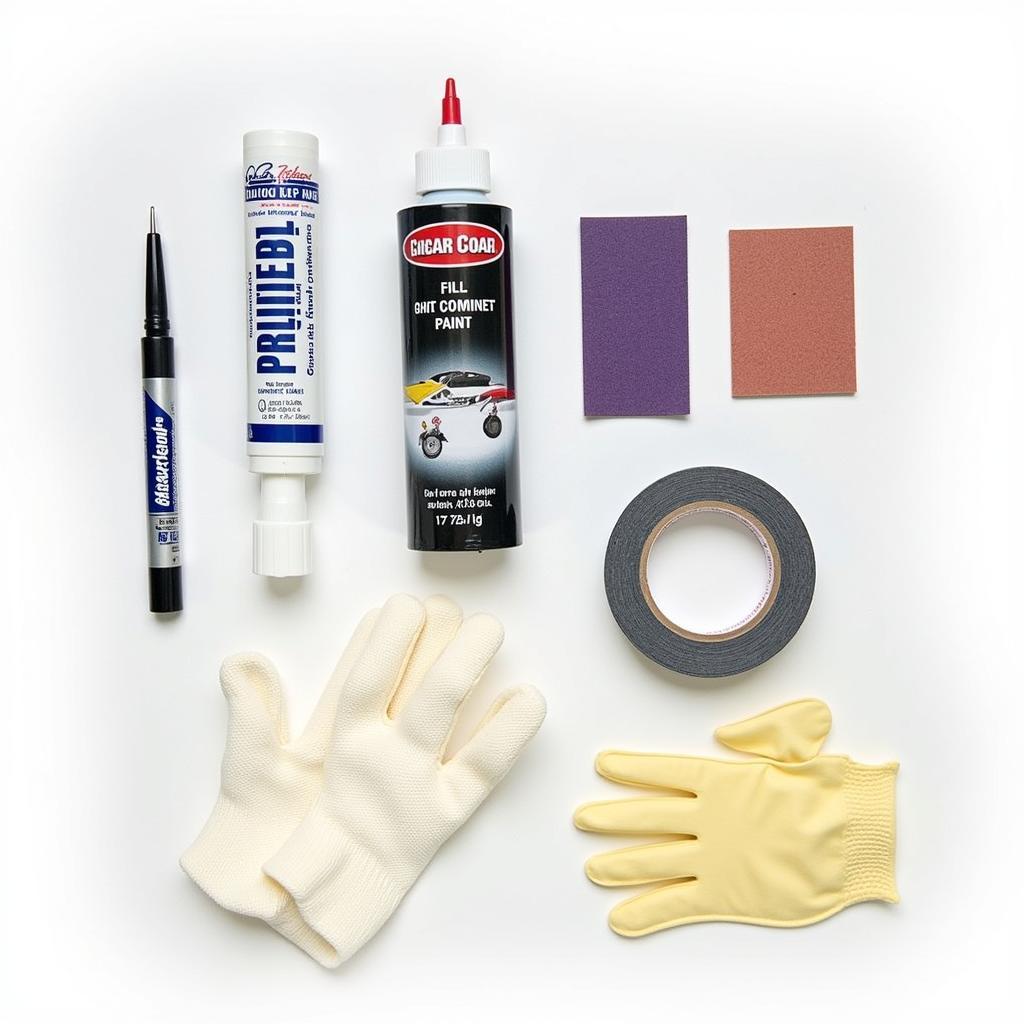
Here are some common components found in car scratch fix kits:
- Touch-up pen: A touch-up pen is a small bottle of paint with a built-in brush applicator. It’s useful for filling in minor scratches and blemishes.
- Filler: Filler is a paste or liquid that fills in deeper scratches and imperfections.
- Primer: Primer helps to create a smooth surface for the paint to adhere to.
- Paint: Matching paint for your car’s specific color.
- Clear coat: A clear coat protects the paint and provides a glossy finish.
- Sandpaper: Used for smoothing out the filler and paint before applying the clear coat.
- Gloves: Gloves protect your hands from paint and chemicals.
- Masking tape: Masking tape helps to protect the surrounding area while you’re applying the paint.
 Car Scratch Fix Kit Components
How to Use a Car Scratch Fix Kit: A Step-by-Step Guide
Once you’ve chosen the right car scratch fix kit, you can start repairing the scratch. Here’s a step-by-step guide on how to use a car scratch fix kit:
- Prepare the area: Clean the area around the scratch with soap and water. Make sure the area is completely dry before proceeding.
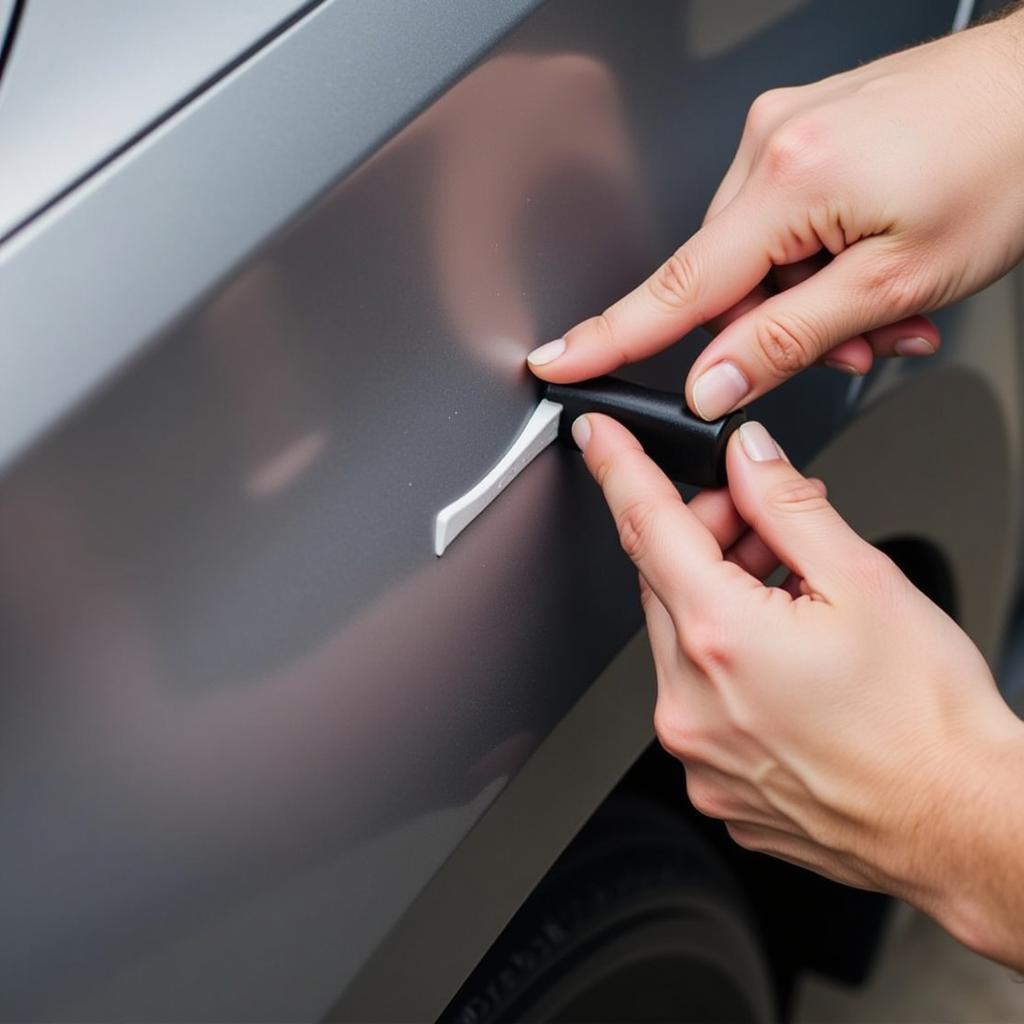
- Apply filler: For deeper scratches, apply filler using a putty knife or a small spatula. Spread the filler evenly and let it dry completely.
- Sand the filler: Once the filler is dry, sand it down with sandpaper to create a smooth surface.
- Apply primer: If the scratch is deep enough, apply a primer to help the paint adhere to the surface. Let the primer dry completely before moving to the next step.
- Apply paint: Apply the paint in thin coats, letting each coat dry completely before applying the next. It’s better to apply multiple thin coats than one thick coat.
- Sand the paint: Once the paint is dry, sand it down with fine-grit sandpaper to create a smooth surface.
- Apply clear coat: Apply the clear coat in thin coats, allowing each coat to dry completely before applying the next. This will protect the paint and give it a glossy finish.
Tips for Using a Car Scratch Fix Kit
- Work in a well-ventilated area: Car paint and filler contain chemicals that can be harmful if inhaled.
- Wear gloves: Gloves will protect your hands from the paint and chemicals.
- Don’t apply too much pressure: When sanding, use light pressure to avoid damaging the paint.
- Let each coat dry completely: Don’t rush the drying process. Allow each coat to dry completely before applying the next.
- Follow the kit’s instructions: Each kit comes with instructions specific to that kit, so it’s important to follow them closely for best results.
 Applying a Car Scratch Fix Kit
“I’ve been using car scratch fix kits for over 15 years, and I always recommend practicing on a scrap piece of metal first. This will help you get a feel for the process and ensure a smoother application on your actual car,” says John Smith, a veteran automotive technician.
Alternatives to Car Scratch Fix Kits
For deeper scratches, you might want to consider other options besides a DIY kit. Here are some alternatives:
- Professional auto body shop: For more significant damage, a professional auto body shop can provide expert repair and color matching.
- Touch-up paint pens: For minor scratches, touch-up paint pens are a quick and easy solution.
- Scratch repair tools: There are various tools available for removing scratches, such as scratch removers, polishers, and buffing compounds.
Frequently Asked Questions
- Can I use a car scratch fix kit on any type of car paint? Not all kits work on all paint types. Check the product label for compatibility with your car’s paint type.
- How long does it take for a car scratch fix kit to dry? Drying time can vary depending on the kit and the weather conditions. Refer to the product instructions for drying times.
- Can I use a car scratch fix kit on a car that has been painted recently? It’s best to wait at least a month before using a car scratch fix kit on a freshly painted car.
- What if the scratch fix kit doesn’t match my car’s paint color perfectly? If you can’t find a perfect match, consider visiting a professional auto body shop for a custom color match.
Conclusion
Car scratch fix kits can be a great way to save money on professional repairs. By following this guide, you can choose the right kit, apply it correctly, and achieve a professional-looking finish. Remember to use caution and follow the instructions carefully for the best results. If you have any further questions or need assistance, reach out to us at +1 (641) 206-8880 or visit our office at 500 N St Mary’s St, San Antonio, TX 78205, United States.


Leave a Reply