A malfunctioning trunk light can be a real nuisance, especially when fumbling around in the dark. If you’ve discovered cut wires are the culprit, this guide will walk you through How To Fix Cut Wires On Car Trunk Light, restoring functionality and safety to your vehicle. Let’s get started!
The most common cause of cut trunk light wires is repeated opening and closing of the trunk, which can eventually fray and sever the wires. Other potential causes include accidental damage during cargo loading or a rodent infestation. Regardless of the reason, fixing the wires is essential not only for visibility but also to prevent potential electrical issues. If you’re dealing with a malfunctioning car window, check out our guide on how to fix car door window regulator.
Diagnosing the Problem: Is it Really Cut Wires?
Before diving into repairs, confirm that cut wires are indeed the problem. Sometimes a blown fuse or a faulty bulb can mimic a wiring issue. Check the fuse box first. If the fuse is good, test the bulb with a multimeter. If both the fuse and bulb are working, then it’s highly likely you’re dealing with damaged wiring.
Identifying the Damaged Section
Locate the wiring harness that runs to the trunk light assembly. Carefully inspect the wires along their entire length, paying close attention to areas where they bend or flex near the hinges. Look for obvious signs of damage like cuts, fraying, or exposed copper. A flashlight and a small mirror can be helpful for inspecting hard-to-reach areas.
How to Fix Cut Wires on Car Trunk Light: A Step-by-Step Guide
Now that you’ve confirmed the problem and located the damaged section, it’s time to fix those wires! You’ll need some basic tools like wire strippers, electrical tape, heat shrink tubing (recommended), a soldering iron, and solder.
- Disconnect the Battery: This is crucial for safety. Disconnect the negative terminal of your car battery to prevent any electrical shocks during the repair process.
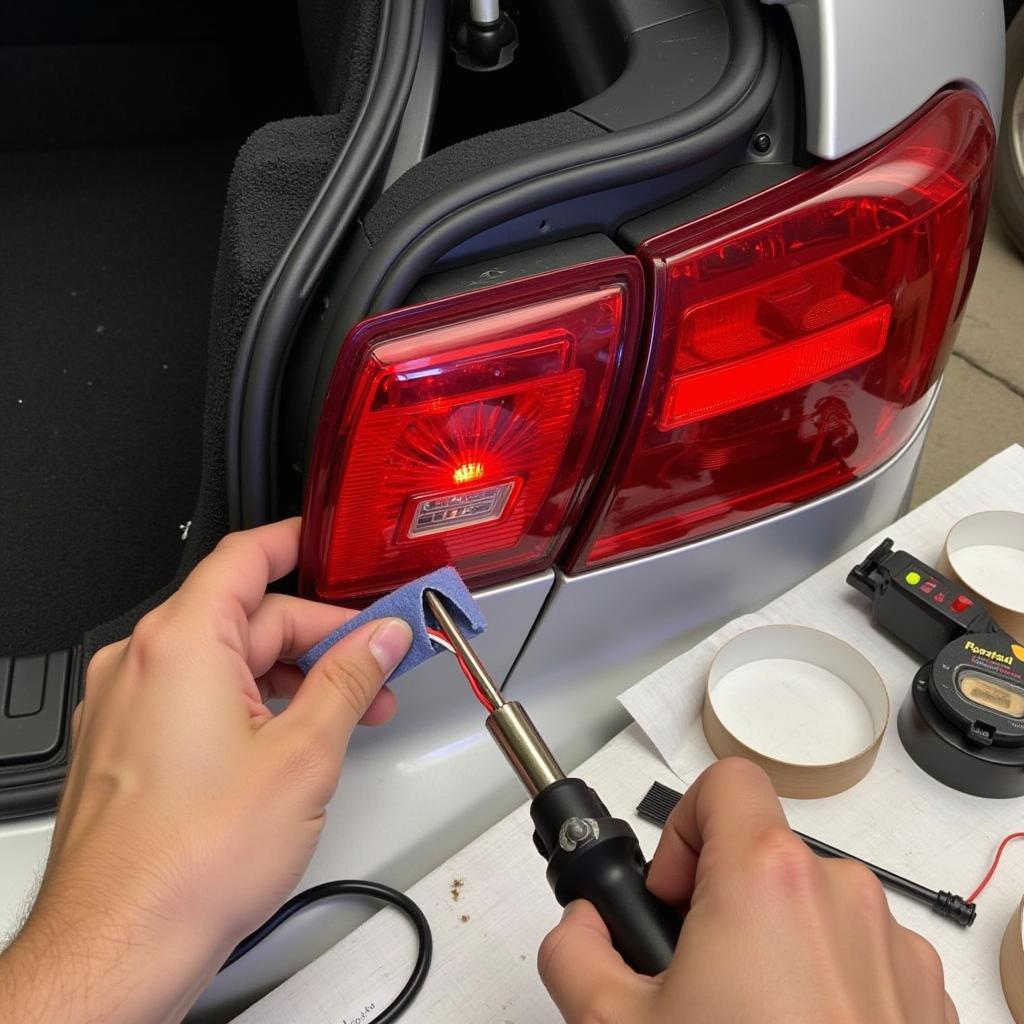
- Prepare the Wires: Cut away the damaged section of the wire, leaving enough length for splicing. Use wire strippers to remove about ½ inch of insulation from both ends of the cut wire.
- Splice the Wires: Twist the exposed copper ends of the wires together tightly. For added security and a more professional repair, solder the connection. This creates a strong, permanent bond. Are you having trouble with your car window? You might want to read how to fix car door glass.
- Insulate the Connection: Cover the soldered connection with heat shrink tubing and apply heat with a heat gun or lighter until the tubing shrinks snugly around the wire. If you don’t have heat shrink tubing, you can use electrical tape. Ensure the connection is completely sealed to prevent moisture and corrosion.
 Repairing the Wiring of a Car Trunk Light
 - Reconnect the Battery: Once the repair is complete and the insulation is secure, reconnect the negative terminal of the battery.
- Test the Light: Turn on your car and open the trunk. The light should now be working correctly.
Having trouble with your car’s electrical system? Check out our guide on how to fix an electric car window switch. It might help!
“A properly soldered and insulated wire connection is crucial for a long-lasting repair. Don’t skimp on the heat shrink tubing – it’s worth the investment,” advises Robert Johnson, a seasoned automotive electrician with over 20 years of experience.
Preventing Future Wire Damage
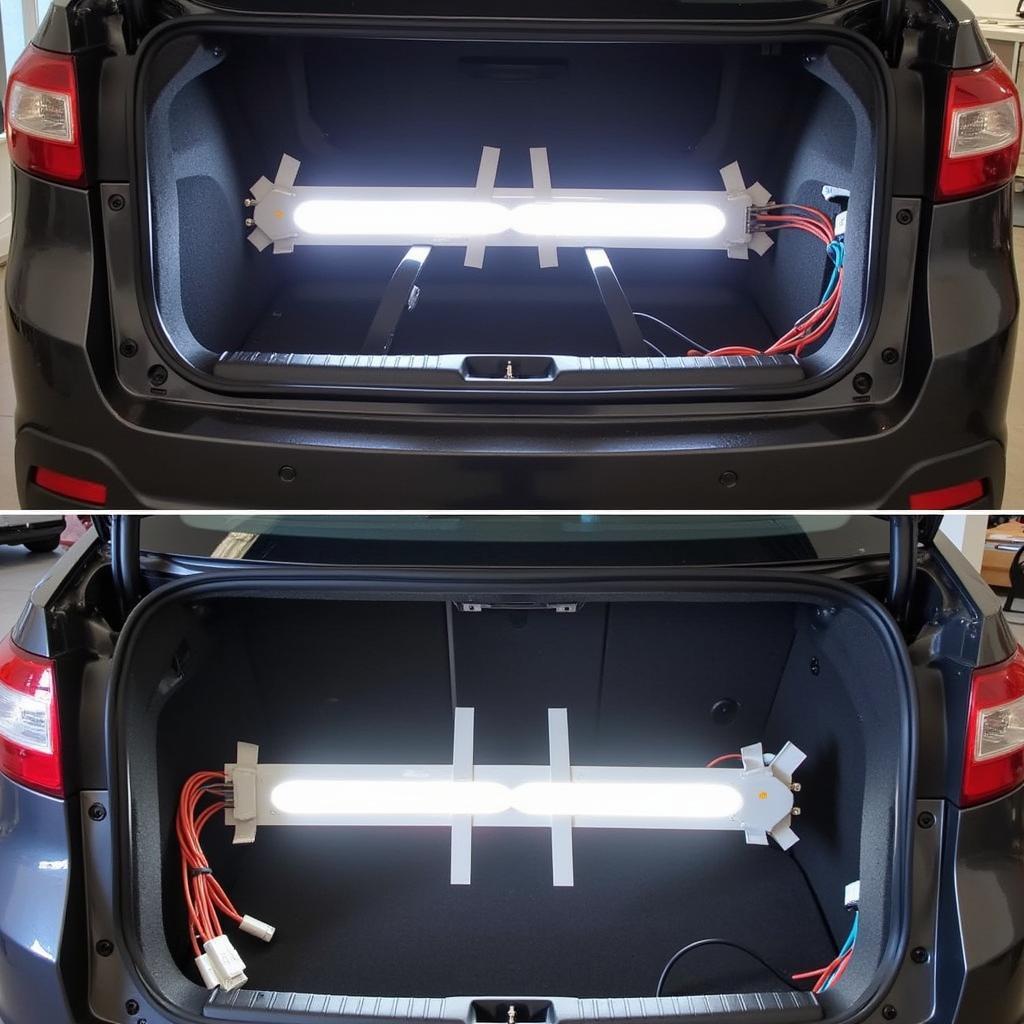
To prevent future wire damage, consider securing the wiring harness with zip ties or adhesive clips to minimize movement and rubbing against metal edges. Also, be mindful of what you place in your trunk, avoiding sharp or heavy objects that could potentially damage the wires. If your car window isn’t working, you can learn how to fix car window not working here.
 Secured Wiring Harness of a Car Trunk Light
“Regularly inspecting the wiring in your trunk, especially near the hinges, can help you catch potential problems early on, preventing more extensive damage down the road,” adds Johnson.
Conclusion
Fixing cut wires on your car trunk light is a relatively simple DIY task that can save you a trip to the mechanic. By following these steps and taking preventative measures, you can ensure a well-lit and functional trunk for years to come. For those pesky car dents, you can find helpful tips on how to fix a dent on a car reddit. Remember, always prioritize safety and disconnect the battery before working on any electrical components. For any further assistance or inquiries, feel free to contact us at AutoTipPro at +1 (641) 206-8880. Our office is located at 500 N St Mary’s St, San Antonio, TX 78205, United States.
FAQ
-
What if the trunk light still doesn’t work after fixing the wires? Double-check the fuse and bulb again. If those are good, there might be another issue with the wiring or the light assembly itself.
-
Can I use regular tape instead of electrical tape? While regular tape might work temporarily, it’s not recommended. Electrical tape is specifically designed to insulate electrical connections and withstand the harsh environment of a car.
-
Do I need to solder the wires, or is twisting them together enough? Twisting the wires is a temporary fix, but soldering creates a much stronger and more reliable connection.
-
What gauge wire should I use for the repair? Use the same gauge wire as the original wiring. You can usually find this information in your car’s repair manual.
-
What are the signs of a rodent infestation in my car? Look for droppings, chewed wires, nests, or a strange odor. If you suspect rodents, address the issue immediately to prevent further damage.
-
How often should I check the wiring in my trunk? It’s a good idea to inspect the wiring every few months, especially if you frequently use your trunk.
-
What if I’m not comfortable working with electrical components? It’s always best to consult a qualified mechanic if you’re unsure about any part of the repair process.


Leave a Reply