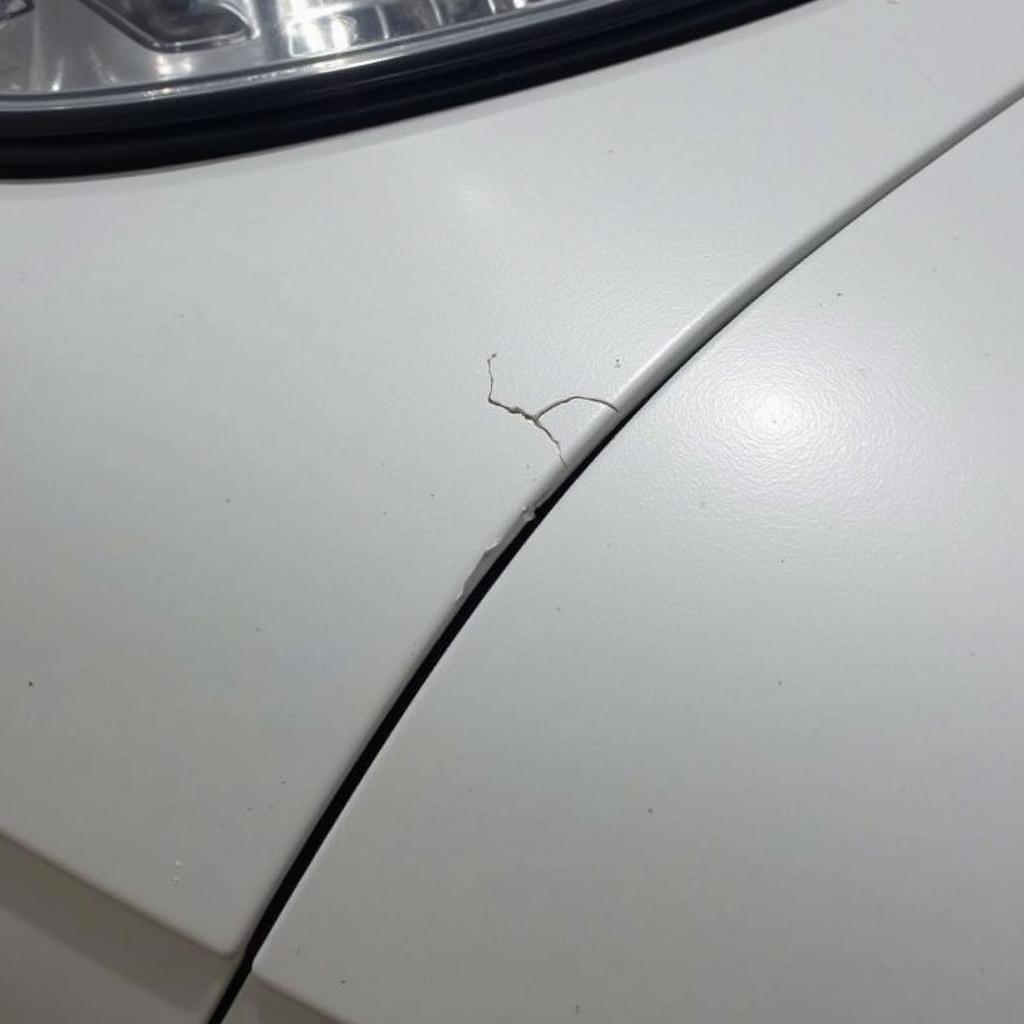
Chipped car paint is an eyesore, but thankfully, a relatively easy fix with a paint pen. This guide will walk you through the process of using a paint pen to repair minor paint chips on your car, restoring its appearance and protecting it from further damage. Let’s dive in!
Understanding Car Paint Chips and Why They Matter
Small as they may seem, paint chips expose the underlying metal to the elements, leading to rust and corrosion. Addressing these chips quickly not only improves your car’s aesthetics but also safeguards its long-term value. fixing small burn hole in car fabric seat offers some insight into other minor car repairs.
Types of Paint Chips
- Stone Chips: These small, often star-shaped chips are typically caused by rocks and debris impacting the paintwork.
- Scratch Chips: Longer, thinner chips usually resulting from scratches that penetrate the clear coat and color coat.
- Edge Chips: Chips along the edges of panels, often caused by impacts or scraping against objects.
“Ignoring even minor paint chips can lead to significant rust issues down the line,” advises automotive expert, John Miller, an ASE-certified master technician with over 20 years of experience. “A timely touch-up can save you a lot of trouble and expense in the long run.”
How to Fix Chipped Paint with a Paint Pen: A Step-by-Step Guide
-
Clean the Area: Wash the chipped area with soap and water, then thoroughly dry it. Use rubbing alcohol to remove any remaining grease or wax.
-
Prepare the Paint Pen: Shake the paint pen vigorously for the recommended time, usually around two minutes. Prime the pen on a piece of cardboard until the paint flows smoothly.
-
Apply the Paint: Carefully apply thin layers of paint to the chip, allowing each layer to dry before applying the next. Avoid overfilling the chip.
-
Level the Paint (If Necessary): If you’ve overfilled the chip, you can carefully wet sand the area with very fine-grit sandpaper after the paint has fully cured (usually 24-48 hours).
-
Apply Clear Coat (Optional): For added protection, apply a thin layer of clear coat after the touch-up paint has dried.
You might find the information in fixing cigarrette burns in car seats useful if you’re dealing with other interior car damage.
Choosing the Right Paint Pen
Finding the perfect paint match for your car is crucial. Check your owner’s manual for the exact paint code. You can usually find the code on a sticker located inside the driver’s side doorjamb, glove compartment, or under the hood.
Types of Paint Pens
- Single-Stage Paint Pens: For cars with a single layer of paint (no clear coat).
- Two-Stage Paint Pens: For cars with a base coat and a clear coat.
“Using the correct paint code is essential for a seamless repair,” emphasizes Sarah Johnson, an automotive paint specialist with over 15 years of experience. “A slight mismatch can be more noticeable than the original chip.”
Tips for a Professional-Looking Finish
- Practice on a hidden area of your car first to get a feel for the paint pen.
- Work in a well-lit area with good ventilation.
- Use masking tape to protect the surrounding paintwork.
- Apply thin coats to avoid runs and drips.
- Be patient and allow ample drying time between coats.
If your car seat has a tear, knowing how much does fixing a car seat tear cost could be helpful. Also, if you’re dealing with a torn leather car seat, fixing torn leather car provides some valuable tips. For those with baby car seat issues, fixing baby car seat can offer guidance.
Conclusion
Fixing chipped paint on your car with a paint pen is a cost-effective and relatively easy DIY project. By following these steps and choosing the right paint pen, you can restore your car’s appearance and protect it from further damage. Remember to clean the area thoroughly, apply thin coats, and allow sufficient drying time. For further assistance or if you have any questions, feel free to contact us at AutoTipPro at +1 (641) 206-8880 or visit our office at 500 N St Mary’s St, San Antonio, TX 78205, United States.


Leave a Reply