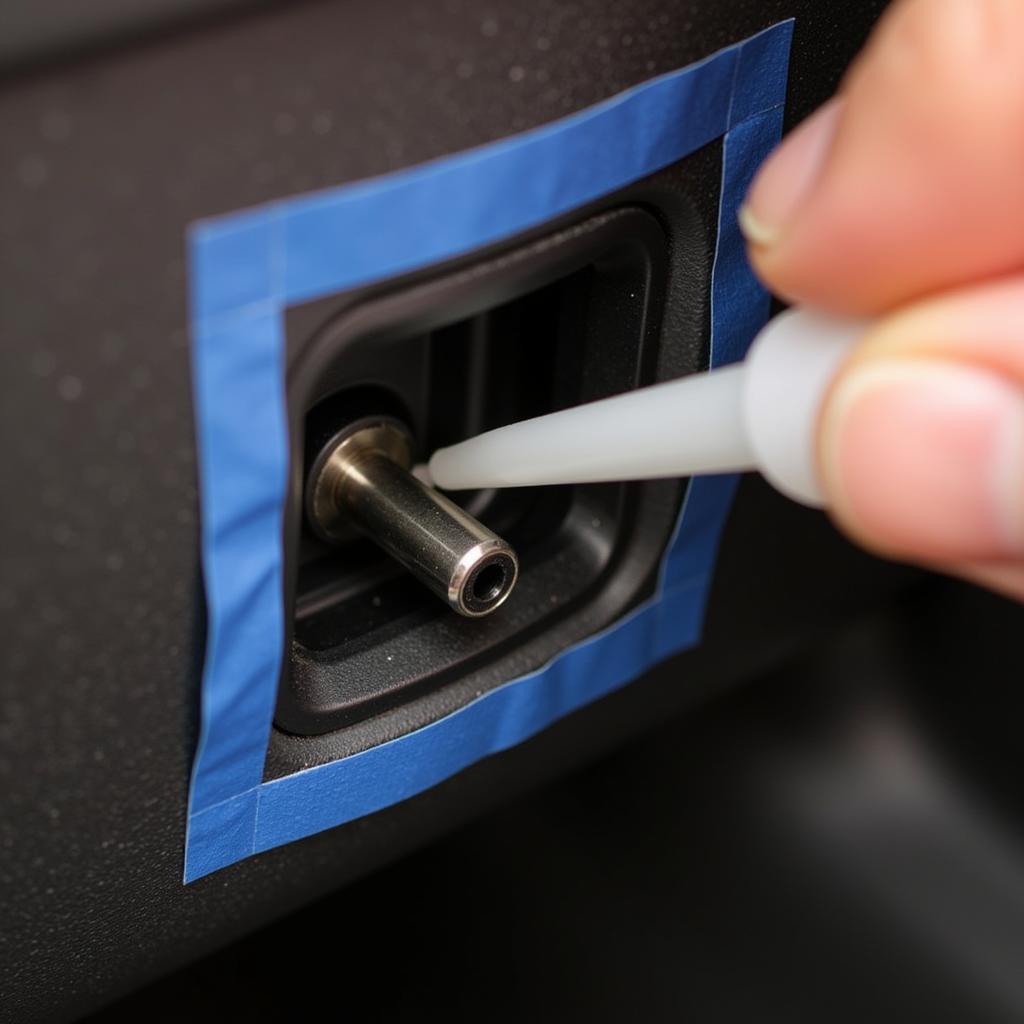
Car door beading, that often overlooked rubber seal, plays a crucial role in keeping your car’s interior dry, quiet, and free from unwanted drafts. Damaged or deteriorated car door beading can lead to a variety of problems, from annoying wind noise to serious water damage. This comprehensive guide will show you How To Fix Car Door Beading and restore your car’s comfort and protection.
Understanding Car Door Beading Problems
Before diving into how to fix car door beading, it’s essential to understand the common issues you might encounter. These can range from simple wear and tear to more significant damage. Is your car door beading cracked, torn, or completely detached? Is it brittle and hardened due to sun exposure? Perhaps it’s simply loose and needs to be reattached. Identifying the specific problem is the first step toward finding the right solution.
You might be dealing with something as simple as fixing bubbles on car paint caused by moisture getting past the damaged beading. Properly functioning beading can also prevent issues like how to fix paint peeling off car, or even how to fix peeling paint on a car, both of which can be exacerbated by water intrusion.
DIY Car Door Beading Repair: Step-by-Step Guide
Fixing car door beading can often be a DIY project. Here’s a step-by-step guide:
-
Gather your supplies: You’ll need replacement car door beading (ensure it’s the correct type for your car model), adhesive (specifically designed for automotive rubber), a cleaning solution, a plastic pry tool, and scissors.
-
Clean the area: Thoroughly clean the door frame where the old beading was attached. Remove any dirt, debris, and old adhesive residue.
-
Apply the adhesive: Carefully apply the adhesive to the door frame or the back of the new beading, following the manufacturer’s instructions.
-
Install the new beading: Starting at one end, firmly press the new beading onto the door frame, ensuring it sits flush. Use the plastic pry tool to help tuck the beading into place if necessary.
-
Trim the excess: Once the beading is in place, trim any excess with scissors.
-
Let it dry: Allow the adhesive to dry completely before closing the door.
Professional Car Door Beading Repair
While DIY repairs are possible, sometimes it’s best to leave it to the professionals. If you’re dealing with extensive damage or you’re not comfortable working on your car, a qualified auto technician can quickly and efficiently replace your car door beading.
If you’re wondering how to fix a crack on car paint that might have been caused by faulty beading, or you’re playing Car Mechanic Simulator and looking for tips on car mechanic simulator how to fix body issues, remember that addressing the underlying beading problem is crucial.
“A small tear in your car door beading might seem insignificant, but it can lead to bigger problems down the road. Regular inspection and timely repair are key,” says John Smith, Senior Automotive Technician at Smith’s Auto Repair.
Conclusion
Knowing how to fix car door beading is a valuable skill for any car owner. Whether you choose the DIY route or opt for professional help, addressing this issue promptly can save you from more costly repairs in the future. Maintaining your car door beading contributes significantly to the overall comfort, protection, and longevity of your vehicle. For further assistance or if you have specific concerns, don’t hesitate to contact us at AutoTipPro. Our phone number is +1 (641) 206-8880, and our office is located at 500 N St Mary’s St, San Antonio, TX 78205, United States.
“Don’t underestimate the importance of those rubber seals! They’re your first line of defense against the elements,” adds Maria Garcia, Lead Mechanic at Garcia’s Auto Services.


Leave a Reply