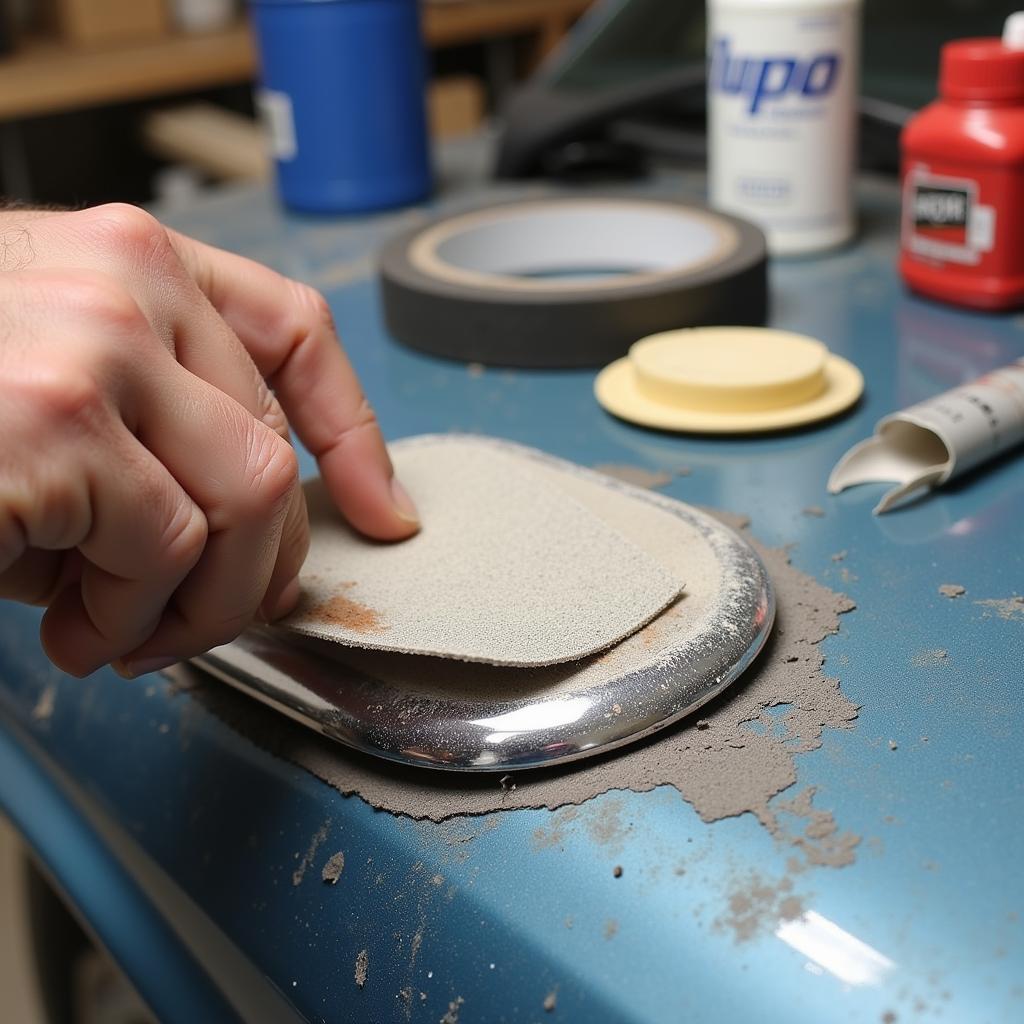
A sagging or detached headliner can make even the nicest car feel shabby. Fortunately, fixing a headliner in your car is often a manageable DIY project. This guide will walk you through the process, from diagnosing the problem to achieving a professional-looking repair.
Having transmission issues? Check out fixing car transmission.
Identifying the Culprit: Why is My Headliner Sagging?
The most common reason for a drooping headliner is failing adhesive. Over time, heat, humidity, and age can weaken the glue that bonds the fabric to the backing board. Sometimes, a headliner can also sag due to improper installation or even water damage. Pinpointing the cause will help you choose the right fix.
Gather Your Supplies: Tools for the Job
Before you begin your headliner repair, gather the necessary tools. This usually includes:
- Adhesive: Specialized headliner adhesive is recommended, but some heavy-duty spray adhesives can also work.
- Cleaning supplies: A gentle cleaner, microfiber cloths, and a brush are essential for prepping the surface.
- Tools: A plastic scraper, scissors, a utility knife, and masking tape can be helpful depending on the extent of the damage.
- Pins or clips: These will help hold the fabric in place while the adhesive dries.
Looking for a reputable place for car repairs? Consider places to fix your car.
How to Fix a Sagging Headliner: Step-by-Step Guide
- Prepare the area: Remove any obstructions, like sun visors or interior lights. Mask off any areas you don’t want to get adhesive on.
- Clean the headliner: Gently clean the fabric and backing board with a suitable cleaner. Remove any loose debris or old adhesive.
- Apply adhesive: Follow the instructions on your chosen adhesive. Apply it evenly to the backing board and the back of the fabric.
- Reattach the fabric: Carefully smooth the fabric onto the backing board, working from the center outwards. Use pins or clips to secure it while the adhesive dries.
- Trim excess fabric: Once the adhesive is dry, carefully trim any excess fabric with scissors or a utility knife.
- Reinstall any removed components: Put back the sun visors, interior lights, and any other parts you removed.
Advanced Headliner Repairs: Dealing with Extensive Damage
For more extensive damage, such as tears or large areas of detachment, you may need to replace the entire headliner board. This is a more involved process, but still achievable with patience and the right tools.
Wondering if Carvana offers repair services? Find out if does carvana fix cars.
Preventing Future Headliner Sags: Tips and Tricks
- Park in the shade: Protecting your car from excessive heat can help prolong the life of your headliner adhesive.
- Keep your car clean: Regularly cleaning your car’s interior can prevent dirt and grime from weakening the adhesive.
- Address leaks promptly: Water damage can accelerate headliner deterioration. Fix any leaks as soon as possible.
“A stitch in time saves nine,” says John Davis, a seasoned automotive technician at Davis Auto Repair. “Addressing minor headliner issues early can prevent them from becoming major headaches down the road.”
Thinking of buying a used car instead of repairing? Read about should i fix my car or buy a used one.
Conclusion: Reclaim Your Car’s Interior
Fixing a headliner in your car is a satisfying DIY project that can significantly improve your car’s appearance. By following these steps and taking preventative measures, you can enjoy a pristine headliner for years to come. For further assistance or professional advice, connect with us at AutoTipPro. You can reach us at +1 (641) 206-8880 or visit our office at 500 N St Mary’s St, San Antonio, TX 78205, United States.
“A well-maintained headliner not only enhances the aesthetics of your car’s interior, it also contributes to a more comfortable and enjoyable driving experience,” adds Maria Sanchez, lead upholstery specialist at Sanchez Auto Interiors.
FAQs
- What type of glue is best for headliner repair? Specialized headliner adhesive is recommended.
- Can I fix a headliner without removing it? Minor sags can often be fixed without full removal.
- How long does it take for headliner adhesive to dry? Drying times vary depending on the adhesive, but typically take several hours.
- Can I paint my car’s headliner? While possible, it’s often more effective to replace the fabric.
- How much does it cost to have a headliner professionally repaired? Costs can vary, but professional repair is typically more expensive than a DIY fix.
- Can I use super glue for headliner repair? Super glue is not recommended as it can damage the fabric and create a messy finish.
- What causes headliner glue to fail? Heat, humidity, and age are the most common culprits.


Leave a Reply