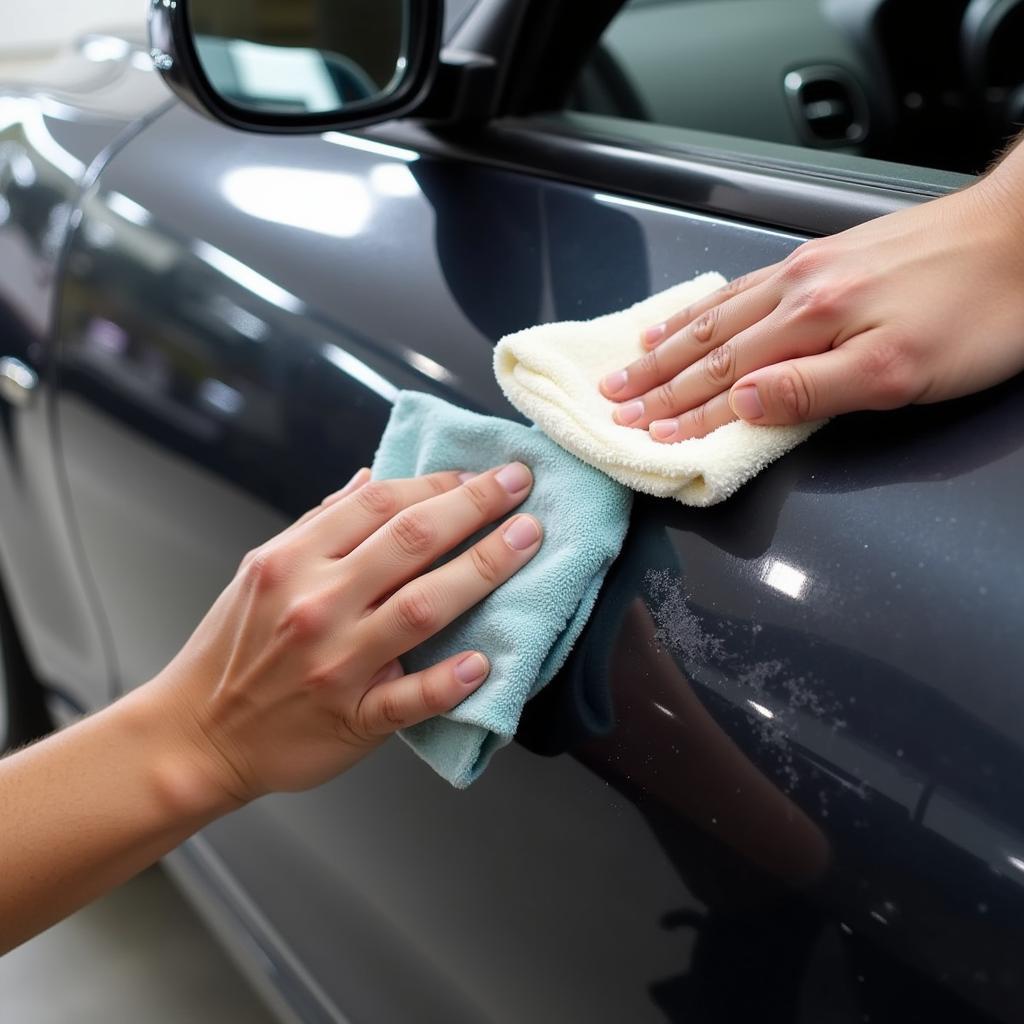
Fixing a steel car fender with an aluminum patch requires a specific approach due to the different properties of the two metals. This article will guide you through the process, addressing common challenges and offering expert advice to ensure a successful repair. We’ll explore the necessary tools, materials, and techniques to achieve a durable and aesthetically pleasing result, whether you’re a DIY enthusiast or a professional auto technician.
Understanding the Challenges of Mixing Metals
Combining steel and aluminum in car repair presents unique challenges primarily due to galvanic corrosion. This electrochemical process occurs when two dissimilar metals are in contact in the presence of an electrolyte, like water. The result? The steel corrodes faster than it would on its own. To combat this, we’ll use specific techniques and materials designed to isolate the two metals.
Proper surface preparation is crucial for successful adhesion. This involves thoroughly cleaning the steel fender and the aluminum patch to remove any rust, paint, or contaminants.
Tools and Materials You’ll Need
- Aluminum Patch: Choose a patch slightly larger than the damaged area.
- Adhesive: Use a high-quality epoxy specifically designed for bonding aluminum to steel.
- Sandpaper: Various grits for smoothing and preparing the surfaces.
- Grinder with Cutting Disc and Sanding Disc: To shape the patch and prepare the fender.
- Body Filler: For smoothing the repaired area.
- Primer and Paint: To protect the repair and match the car’s finish.
- Safety Glasses and Gloves: To protect yourself during the process.
“Using the right adhesive is paramount,” says automotive expert, Robert Miller, from Miller’s Auto Repair. “Don’t skimp on quality, as it’s the key to a long-lasting repair.”
Step-by-Step Guide to Fixing Your Fender
- Prepare the Fender: Clean the damaged area thoroughly, removing rust and loose paint using a grinder with a sanding disc.
- Shape the Aluminum Patch: Cut the aluminum patch to the desired shape using a grinder with a cutting disc, ensuring it overlaps the damaged area by at least an inch.
- Apply Adhesive: Apply a generous layer of epoxy to both the cleaned fender and the back of the aluminum patch.
- Attach the Patch: Firmly press the patch onto the fender, ensuring full contact.
- Cure the Adhesive: Allow the epoxy to cure completely according to the manufacturer’s instructions.
- Apply Body Filler: Apply body filler to smooth out any imperfections and create a seamless transition between the patch and the fender.
- Sand and Prime: Sand the repaired area smooth and apply a coat of primer.
- Paint and Finish: Paint the repaired area to match the car’s finish, applying a clear coat for added protection.
Conclusion
Fixing a car steel fender with an aluminum patch is achievable with the right approach. Following the steps outlined above, you can effectively address the challenges of mixing metals and achieve a durable and visually appealing repair. Remember to prioritize safety and use the correct materials for the best results. For further assistance or guidance with auto body repairs, connect with AutoTipPro at +1 (641) 206-8880 or visit our office at 500 N St Mary’s St, San Antonio, TX 78205, United States.
“Addressing galvanic corrosion is essential for a long-lasting repair,” adds Sarah Johnson, a leading automotive engineer. “Proper surface preparation and the right adhesive will prevent future issues.”
Have you considered the cost to fix bullet hole in car?


Leave a Reply