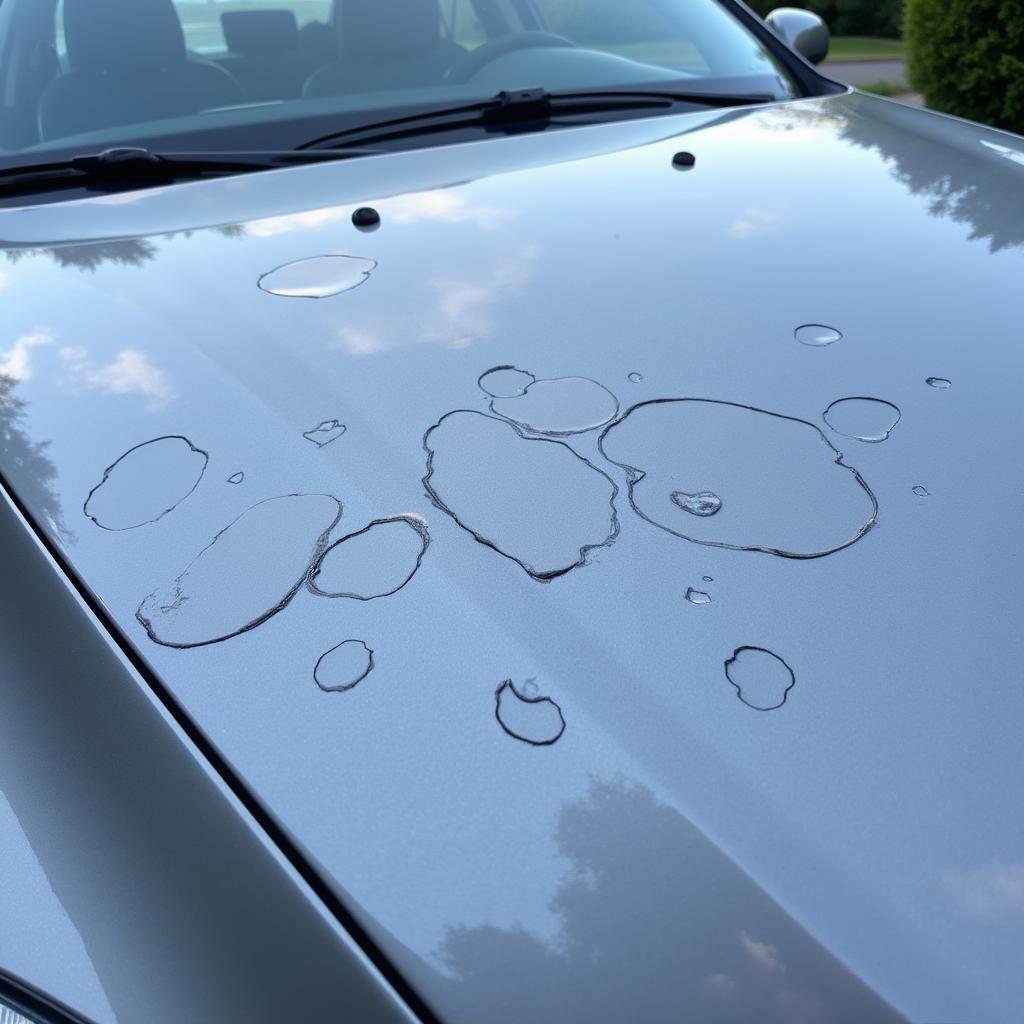
A car’s clear coat is its first line of defense against the elements and plays a major role in maintaining its shine. Over time, exposure to sun, rain, and other environmental factors can cause the clear coat to chip, flake, and peel. Not only is this unsightly, but it also leaves your car’s paint vulnerable to further damage. Luckily, addressing chipping clear coat on your car is possible even without professional help. This comprehensive guide will walk you through the steps to fix chipping clear coat and restore your car’s paint job.
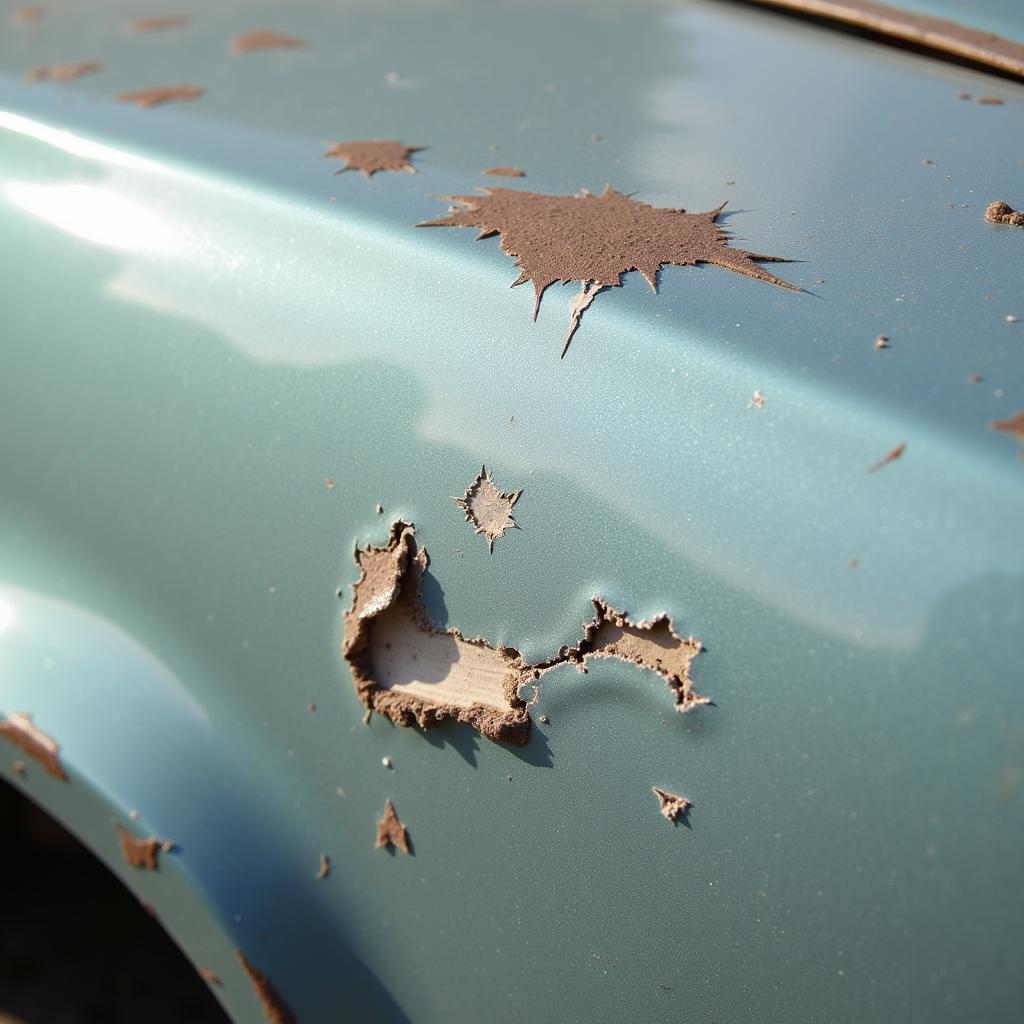
 Car With Chipping Clear Coat
Assessing the Damage: When to Repair or Replace
Before you begin, it’s important to assess the severity of the chipping clear coat.
- Minor Chipping: If the chipping is minimal and limited to small areas, a DIY repair using a touch-up clear coat pen or kit might be sufficient. Pen that fixes car scratches can come in handy for these small imperfections.
- Moderate Chipping: For more noticeable chipping that covers a larger area, you’ll likely need to sand down the affected area and apply a new layer of clear coat.
- Severe Chipping and Peeling: If the clear coat is extensively damaged with large sections peeling off, or if you notice damage to the underlying paint layers, it’s best to consult with a professional auto body shop. They can assess if a complete repaint is necessary.
DIY Repair for Minor Clear Coat Chips
For small, isolated chips, you can easily repair them yourself with a touch-up clear coat pen or kit.
Materials You’ll Need:
- Touch-up clear coat pen or kit (ensure it matches your car’s paint code)
- Rubbing alcohol
- Microfiber cloths
- Gloves
Steps:
- Clean the Area: Thoroughly clean the area around the chip with soap and water, then rinse and dry completely.
- Degrease: Use rubbing alcohol and a microfiber cloth to remove any wax, grease, or residue.
- Apply Clear Coat: Shake the touch-up pen well and apply a thin, even layer of clear coat onto the chip, slightly overlapping the edges. It’s better to apply multiple thin coats than one thick coat, allowing each layer to dry completely before applying the next.
- Drying Time: Allow the clear coat to dry completely according to the manufacturer’s instructions.
- Leveling (If Necessary): If the clear coat forms a raised bump, you can use a very fine-grit sandpaper (2000-grit or higher) to gently level it with the surrounding surface. Be very careful not to sand through the clear coat and into the base paint.
- Buffing: Once the clear coat is fully cured (usually 24-48 hours), use a polishing compound and a microfiber cloth to buff the area and blend it seamlessly with the surrounding paint.
Repairing Moderate Clear Coat Chipping
For larger areas of chipping clear coat, you’ll need to sand down the affected area and apply a fresh layer of clear coat. This process involves more steps but can be accomplished with the right tools and patience.
Materials You’ll Need:
- Automotive masking tape and paper
- Sandpaper (various grits: 400, 600, 800, 1200, 2000)
- Rubbing compound
- Polishing compound
- Automotive clear coat spray paint (matching your car’s paint code)
- Clear coat spray gun (optional but recommended)
- Tack cloth
- Microfiber cloths
- Gloves
- Respirator mask
- Safety glasses
Steps:
- Preparation: Park your car in a well-ventilated area away from direct sunlight. Wash and dry the car thoroughly.
- Masking: Use masking tape and paper to protect the areas surrounding the chipped clear coat, ensuring a clean edge for blending.
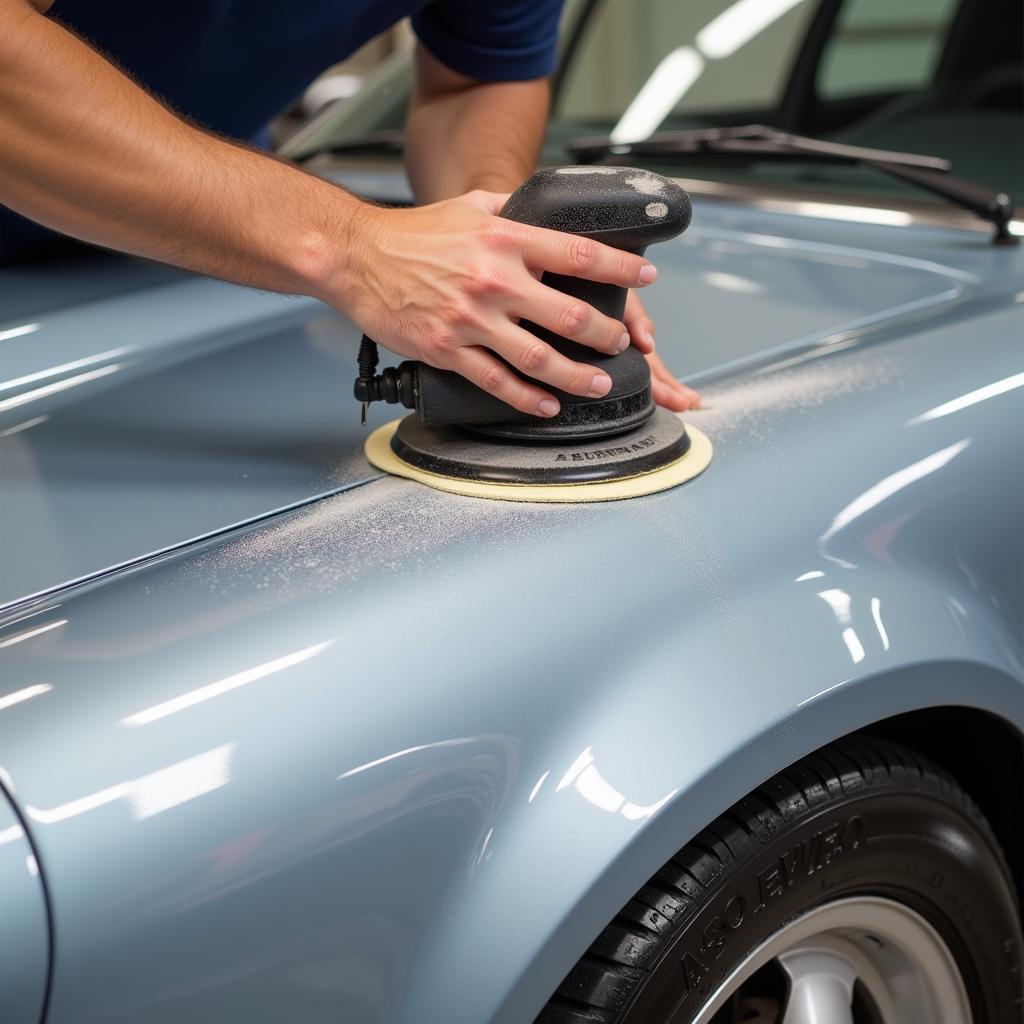
- Sanding: Start with a coarser-grit sandpaper (around 400-grit) to feather out the edges of the chipping clear coat and create a smooth transition with the surrounding area. Gradually work your way up to finer grits (600, 800, 1200), sanding in smooth, overlapping motions. How to fix peeling car paint provides a step-by-step guide on how to safely remove peeling paint without causing further damage.
- Cleaning: After sanding, thoroughly clean the area with soap and water, rinse, and dry completely. Use a tack cloth to pick up any remaining dust or debris.
- Applying Clear Coat: If using spray paint, shake the can well and hold it about 6-8 inches away from the surface. Apply thin, even coats, overlapping each pass by about 50%. Allow each coat to dry completely before applying the next. If using a spray gun, follow the manufacturer’s instructions for mixing and spraying the clear coat.
- Drying Time: Allow the clear coat to dry and cure completely according to the product instructions. This usually takes at least 24 hours, but it’s best to wait longer if possible.
- Wet Sanding and Polishing: Once cured, you can wet sand the clear coat starting with 1200-grit sandpaper and progressively moving to finer grits (1500, 2000, 2500). This helps to level the surface and remove any imperfections. After sanding, use a rubbing compound followed by a polishing compound to restore the shine and blend the repair seamlessly.
 Wet Sanding Car Clear Coat
Preventing Future Clear Coat Chipping
Preventing future clear coat damage is key to maintaining your car’s appearance:
- Regular Washing: Wash your car regularly to remove contaminants that can damage the clear coat.
- Waxing: Apply a high-quality car wax every few months to create a protective barrier against UV rays, dirt, and grime.
- Covered Parking: Park your car in a garage or under a carport whenever possible to protect it from the elements.
- Prompt Repairs: Address any minor chips or scratches as soon as possible to prevent them from worsening.
“Protecting your car’s paint is an investment that pays off. Regularly washing, waxing, and promptly addressing any paint imperfections can significantly prolong the life of your car’s finish,” says John Smith, an automotive detailing expert at Auto Detailing Pro.
When to Consult a Professional
While DIY repairs can be effective for minor to moderate clear coat chipping, there are situations where it’s best to consult a professional:
- Extensive Damage: If the chipping is widespread or if the base coat is also damaged, a professional repair is necessary.
- Lack of Experience: If you’re not comfortable with the repair process or don’t have the necessary tools, it’s always a good idea to seek professional help.
- Matching Paint Color: Professionals have access to color-matching technology to ensure a seamless blend with your car’s existing paint.
Conclusion
Addressing chipping clear coat on your car is essential for protecting its paint and maintaining its appearance. While DIY repairs can be a cost-effective solution for minor to moderate damage, it’s important to assess the severity of the chipping and proceed accordingly. If you’re unsure about any step of the process, don’t hesitate to consult with a professional auto body shop.
For more information and assistance with your car repair needs, contact AutoTipPro at +1 (641) 206-8880 or visit our office located at 500 N St Mary’s St, San Antonio, TX 78205, United States.


Leave a Reply