Car trim plays a crucial role in both the aesthetics and functionality of your vehicle. It’s often the unsung hero, protecting your car’s interior and exterior from wear and tear, while also contributing to its overall appearance. But over time, car trim can become loose, damaged, or faded, detracting from your car’s look and potentially even impacting its safety.
Whether you’re dealing with loose door panels, cracked dashboards, or peeling window seals, this comprehensive guide will equip you with the knowledge and techniques to tackle a variety of car trim repairs.
Identifying the Culprit: Common Causes of Car Trim Damage
Before diving into the how-to’s of Fixing Car Trim, it’s essential to understand the usual suspects behind the damage. This knowledge can help you address the root cause and prevent future issues.
Here are some common culprits:
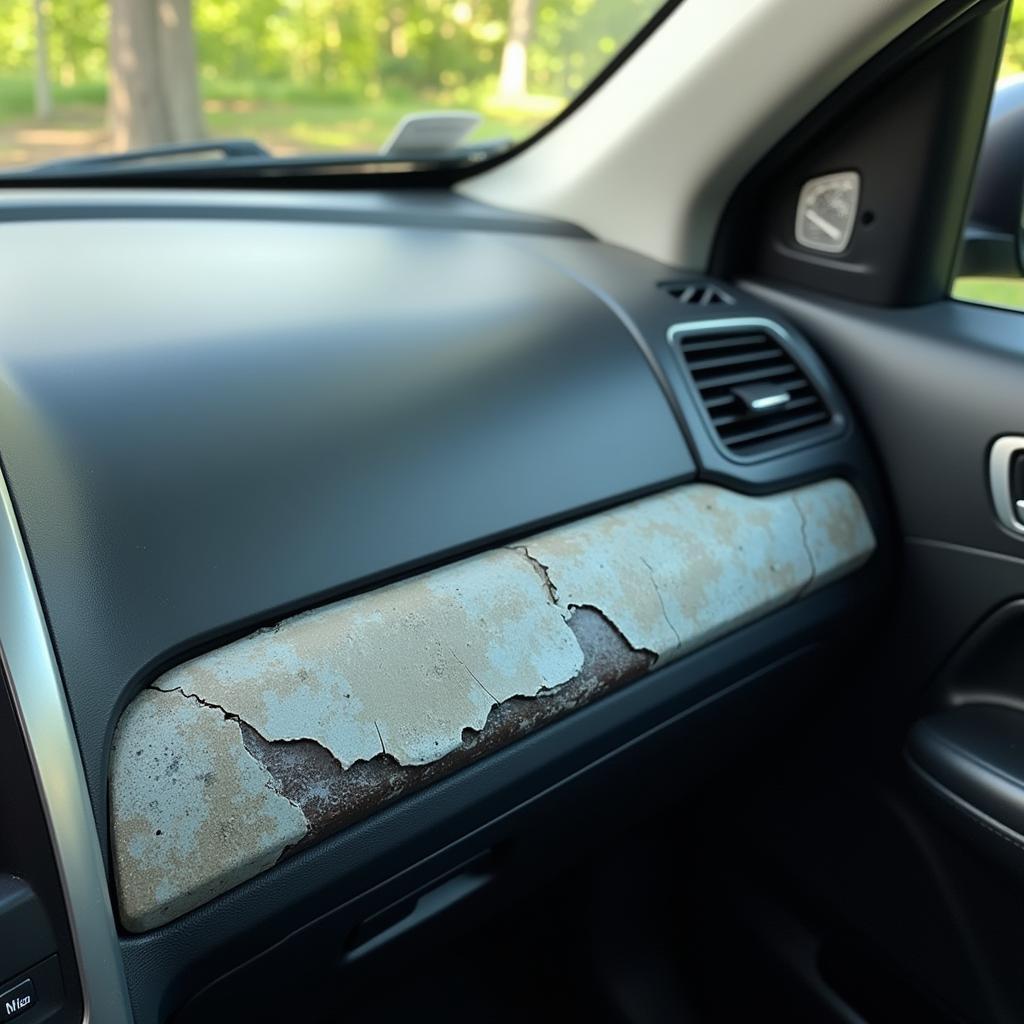
- Sun Damage: Prolonged exposure to UV rays can fade, crack, and warp various trim materials, especially plastics and vinyl.
- Heat and Cold: Extreme temperature fluctuations can cause materials to expand and contract, leading to warping, cracking, and loosening.
- Moisture: Water intrusion can lead to rust, mold, and mildew, compromising both the integrity and appearance of your car’s trim.
- Wear and Tear: Everyday use, accidental bumps, and even friction from cleaning can gradually wear down car trim components.
- Improper Installation: Incorrectly installed trim, particularly aftermarket parts, can lead to premature loosening, rattling, and other issues.
 Car Trim Sun Damage
DIY Fixes: Essential Tools and Techniques
Many car trim repairs fall into the realm of DIY projects. With the right tools and techniques, you can restore your car’s interior and exterior without breaking the bank.
Essential Tools for Your Car Trim Repair Kit:
- Trim Removal Tools: These specialized tools are designed to safely pry off trim panels without causing damage.
- Screwdrivers: A set of both Phillips and flat-head screwdrivers in various sizes is crucial for removing screws holding trim in place.
- Pliers: Useful for gripping, twisting, and removing fasteners.
- Utility Knife: Ideal for cutting and trimming materials like weather stripping or carpet.
- Adhesive Promoter: Improves the bond between trim and adhesive, ensuring a long-lasting repair.
- Automotive Trim Adhesive: Opt for a high-quality adhesive specifically designed for automotive applications to withstand heat, cold, and moisture.
- Cleaning Supplies: Isopropyl alcohol, microfiber cloths, and a soft-bristle brush are essential for cleaning and prepping surfaces before applying adhesive.
Tackling Common Car Trim Problems: Step-by-Step Solutions
Now, let’s delve into some common car trim issues and how to address them:
1. Fixing Loose or Sagging Headliners:
Problem: Headliners, the fabric lining the roof of your car’s interior, can sag over time due to adhesive failure or deterioration.
Solution:
- Gather your materials: Headliner adhesive (spray or brush-on), a clean cloth, and a plastic scraper.
- Clean the headliner and roof surface with a damp cloth to remove dirt and debris.
- Apply adhesive: Following the manufacturer’s instructions, apply adhesive to both the headliner and the roof surface.
- Press and hold: Firmly press the headliner back into place, holding it for a few minutes to allow the adhesive to bond.
- Use support: If necessary, use pins or clips to provide additional support while the adhesive cures.
Pro Tip: For severely sagging headliners, consider using specialized headliner repair kits that offer stronger adhesives and reinforcement materials.
2. Repairing Cracked or Damaged Dashboards:
Problem: Dashboards are prone to cracking, especially from sun damage.
Solution:
- Clean the damaged area: Thoroughly clean the cracked area with isopropyl alcohol and a microfiber cloth.
- Fill the crack: Use a specialized dashboard repair kit that includes a filler compound that matches your dashboard’s color and texture.
- Sand and smooth: Once the filler dries, sand the area smooth and blend it with the surrounding surface.
- Apply a protectant: To prevent future damage, apply a UV-protectant dashboard dressing.
Pro Tip: For deep cracks or extensive damage, consider consulting a professional for dashboard restoration.
3. Replacing Worn or Damaged Weatherstripping:
Problem: Weatherstripping, the rubber seals around doors, windows, and trunks, can deteriorate over time, leading to wind noise, water leaks, and air conditioning inefficiency.
Solution:
- Remove the old weatherstripping: Carefully peel off the old weatherstripping, using a trim removal tool if needed.
- Clean the surface: Clean the surface where the weatherstripping was attached, removing any residue or adhesive.
- Apply new weatherstripping: Starting at one end, carefully align the new weatherstripping and press it firmly into place.
- Trim excess: Use a utility knife to trim any excess weatherstripping.
Pro Tip: When choosing replacement weatherstripping, ensure it’s the correct type and size for your car model. You can often find pre-cut kits designed for specific vehicles.
4. Reattaching Loose or Detached Trim Panels:
Problem: Trim panels, often found on doors, pillars, and consoles, can become loose or detached due to broken clips or adhesive failure.
Solution:
- Identify the attachment points: Carefully inspect the trim panel and the area where it was attached to determine the type of fasteners used (clips, screws, or adhesive).
- Remove the trim panel: If necessary, gently pry off the trim panel using a trim removal tool, being careful not to damage the surrounding areas.
- Replace broken clips: If you find broken clips, source replacements from an auto parts store or online retailer.
- Clean and reattach: Clean both the trim panel and the attachment area with isopropyl alcohol. Apply fresh automotive trim adhesive or replace any missing screws to secure the panel back in place.
Pro Tip: If you’re unsure about the correct type of clips or adhesive to use, consult your car’s owner’s manual or visit an auto parts store for assistance.
Seeking Professional Help: When to Call in the Experts
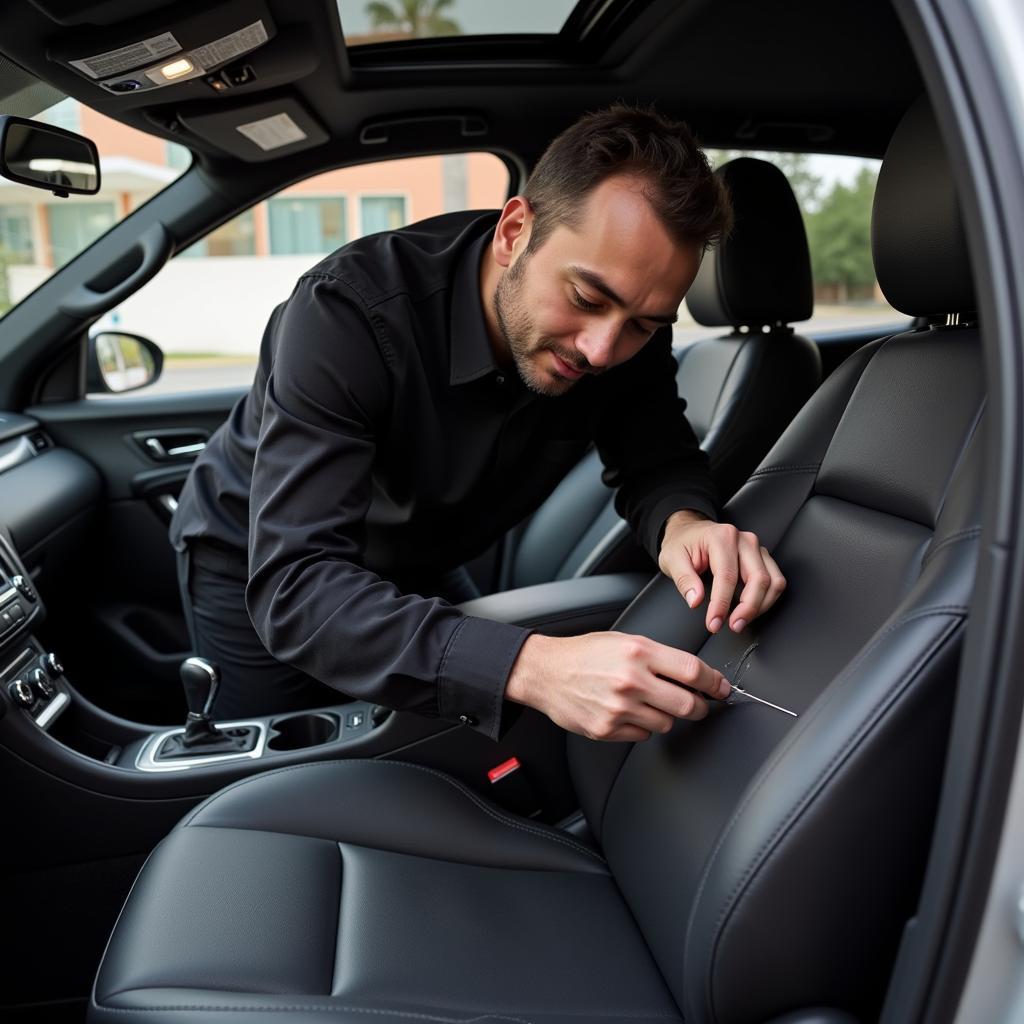
While many car trim repairs are DIY-friendly, certain situations may warrant professional intervention. Consider consulting an experienced auto upholstery shop or mechanic if:
- You’re dealing with extensive damage: Significant cracks, tears, or warping may require specialized repair techniques and materials.
- The repair involves airbags: Never attempt to repair or replace trim components located near airbags, as improper handling could lead to accidental deployment.
- You’re uncomfortable tackling the repair: If you’re unsure about any aspect of the repair process, it’s always best to err on the side of caution and seek professional assistance.
 Professional Car Trim Repair
Preventing Future Car Trim Woes: Proactive Care and Maintenance
Prevention is key to keeping your car’s trim looking its best and extending its lifespan. Here are some proactive measures:
- Regular Cleaning: Regularly clean your car’s interior and exterior trim with a mild cleaner and microfiber cloths.
- UV Protection: Use UV-protectant products specifically designed for automotive interiors and exteriors to shield against sun damage.
- Address Issues Promptly: Don’t ignore minor trim problems. Addressing them early can prevent them from escalating into more significant and costly repairs.
Expert Insight:
“Many car owners underestimate the impact of regular cleaning and UV protection,” says John Smith, a seasoned auto upholstery specialist at ABC Auto Trim. “A little preventive care can go a long way in preserving the look and longevity of your car’s trim.”
Conclusion
Fixing car trim doesn’t have to be a daunting task. By understanding the common causes of damage, equipping yourself with the right tools and techniques, and following these step-by-step guides, you can restore your car’s interior and exterior to their former glory. And remember, proactive care and maintenance are essential for preventing future trim woes and keeping your car looking its best for years to come.
If you encounter more complex trim issues or are unsure about any aspect of the repair process, don’t hesitate to seek professional assistance. At AutoTipPro, our team of experienced technicians can handle a wide range of car trim repairs, from minor fixes to complete restorations. Contact us at +1 (641) 206-8880 or visit our office at 500 N St Mary’s St, San Antonio, TX 78205, United States, for all your car maintenance needs.
Frequently Asked Questions about Fixing Car Trim
1. Can I use super glue to fix car trim?
While tempting, using super glue is not recommended for fixing car trim. It’s not designed for automotive applications and can create a brittle bond that’s prone to cracking and yellowing over time.
2. How do I remove adhesive residue from car trim?
Adhesive remover, isopropyl alcohol, or even a hairdryer (on a low setting) can help soften and remove adhesive residue. Be sure to test any product on an inconspicuous area first to ensure it doesn’t damage the trim.
3. Where can I find replacement clips for my car’s trim panels?
Auto parts stores typically carry a wide selection of trim clips. You can also find them online, often in convenient assortment kits.
4. How can I prevent my car’s dashboard from cracking?
Regularly cleaning your dashboard with a UV-protectant cleaner and parking your car in the shade whenever possible can significantly reduce the risk of cracking.
5. How much does it typically cost to have a professional fix car trim?
The cost of professional car trim repair can vary widely depending on the extent of the damage, the type of trim involved, and labor rates in your area. It’s always best to get a quote from a reputable shop.


Leave a Reply