Dealing with worn-out or damaged car mats? You’re not alone. Car mats take a beating, protecting your car’s interior from dirt, spills, and wear. But over time, the underside of your car mats can deteriorate, becoming brittle, cracked, or even detached. This not only impacts their functionality but also poses a safety hazard while driving. So, how do you fix the bottom of car mats and restore them to their former glory? Let’s explore some practical solutions.
Understanding the Problem: Why Fix the Bottom of Car Mats?
Before we dive into the solutions, let’s understand why addressing damage to the underside of your car mats is crucial.
- Safety First: A damaged car mat backing can bunch up or slip, potentially interfering with the pedals and creating a dangerous driving situation.
- Protecting Your Investment: The underside of the mat acts as a barrier against moisture, preventing rust and corrosion of your car’s floor.
- Preserving the Mat’s Lifespan: Repairing minor damage can significantly extend the life of your car mats, saving you money in the long run.
DIY Fixes for Car Mat Bottoms
Depending on the severity of the damage, several DIY methods can help you repair the bottom of your car mats.
1. Cleaning and Inspection: The First Step
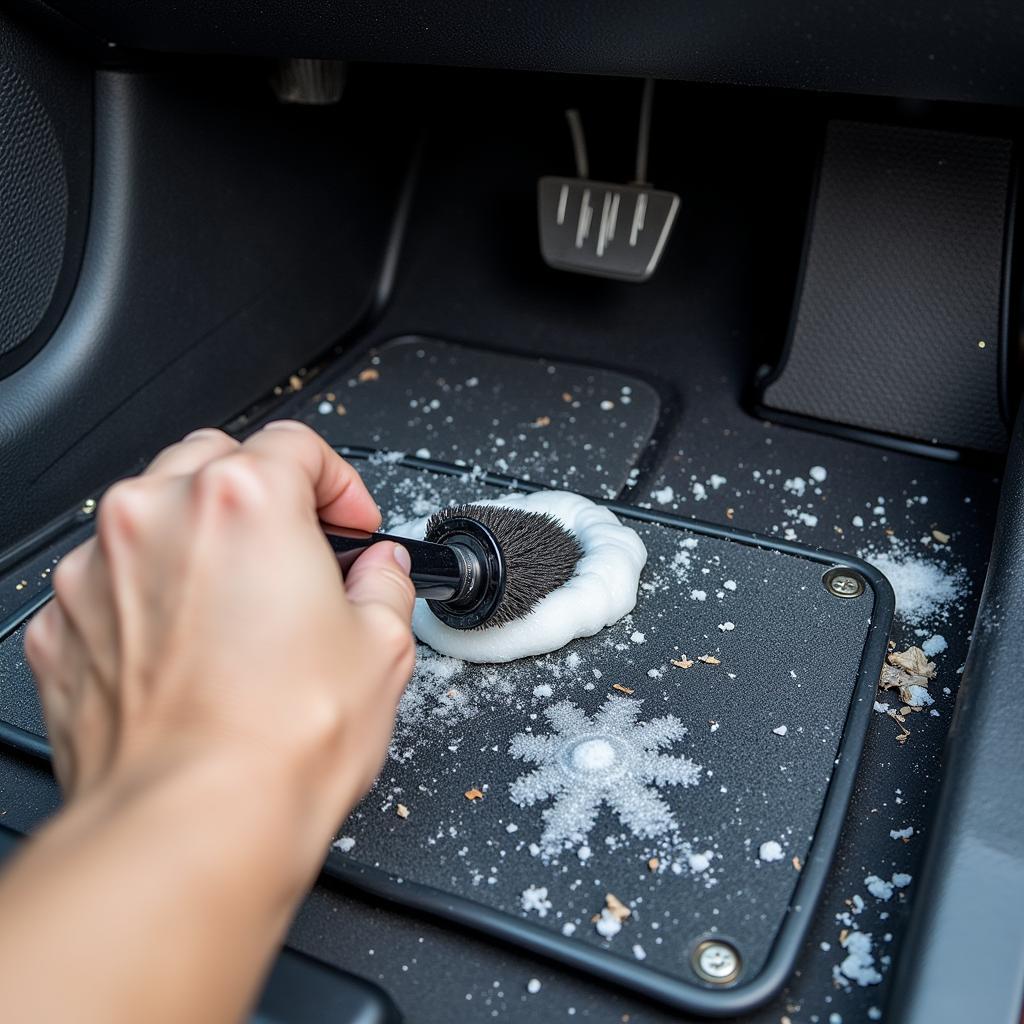
 Cleaning Car Mat Underside
Start by giving your car mats a thorough cleaning. Use a stiff brush, soap, and water to remove any dirt, debris, or loose particles. Once clean and dry, carefully inspect the underside for any cracks, tears, or detachment.
2. Patching Small Cracks and Tears
For minor cracks or tears, a simple patching job can do wonders.
- Materials: You’ll need a strong adhesive designed for automotive use, a piece of heavy-duty fabric (like canvas or rubber matting), and scissors.
- Process:
- Cut the fabric into a patch slightly larger than the damaged area.
- Apply a generous amount of adhesive to both the patch and the underside of the car mat.
- Firmly press the patch onto the damaged area, ensuring there are no air bubbles.
- Place a heavy object on top of the patch and allow it to dry completely as per the adhesive’s instructions.
3. Addressing Detachment Issues
If the backing of your car mat has detached from the carpet, you can reattach it using a spray adhesive.
- Materials: Purchase a high-quality spray adhesive specifically formulated for automotive fabrics.
- Process:
- Ensure both the mat backing and the car mat itself are clean and dry.
- Spray an even layer of adhesive onto both surfaces.
- Carefully align the backing with the mat, pressing firmly to create a strong bond.
- Allow the adhesive to dry completely before placing the mat back in your vehicle.
When to Consider Replacement
While DIY repairs can be effective for minor damage, there are instances when replacement is the safer and more practical option.
- Extensive Damage: If the car mat backing is severely cracked, torn, or crumbling, it’s time for a new set.
- Safety Concerns: Any damage that compromises the mat’s ability to stay in place while driving poses a safety risk and warrants immediate replacement.
Expert Insights:
“Don’t underestimate the importance of regular car mat maintenance,” says John Miller, a veteran auto mechanic with over 20 years of experience. “Inspecting and cleaning your mats regularly allows you to catch minor damage early on, preventing more serious issues and prolonging their lifespan.”
Preventing Future Damage
Prevention is key to extending the life of your car mats. Here are some tips:
- Regular Cleaning: Vacuum and clean your car mats frequently to prevent dirt and debris buildup.
- Weather Protection: Use all-weather mats during rainy or snowy seasons to minimize moisture exposure.
- Proper Fit: Ensure your car mats are the correct size and fit snugly to prevent bunching and shifting.
Conclusion
Fixing the bottom of your car mats is a manageable task that can save you money and enhance your safety while driving. By addressing minor damage promptly and implementing preventive measures, you can keep your car mats in top condition for years to come. If you have any concerns or questions about your car mats or need further assistance, don’t hesitate to contact the automotive experts at AutoTipPro at +1 (641) 206-8880 or visit our office located at 500 N St Mary’s St, San Antonio, TX 78205, United States. We’re here to help!
FAQs
1. Can I use super glue to fix the bottom of my car mats?
While super glue might seem like a quick fix, it’s not recommended. It’s not designed for the flexibility and durability required for car mats and can crack or detach over time.
2. How often should I replace my car mats?
The lifespan of car mats varies depending on usage and environmental factors. However, it’s generally recommended to replace them every 2-3 years or sooner if you notice significant wear and tear.
3. Can I trim my car mats if they don’t fit properly?
Trimming car mats is not advisable as it can compromise their structural integrity and safety features. It’s best to purchase mats that are specifically designed for your car model.
4. Are rubber car mats better than carpet mats?
Both rubber and carpet mats have pros and cons. Rubber mats offer superior protection against spills and dirt but may not be as aesthetically pleasing. Carpet mats provide a more luxurious look and feel but require more frequent cleaning. The best choice depends on your individual needs and preferences.
5. Can I wash my car mats in a washing machine?
It’s best to check the manufacturer’s instructions, but generally, hand washing with soap and water is the recommended cleaning method for most car mats. Machine washing can sometimes damage the mats or cause them to lose their shape.


Leave a Reply