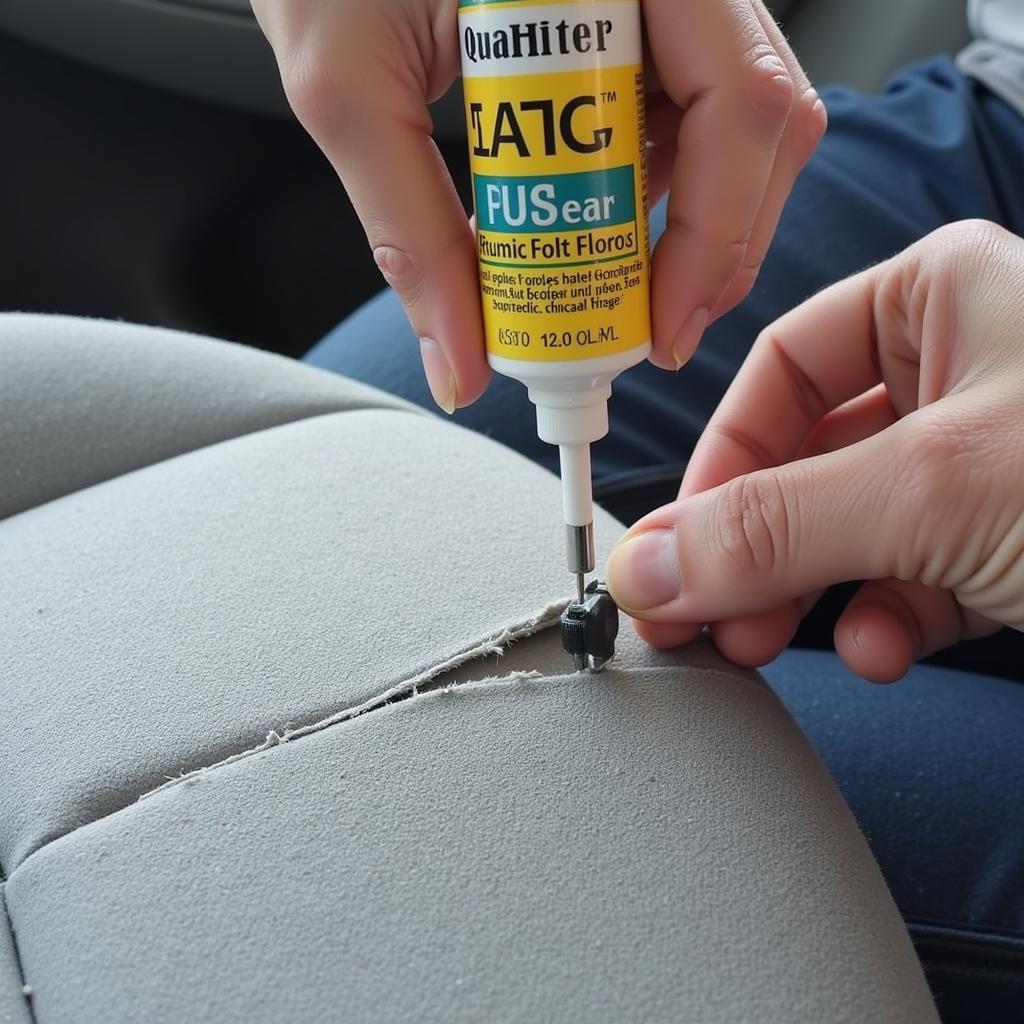
A tear in your car seat’s fabric can be an eyesore and may even worsen over time if left unaddressed. Fortunately, with a little patience and the right materials, fixing a tear in a fabric car seat is a manageable DIY project. This article will guide you through the steps to effectively repair minor to moderate tears, restoring your car’s interior and preventing further damage.
Assessing the Damage
Before diving into the repair process, it’s crucial to evaluate the severity of the tear. For small, clean cuts, a simple fabric glue or patch may suffice. However, larger tears or those with frayed edges might require a more involved approach, such as sewing or using a patch kit.
Gathering Your Supplies
Depending on the repair method you choose, you will need some or all of the following:
- Cleaning Supplies: A vacuum cleaner with a crevice attachment, a soft-bristled brush, and mild upholstery cleaner
- Repair Materials: Fabric glue, a sewing needle and thread (matching the seat’s color), a fabric patch (ideally from an inconspicuous area of the car’s interior), scissors, and a seam ripper (if necessary)
- Optional Tools: Tweezers, masking tape, and a fabric pen
Method 1: Using Fabric Glue
For small tears and cuts, fabric glue offers a quick and easy fix. Here’s how to do it:
- Clean the area thoroughly. Use the vacuum cleaner and brush to remove any dirt, debris, or loose threads around the tear.
- Align the edges of the tear. Use your fingers or tweezers to carefully line up the torn edges. Secure them in place with small pieces of masking tape if needed.
- Apply fabric glue sparingly. Follow the manufacturer’s instructions on the glue packaging. Apply a thin layer of glue to one or both edges of the tear, depending on the glue type.
- Press and hold the edges together. Firmly press and hold the edges together for the amount of time specified on the glue instructions.
- Allow the glue to dry completely. Avoid touching or disturbing the repaired area while the glue dries.
 Repairing a tear in a car seat with fabric glue.
Method 2: Sewing the Tear
Sewing is a more durable solution for larger tears or those in high-stress areas. Follow these steps:
- Prepare the area. Clean the tear as described in the previous method. If the tear is along a seam, carefully use a seam ripper to remove any loose threads.
- Thread the needle and tie a knot. Choose a thread color that closely matches your car seat’s fabric.
- Sew the tear closed. Starting from the back of the fabric, use small, straight stitches to close the tear. Keep the stitches close together and even.
- Knot the thread securely. Once the tear is sewn shut, tie off the thread at the back of the fabric. Trim any excess thread.
If you’re dealing with a tear in a more visible area, consider using a technique called ladder stitching. This method creates a nearly invisible repair, but it requires a bit more practice.
Method 3: Patching the Tear
For larger tears or those with significant fraying, using a fabric patch is often the best solution. Here’s how to patch a tear in a fabric car seat:
- Cut a patch slightly larger than the tear. Choose a fabric patch that matches the seat’s material and color. If possible, source the patch from an inconspicuous area inside your car, like the underside of a seat.
- Apply fabric glue to the patch’s edges. Following the glue’s instructions, apply a thin layer of glue around the perimeter of the patch.
- Carefully place the patch over the tear. Ensure the patch completely covers the tear and its edges are securely glued to the seat fabric.
- Press and hold the patch firmly. Apply firm pressure to the patch for the time recommended on the glue packaging.
For a more heavy-duty repair, consider stitching the patch to the seat fabric using the sewing method described earlier. This will provide extra reinforcement and prevent the patch from peeling off over time.
Preventing Future Tears
Once you’ve successfully repaired the tear in your car seat, take steps to prevent future damage:
- Use a seat cover. A durable seat cover can protect your seats from spills, stains, and tears.
- Be mindful of sharp objects. Avoid placing sharp objects, such as pens, tools, or toys, on your car seats.
- Address spills and stains promptly. Clean up any spills or stains as soon as they occur to prevent them from setting in and potentially weakening the fabric.
Conclusion
Repairing a tear in a fabric car seat is an achievable task that can save you money and maintain the appearance of your car’s interior. By following the methods outlined in this article and using the appropriate materials, you can effectively fix tears of varying sizes and prevent further damage.
Remember to always assess the damage first and choose the repair method that best suits your needs. If you’re unsure about tackling the repair yourself, don’t hesitate to seek professional assistance from an experienced auto upholstery shop.
For any other car-related issues, feel free to contact AutoTipPro at +1 (641) 206-8880 or visit our office at 500 N St Mary’s St, San Antonio, TX 78205, United States. We’re always here to help you keep your vehicle in top condition.


Leave a Reply