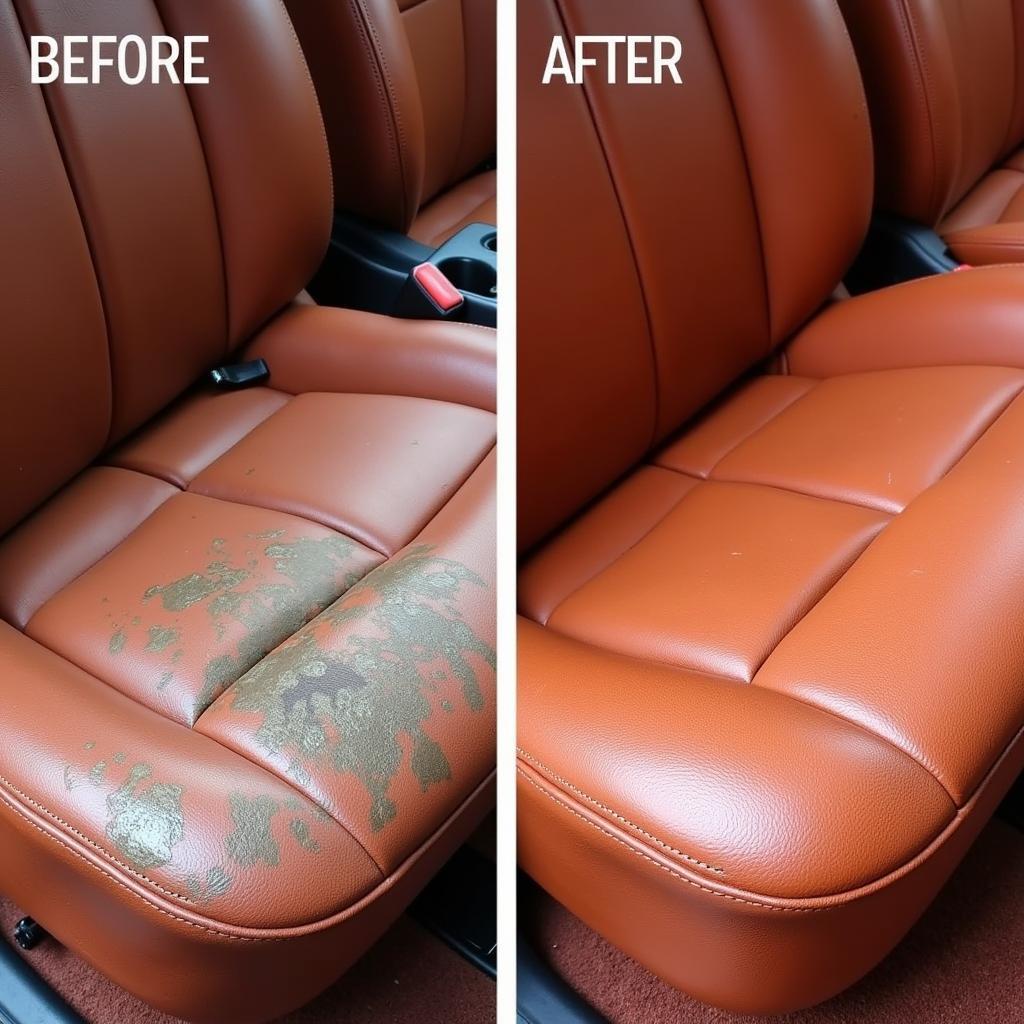
Leather car interiors exude a sense of luxury and sophistication. However, over time, wear and tear can take their toll, leaving your leather seats looking cracked, faded, and worn. This is where a good Leather Fixer For Car interiors comes in. Whether you’re dealing with minor scratches or deep cracks, a quality leather fixer can help restore your car’s interior to its former glory.
 Leather Car Seat Before and After Repair
Understanding Leather Fixers for Cars
Before delving into the specifics of using a leather fixer, it’s essential to understand what it is and how it works. Essentially, a leather fixer for car interiors is a specialized product designed to repair and restore damaged leather. These fixers typically contain a blend of adhesives, fillers, and colorants that work together to conceal imperfections and revitalize the leather’s appearance.
Types of Leather Fixers
Not all leather fixers are created equal. They come in various forms, each suited for different types of damage:
- Liquid Leather Fixer: Ideal for minor scratches, scuffs, and cracks. It fills in imperfections and dries to a flexible finish.
- Leather Filler: Best for deep cracks and gouges. It’s a thicker substance that fills in significant damage and can be sanded down for a smooth finish.
- Leather Dye: Used to restore the color of faded or discolored leather.
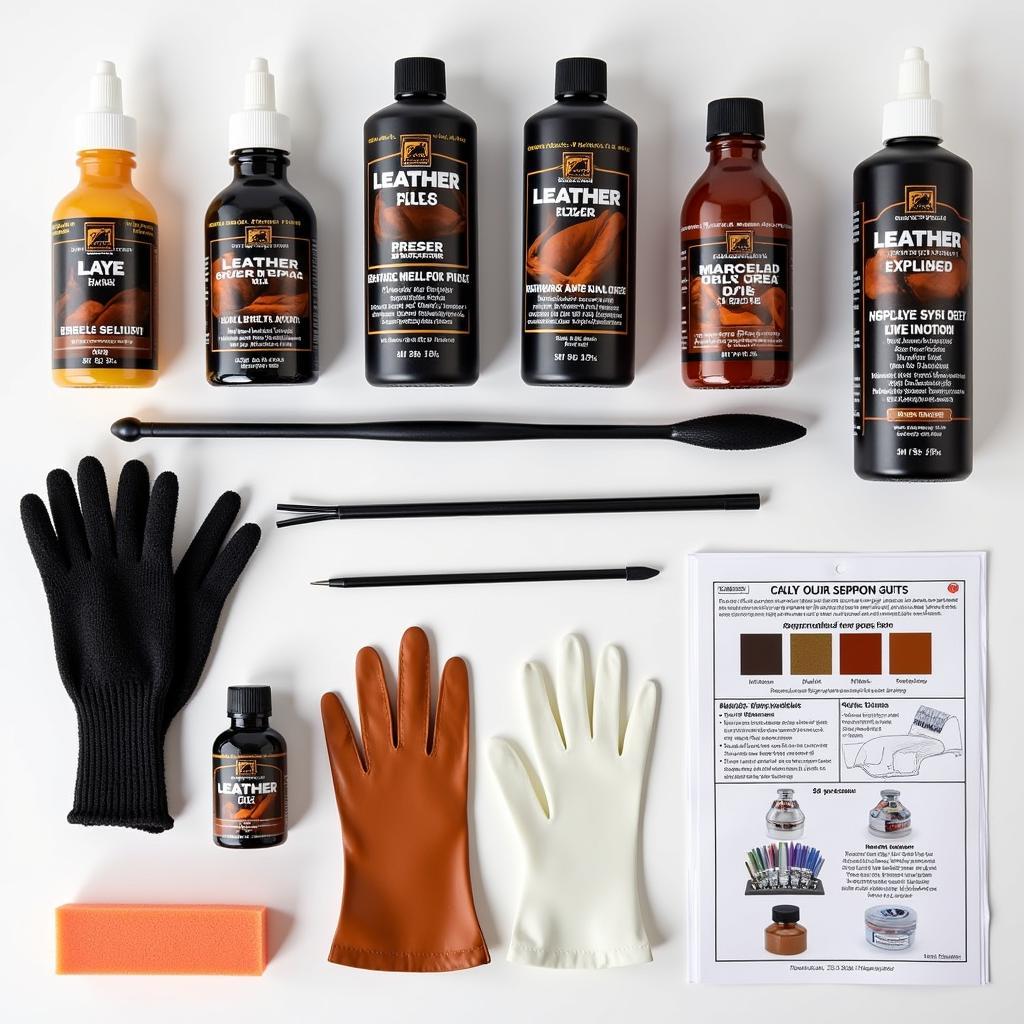
- Leather Repair Kit: These comprehensive kits usually contain a combination of the above, along with tools like applicators and color-matching guides.
 Car Leather Repair Kit Contents
How to Choose the Right Leather Fixer for Your Car
Selecting the appropriate leather fixer is crucial for achieving optimal results. Consider the following factors:
- Severity of Damage: Assess the extent of the damage to determine whether you need a liquid fixer, filler, dye, or a combination.
- Leather Type: Different leather types require specific products. Check your car’s manual or contact the manufacturer to determine the type of leather used in your car’s interior.
- Color Matching: If you’re using a dye or a pigmented filler, ensure that it closely matches the existing color of your car’s leather.
Steps to Using a Leather Fixer for Car
Now, let’s dive into the step-by-step process of using a leather fixer to restore your car’s interior:
- Clean the Leather: Begin by thoroughly cleaning the affected area with a leather cleaner and a microfiber cloth. This removes dirt, grime, and any residues that could hinder the fixer’s adhesion.
- Prepare the Area: For deep cracks or gouges, use fine-grit sandpaper to gently roughen the surface. This promotes better adhesion of the filler.
- Apply the Fixer: Follow the manufacturer’s instructions carefully. Apply the leather fixer to the damaged area using a clean sponge, applicator, or putty knife, depending on the type of fixer you’re using.
- Remove Excess: Immediately wipe away any excess fixer with a clean cloth to prevent it from drying on the leather’s surface.
- Drying Time: Allow the fixer to dry completely. Drying times vary depending on the product, so refer to the manufacturer’s guidelines.
- Sanding (If Necessary): If you used a leather filler, gently sand the area with fine-grit sandpaper to create a smooth and even surface.
- Apply Leather Conditioner: Once the fixer is fully dry, apply a high-quality leather conditioner to moisturize the leather and restore its suppleness.
Tips for Best Results
- Test in an Inconspicuous Area: Before applying the leather fixer to a visible area, test it on a hidden spot to ensure color compatibility and assess the results.
- Work in a Well-Ventilated Area: Many leather fixers emit fumes, so ensure adequate ventilation to avoid inhalation.
- Don’t Rush the Process: Allow ample drying time between coats or steps to achieve a professional-looking finish.
Conclusion
Using a leather fixer for car interiors is a cost-effective way to restore your car’s leather upholstery and maintain its aesthetic appeal. By following these steps and selecting the right products, you can effectively repair damage, conceal imperfections, and revitalize the look and feel of your car’s leather interior.
If you’re unsure about tackling this task yourself, don’t hesitate to seek professional help. For expert advice on car maintenance and repairs, contact AutoTipPro at +1 (641) 206-8880 or visit our office at 500 N St Mary’s St, San Antonio, TX 78205, United States.
FAQs about Leather Fixers for Cars
Can I use any leather fixer on my car’s interior?
It’s crucial to choose a leather fixer specifically designed for automotive leather. These fixers are formulated to withstand the unique challenges of car interiors, such as extreme temperatures and UV exposure.
How long does a leather fixer last?
The longevity of a leather fixer depends on factors like the product quality, the severity of the damage, and the level of wear and tear the leather experiences. In general, a well-maintained repair can last for several years.
Can I fix a tear in my leather car seat with a leather fixer?
While a leather fixer can conceal minor tears, it’s not always the best solution for larger or deeper tears. Consider consulting a professional for significant tears or rips.
How do I prevent future damage to my car’s leather interior?
Regular cleaning and conditioning are essential for preventing premature wear and tear. Additionally, using a UV protectant spray can help shield the leather from the sun’s damaging rays.
What’s the difference between a leather fixer and a leather conditioner?
A leather fixer is designed to repair damage, while a leather conditioner is used to moisturize and protect the leather, preventing future cracking and fading.


Leave a Reply