A failing lower control arm can severely impact your car’s handling and safety. This comprehensive guide delves into the common problems associated with the car lower control arm, providing you with the knowledge to diagnose, troubleshoot, and fix the issue. We’ll cover symptoms, causes, diagnostic procedures, replacement steps, and preventative maintenance.
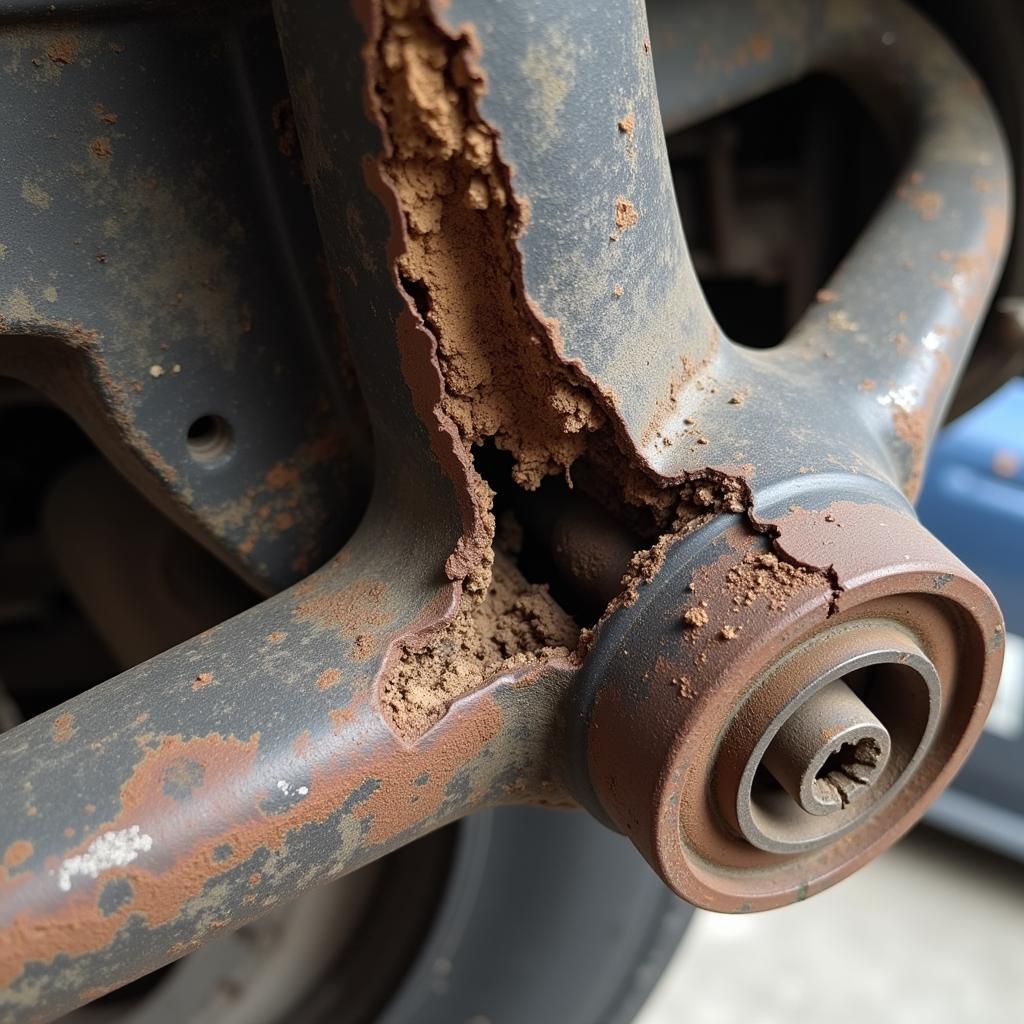 Damaged Lower Control Arm
Understanding the Car Lower Control Arm
The lower control arm is a crucial suspension component that connects the wheel hub to the vehicle’s frame. It allows the wheel to move up and down while maintaining proper alignment and stability. A faulty lower control arm can lead to a range of driving issues, affecting steering, braking, and overall vehicle control.
What cars have cvt transmission problems? Find out here: what cars have cvt transmission problems
Symptoms of a Bad Lower Control Arm
How do you know if your car’s lower control arm is causing problems? Several telltale signs can indicate a failing lower control arm:
- Clunking or banging noises: These noises, especially when driving over bumps or turning, can indicate worn bushings or ball joints in the lower control arm.
- Steering wheel vibration: A vibrating steering wheel, particularly at higher speeds, can be a sign of a bent or damaged control arm.
- Uneven tire wear: A failing lower control arm can cause misalignment, leading to excessive wear on one side of the tire.
- Vehicle pulling to one side: If your car pulls to one side while driving or braking, it could indicate a problem with the lower control arm.
- Loose or wobbly steering: A loose or wobbly steering wheel can signify a worn ball joint or bushing within the lower control arm.
Diagnosing Car Lower Control Arm Problems
Accurately diagnosing a Car Lower Control Arm Problem involves a thorough inspection:
- Visual Inspection: Look for cracks, bends, or rust on the control arm itself.
- Bushing Check: Inspect the control arm bushings for cracks, tears, or excessive movement.
- Ball Joint Inspection: Check the ball joint for play or looseness by using a pry bar.
- Test Drive: Take the car for a test drive and listen for any unusual noises or feel for any abnormal handling characteristics.
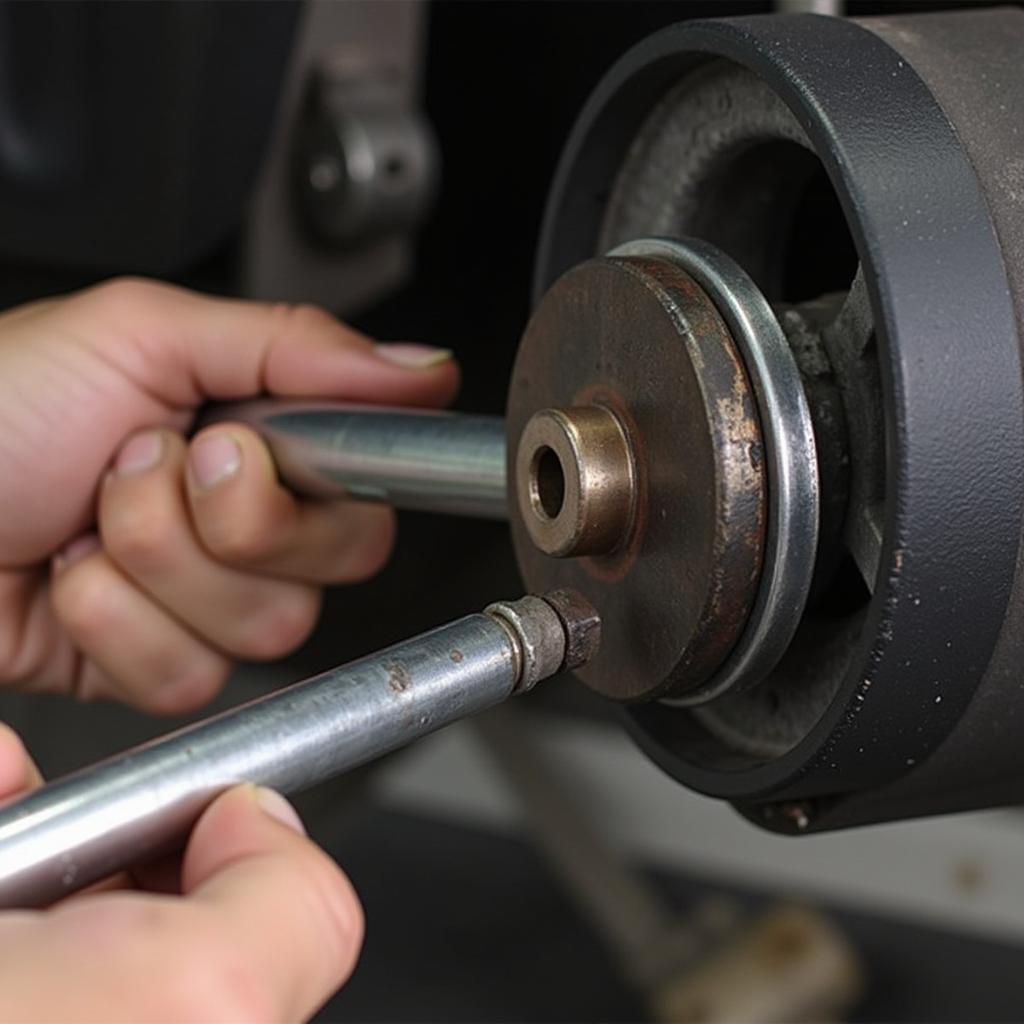 Mechanic Checking Lower Control Arm Bushings
“A thorough inspection is key to identifying the root cause of the problem,” says automotive expert, Robert Hernandez, ASE Certified Master Technician. “Don’t just assume it’s the control arm. It could be another related component.”
Replacing a Car Lower Control Arm
Replacing a lower control arm often requires specialized tools and knowledge. Here’s a simplified overview of the process:
- Raise the Vehicle: Safely lift the vehicle using a jack and secure it with jack stands.
- Remove the Wheel: Remove the wheel and tire assembly.
- Disconnect Components: Disconnect the brake caliper, ABS sensor, sway bar link, and any other components attached to the control arm.
- Remove the Control Arm: Unbolt the control arm from the vehicle frame and steering knuckle.
- Install the New Control Arm: Install the new control arm, ensuring all bolts are tightened to the correct torque specifications.
- Reconnect Components: Reconnect all disconnected components.
- Reinstall the Wheel: Reinstall the wheel and tire assembly.
- Lower the Vehicle: Carefully lower the vehicle.
- Alignment: Get a wheel alignment performed after replacing a control arm.
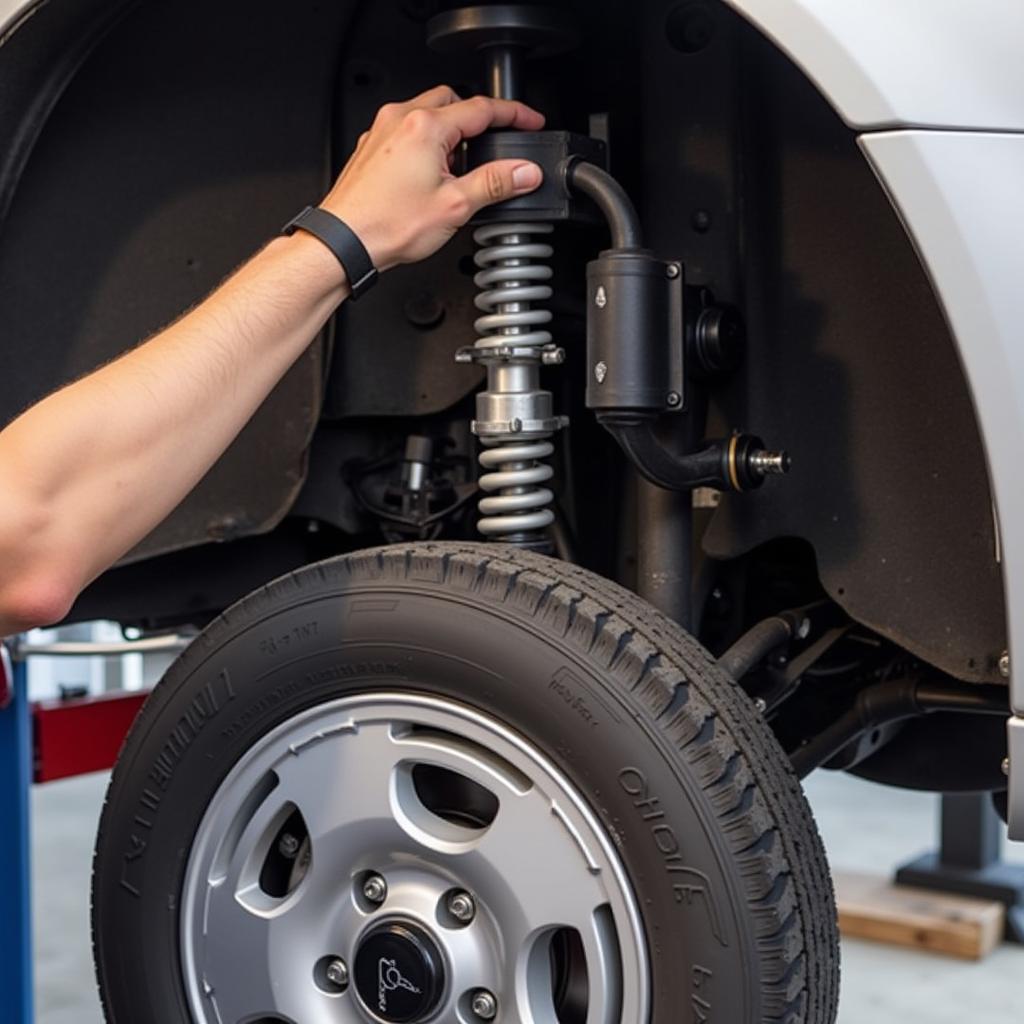 Installing a New Lower Control Arm
“Always refer to your vehicle’s repair manual for specific instructions and torque specifications,” advises Maria Sanchez, Lead Technician at Hernandez Auto Repair. “Incorrect installation can lead to premature failure and safety hazards.”
Preventing Car Lower Control Arm Problems
Regular maintenance can help prevent car lower control arm issues:
- Regular Inspections: Inspect the control arms and bushings during routine maintenance checks.
- Lubrication: Keep the ball joints and bushings properly lubricated.
- Careful Driving: Avoid potholes and rough roads whenever possible to minimize stress on the suspension components.
Conclusion
Addressing car lower control arm problems promptly is crucial for ensuring safe and reliable vehicle operation. By understanding the symptoms, causes, and solutions, you can maintain your car’s suspension system and enjoy a smooth and controlled ride. If you’re experiencing any of the symptoms mentioned, don’t hesitate to contact us at AutoTipPro at +1 (641) 206-8880 or visit our office at 500 N St Mary’s St, San Antonio, TX 78205, United States.
FAQ
- How much does it cost to replace a lower control arm? The cost varies depending on the vehicle make and model, but typically ranges from $200 to $500 per arm.
- Can I drive with a bad lower control arm? It’s not recommended. Driving with a bad lower control arm can be dangerous and can damage other suspension components.
- How long do lower control arms last? Lower control arms typically last between 50,000 and 100,000 miles.
- What tools do I need to replace a lower control arm? You’ll need a jack, jack stands, wrenches, sockets, and possibly a ball joint separator.
- Do I need an alignment after replacing a lower control arm? Yes, an alignment is necessary after replacing a control arm to ensure proper wheel alignment and prevent uneven tire wear.
- What are the symptoms of a bad lower control arm bushing? Symptoms include clunking or squeaking noises, excessive vibration, and uneven tire wear.
- Can a bad lower control arm cause steering wheel vibration? Yes, a damaged or bent lower control arm can cause steering wheel vibration, especially at higher speeds.




Leave a Reply