Restoring your classic car’s interior often involves tackling lifting trim. This guide will walk you through the causes and solutions for fixing this common issue, providing both preventative measures and step-by-step repair instructions for a lasting fix.
Understanding Why Classic Car Trim Lifts
Trim in classic cars can lift for several reasons. Age is a primary factor, as the adhesives used back then can degrade over time due to heat, moisture, and sunlight. Improper installation during previous repairs can also contribute to lifting trim. Even something as simple as bumping the trim with an object can cause it to start peeling away. Understanding the underlying cause helps choose the right solution for your Classic Car How To Fix Lifting Trim problem.
Essential Tools and Materials for Trim Repair
Before you begin, gather these essential tools and materials. Having everything on hand will streamline the process and make the repair go smoothly. You’ll need:
- Trim adhesive (choose a high-quality adhesive specifically designed for automotive trim)
- Plastic trim removal tools
- Clean microfiber cloths
- Isopropyl alcohol or a dedicated adhesive remover
- Masking tape
- Heat gun or hair dryer
- Utility knife or razor blade
- Small clamps or weights
Step-by-Step Guide: How to Fix Lifting Trim on Your Classic Car
- Preparation: Clean the area around the lifting trim thoroughly with isopropyl alcohol or adhesive remover. This removes dirt, grease, and any residue from old adhesive, ensuring the new adhesive bonds properly. Mask off the surrounding areas with masking tape to prevent damage.
- Careful Removal: Gently pry the loose trim away using plastic trim removal tools. Avoid pulling too hard, as this can damage the trim or the underlying surface. For stubborn areas, use a heat gun or hair dryer to soften the adhesive.
- Clean the Surfaces: Once the trim is loose, clean both the back of the trim and the surface it was attached to with isopropyl alcohol or adhesive remover. Remove any remaining old adhesive residue.
- Apply the Adhesive: Apply a thin, even layer of trim adhesive to the back of the trim or the car’s surface, following the manufacturer’s instructions. Be sure to use an adhesive specifically formulated for automotive trim.
- Reattach the Trim: Carefully position the trim back in its original location. Press firmly and evenly to ensure good contact. Use clamps or weights to hold the trim in place while the adhesive cures.
- Curing Time: Allow the adhesive to cure completely according to the manufacturer’s instructions. This is usually several hours. Avoid touching or disturbing the trim during this time.
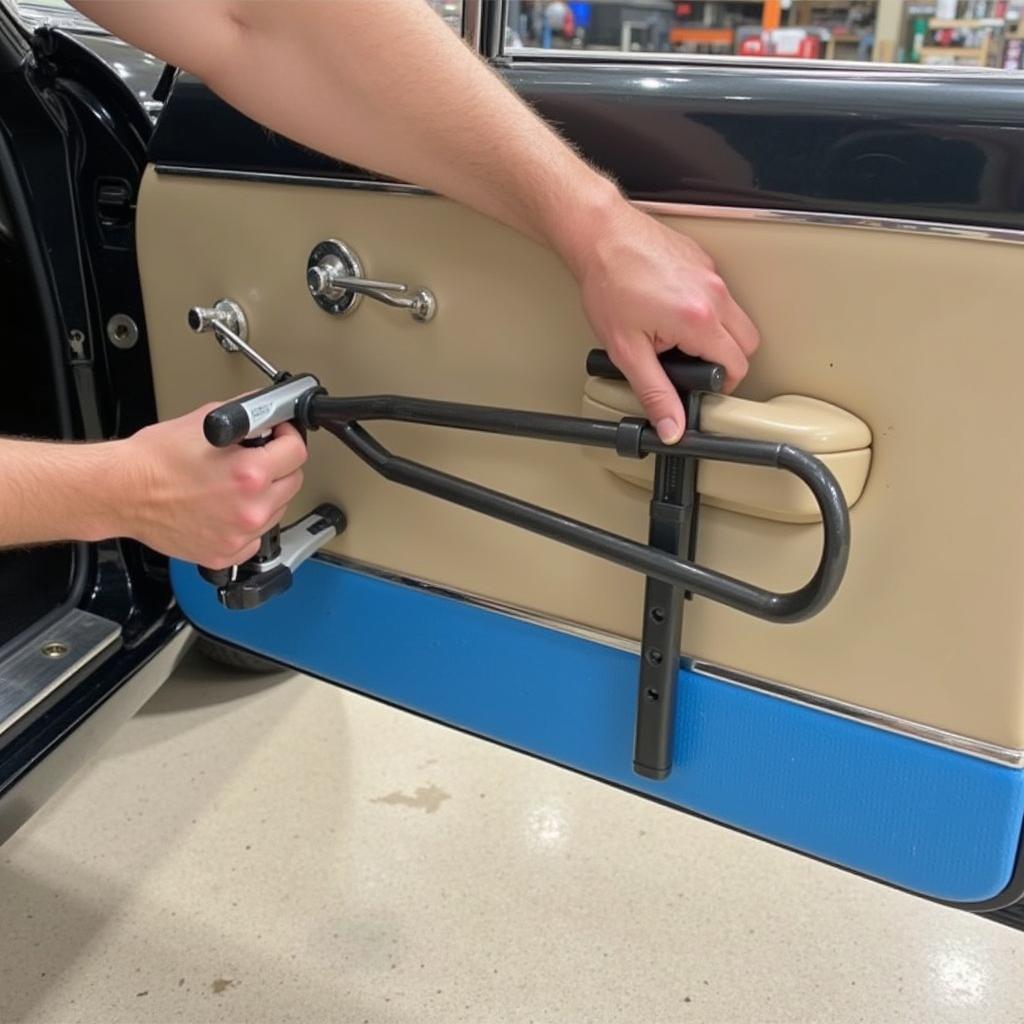
 Reattaching the trim with adhesive and clamps.
Preventing Trim Lift in the Future
Preventing trim lift is easier than fixing it. Regular cleaning and conditioning of the interior can help preserve the trim and adhesives. Avoid exposing the interior to extreme temperatures and direct sunlight whenever possible. Parking your classic car in a garage or using a car cover can help significantly.
Classic Car How to Fix Lifting Trim: Addressing Specific Materials
Different trim materials require specific approaches. Vinyl trim often responds well to heat and adhesive, while metal trim might require different adhesives or even mechanical fasteners. Leather trim demands special care and specific leather adhesives.
Why Choose the Right Adhesive Matters
Choosing the correct adhesive is critical for a long-lasting repair. Using a general-purpose adhesive can lead to further problems down the road, such as the trim lifting again or damage to the material. Invest in a high-quality adhesive designed specifically for automotive trim.
“Using the correct adhesive is half the battle when it comes to trim repair. It’s an investment in the longevity of your classic car’s interior,” advises John Miller, a seasoned classic car restoration expert with over 30 years of experience. He further emphasizes the importance of proper surface preparation: “A clean surface is crucial for proper adhesion. Take the time to thoroughly clean and prep the area – it will make a world of difference.”
Conclusion: Keeping Your Classic Car Looking its Best
Addressing lifting trim is a key aspect of maintaining your classic car’s interior. By following these steps and preventative measures, you can keep your classic car looking its best for years to come. Remember that choosing the right adhesive and properly preparing the surfaces are crucial for a successful repair. If you need assistance, feel free to connect with AutoTipPro at +1 (641) 206-8880. Our office is located at 500 N St Mary’s St, San Antonio, TX 78205, United States.
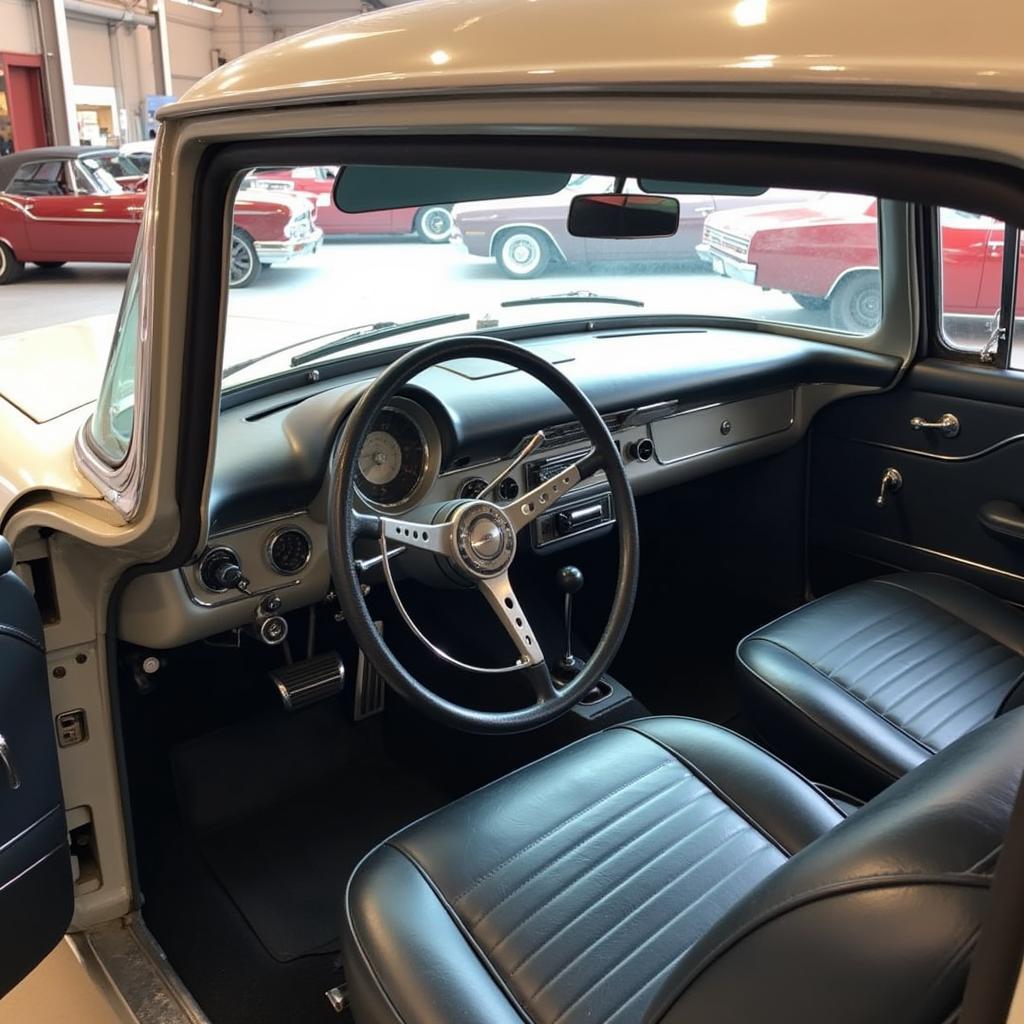
 Finished classic car trim repair.
FAQ
- What type of adhesive should I use for vinyl trim? Use a high-quality adhesive specifically designed for automotive vinyl trim.
- Can I use super glue to fix lifting trim? Super glue is not recommended as it can damage the trim and is not flexible enough to withstand the movement and temperature changes inside a car.
- How long does trim adhesive take to cure? Curing time varies depending on the adhesive but is typically several hours. Always follow the manufacturer’s instructions.
- What if the trim is cracked or broken? You might need to replace the trim if it is severely damaged. Contact a classic car parts specialist for assistance.
- How can I prevent trim from lifting in the future? Regular cleaning, conditioning, and protecting the interior from extreme temperatures and direct sunlight can help prevent trim lift.
- What if the adhesive doesn’t hold? Ensure the surfaces are thoroughly clean and dry before applying the adhesive. You may need to try a different adhesive or consult a professional.
- What are the best tools to remove lifting trim without damaging it? Plastic trim removal tools are designed to minimize damage to the trim and surrounding areas.


Leave a Reply