Fixing a car scrape yourself can seem daunting, but with the right approach, it’s often a manageable DIY project. This guide provides a step-by-step approach to help you assess the damage, gather the necessary materials, and execute the repair effectively, saving you time and money.
Assessing the Damage: How Deep is the Scrape?
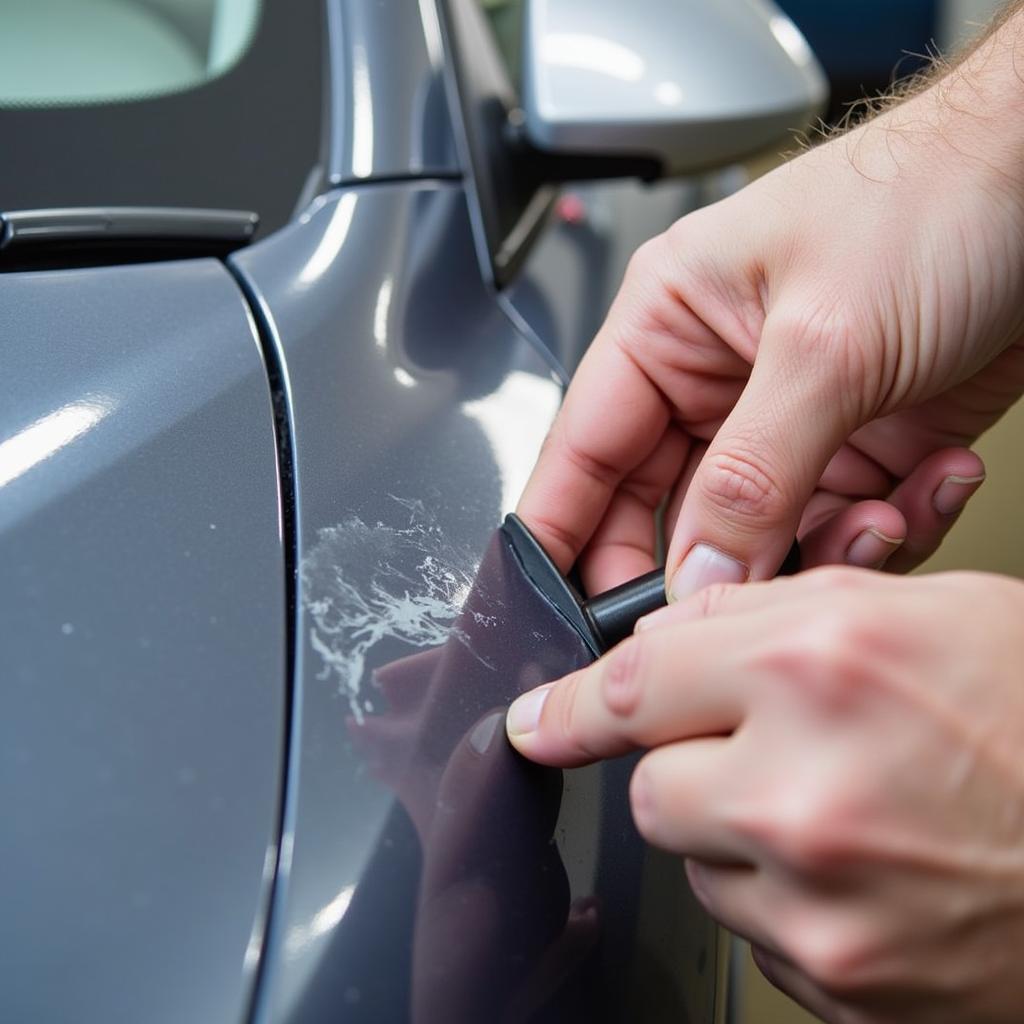
Before you start, it’s crucial to determine the extent of the damage. A light scrape that only affects the clear coat can often be buffed out with polishing compound. However, deeper scrapes that reach the paint or primer require more attention. Carefully examine the scrape in good lighting. Run your fingernail gently across the area. If your nail catches, the scrape likely penetrates beyond the clear coat.
Gathering Your DIY Car Scrape Repair Arsenal
Having the right tools and materials makes all the difference. For minor scrapes, you’ll need rubbing compound, polishing pads, and a microfiber cloth. Deeper scrapes necessitate touch-up paint, primer (if the metal is exposed), fine-grit sandpaper, masking tape, and clear coat. Selecting high-quality products ensures a more professional-looking finish. Similar to fixing car bumper, proper preparation is key for a successful repair.
 Assessing Car Scrape Damage
Step-by-Step Guide to Fixing a Car Scrape
-
Clean the Area: Thoroughly wash and dry the scraped area to remove any dirt or debris that might interfere with the repair process.
-
Apply Rubbing Compound (for minor scrapes): Apply a small amount of rubbing compound to a polishing pad and gently buff the scrape in a circular motion. Gradually increase pressure until the scrape disappears.
-
Sanding (for deeper scrapes): If the scrape is deep, carefully sand the area with fine-grit sandpaper. Start with a coarser grit and gradually move to a finer grit to smooth the surface. Be careful not to sand too much, as you risk damaging the surrounding paint. Like fix car paint scrape, this step requires patience and precision.
-
Apply Primer (if necessary): If the metal is exposed, apply a thin layer of automotive primer to prevent rust. Allow the primer to dry completely before proceeding.
-
Apply Touch-Up Paint: Apply thin coats of touch-up paint to the affected area, allowing each coat to dry before applying the next. It’s better to apply multiple thin coats than one thick coat, which can lead to unevenness. This process mirrors how to fix paint transfer on car in terms of meticulous application.
-
Apply Clear Coat: Once the touch-up paint is dry, apply a few thin layers of clear coat to protect the paint and restore the shine.
-
Final Polishing: After the clear coat has cured, use rubbing compound and polishing compound to blend the repaired area with the surrounding paint.
Why DIY Can Be the Right Choice for Minor Scrapes
DIY repairs can save you a significant amount of money compared to professional body shops. For minor scrapes, the cost of materials is often minimal, and the repair process can be completed in a few hours. Fixing minor imperfections yourself can be quite rewarding, much like fixing car bumper.
“For superficial scrapes, a DIY approach is often sufficient,” says automotive expert, David Miller. “With readily available products and a bit of patience, car owners can achieve impressive results.”
When to Seek Professional Help
While DIY is suitable for minor scrapes, deeper damage or damage to large areas might require the expertise of a professional body shop. For a significant scratch, you might consider exploring options like fix bad scratch on car from professionals. If you’re unsure about your ability to repair the scrape yourself, or if the damage is extensive, it’s always best to consult a professional. “Significant damage often requires specialized tools and techniques best left to experienced professionals,” adds Miller. This is particularly true for issues like fix car swipe which can be complex.
Conclusion
Fixing a scrape on your car yourself can be a cost-effective and satisfying DIY project. By following the steps outlined in this guide and assessing the damage accurately, you can restore your car’s appearance without breaking the bank. For further assistance or advice on your specific car repair needs, contact AutoTipPro at +1 (641) 206-8880 or visit our office at 500 N St Mary’s St, San Antonio, TX 78205, United States.


Leave a Reply