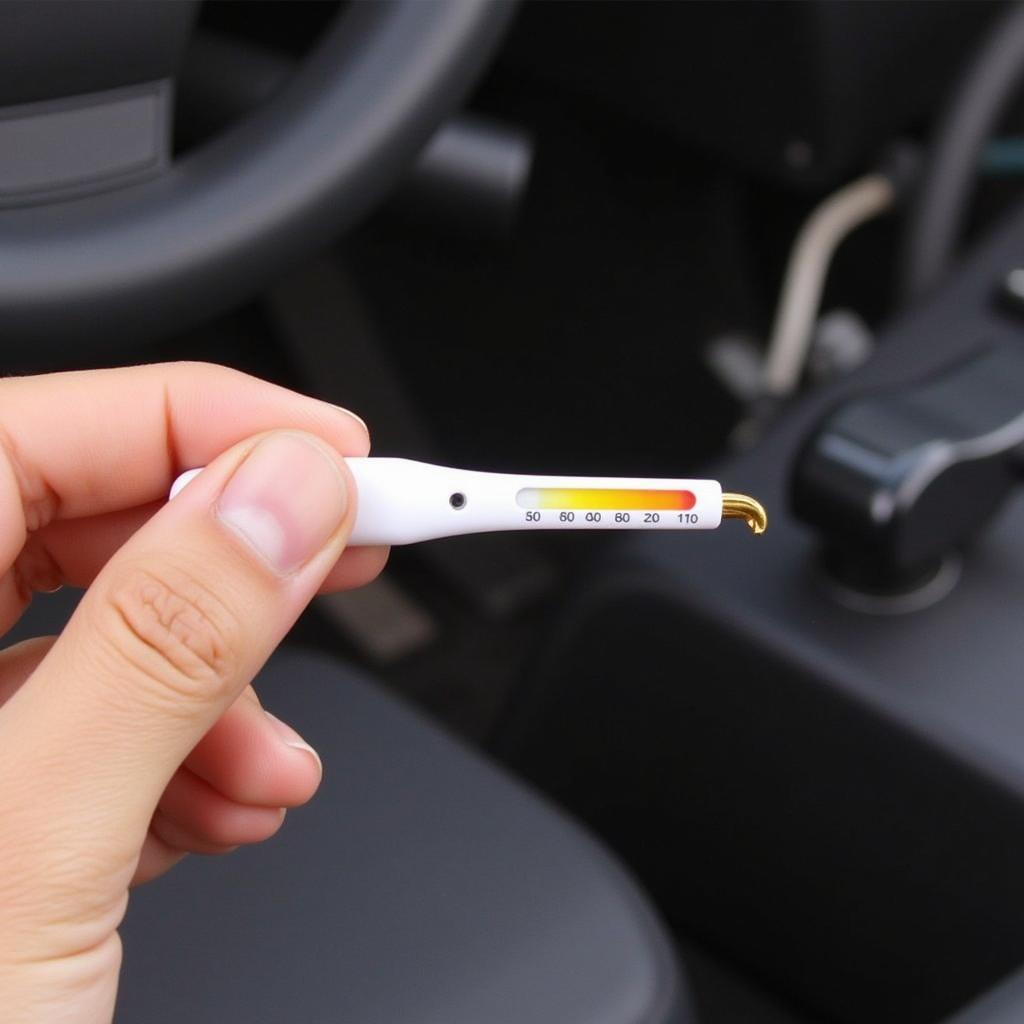
Keeping your new car in tip-top shape doesn’t have to mean constant trips to the mechanic. There are actually quite a few easy maintenance tasks you can tackle right in your own garage! Performing easiest car diy maintenance on your new car not only saves you money but also helps extend the life of your vehicle. Let’s dive into some of the most straightforward DIY maintenance tasks perfect for new car owners.
Essential Fluids: Your Car’s Lifeblood
Just like we need water to survive, your car relies on various fluids to function correctly. Luckily, checking these fluids is a breeze.
Checking and Topping Off Engine Oil
- Locate the dipstick: Look for a brightly colored handle, usually yellow or orange, sticking out of your engine.
- Remove and wipe: Pull the dipstick out and wipe it clean with a rag.
- Reinsert and check: Dip it back in all the way, wait a second, and pull it out again. The oil level should be between the two marks on the dipstick.
- Add if needed: If the oil level is low, add the recommended oil type for your car in small amounts, checking the dipstick regularly until it reaches the proper level.
 Checking Engine Oil
Monitoring Other Vital Fluids
Don’t stop at engine oil! Take a few extra minutes to locate and visually inspect the following fluids:
- Coolant: Look for a translucent plastic reservoir, often near the radiator. Check the coolant level and look for any discoloration, which could signal a problem.
- Brake Fluid: The brake fluid reservoir is usually located near the firewall on the driver’s side. Make sure the fluid level is within the minimum and maximum marks.
- Windshield Washer Fluid: This one’s easy! The reservoir is typically marked with a windshield icon and is refilled with a simple solution of water and washer fluid.
Keeping Your Car Breathing Easy: Air Filter Replacement
A clean air filter helps your engine “breathe” better, leading to improved performance and fuel efficiency.
- Locate the air filter housing: Consult your owner’s manual for the exact location. It’s usually a black rectangular box with clips on the side.
- Open the housing: Release the clips and open the housing.
- Remove the old filter: Note the position of the old filter for reference.
- Insert the new filter: Place the new filter in the same position as the old one.
- Close and secure the housing: Make sure the clips are properly fastened.
Pro Tip from John Miller, Certified Master Mechanic: “Replacing your air filter is one of the easiest DIY car maintenance tasks you can do. Aim to change it every 12,000 miles or as recommended in your owner’s manual.”
Shine Bright: Headlight and Taillight Maintenance
Clear headlights and taillights are crucial for safety, especially during nighttime driving.
Cleaning Your Lights:
- Gather your supplies: You’ll need a soft microfiber cloth, warm soapy water, and a headlight restoration kit if your lenses are heavily oxidized.
- Wash and dry the lenses: Use the soapy water and microfiber cloth to remove dirt and grime.
- Apply restoration solution (if needed): If your lenses are hazy or yellowed, follow the instructions on the restoration kit.
- Dry and inspect: Ensure the lenses are completely dry and free of any residue.
Checking Bulb Functionality
- Turn on your lights: Have a friend or family member help you check if all headlights, taillights, brake lights, and turn signals are working properly.
- Replace burnt-out bulbs: If you find a bulb that’s out, consult your owner’s manual for the correct replacement type.
Tire TLC: Keeping You Rolling Smoothly
Proper tire maintenance is crucial for safety, fuel efficiency, and a smooth ride.
Checking Tire Pressure:
- Find the recommended PSI: This information is usually located on a sticker inside the driver’s side door jamb or in your owner’s manual.
- Use a tire pressure gauge: Unscrew the valve cap on each tire and firmly press the gauge onto the valve stem to get a reading.
- Adjust accordingly: Add or release air as needed to reach the recommended PSI.
Inspecting Tire Tread Depth:
- Use the penny test: Insert a penny into the tire groove with Lincoln’s head facing down.
- Assess the tread: If you can see all of Lincoln’s head, your tread is too low, and it’s time for new tires.
Pro Tip from John Miller, Certified Master Mechanic: “Don’t forget to check your spare tire’s pressure regularly as well. You never know when you might need it!”
Conclusion
Performing these easiest diy new car maintenance tasks can help you save money, extend the life of your vehicle, and give you the peace of mind that comes with knowing your car is in great shape. Remember to consult your owner’s manual for specific recommendations and always prioritize safety. Happy driving!
Need help with a car maintenance issue you can’t quite tackle yourself? Give AutoTipPro a call at +1 (641) 206-8880 or visit our office at 500 N St Mary’s St, San Antonio, TX 78205, United States. We’re here to help!


Leave a Reply