Fixing a car after a blown head gasket can be a daunting task, but with the right approach, it’s manageable. A blown head gasket is a serious engine problem, and understanding how to address it is crucial for any car owner, mechanic, or technician. This article provides a comprehensive guide to navigating the repair process.
Understanding the Problem: What is a Blown Head Gasket?
A head gasket seals the gap between the engine block and the cylinder head, preventing coolant and oil from mixing. When this gasket fails, it leads to a range of issues, from overheating to engine damage. Identifying the symptoms early can save you significant time and money.
Common Symptoms of a Blown Head Gasket
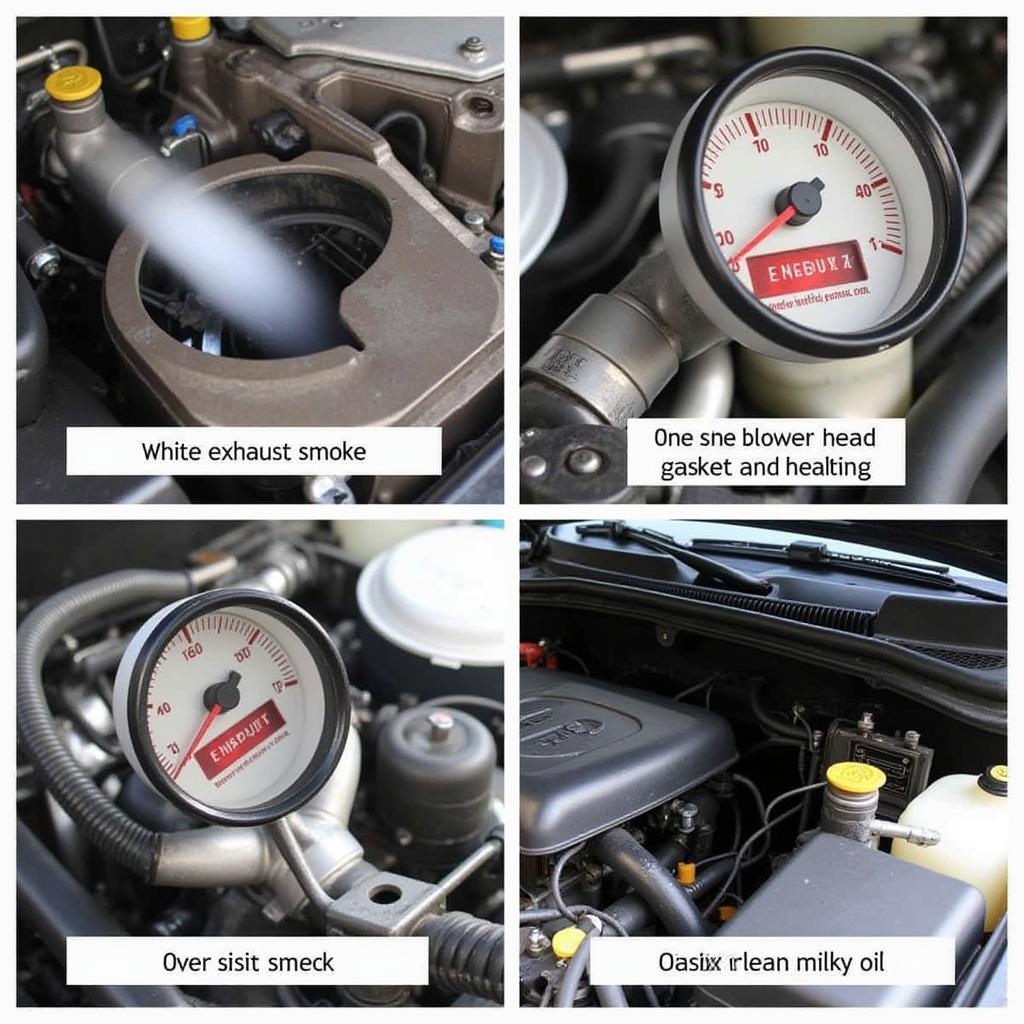
- White smoke from the exhaust: This often indicates coolant leaking into the combustion chamber.
- Overheating: A blown head gasket disrupts the cooling system’s ability to regulate temperature.
- Milky oil: This is a clear sign that coolant is mixing with the engine oil.
- Loss of coolant: Noticeable drops in coolant levels without apparent leaks.
- Bubbles in the radiator or overflow tank: This suggests exhaust gases are entering the cooling system.
 Blown Head Gasket Symptoms: White Smoke, Overheating, Milky Oil
Fix a Car After Blown Head Gasket: DIY vs. Professional Repair
Deciding whether to tackle this repair yourself or seek professional help depends on your mechanical skills and available resources. Fixing a car after a blown head gasket involves significant disassembly and specialized tools.
DIY Repair: Considerations and Steps
If you choose the DIY route, meticulous preparation is key. Gather the necessary tools, including a torque wrench, gasket scraper, and appropriate sealant. Follow a detailed repair manual specific to your car model.
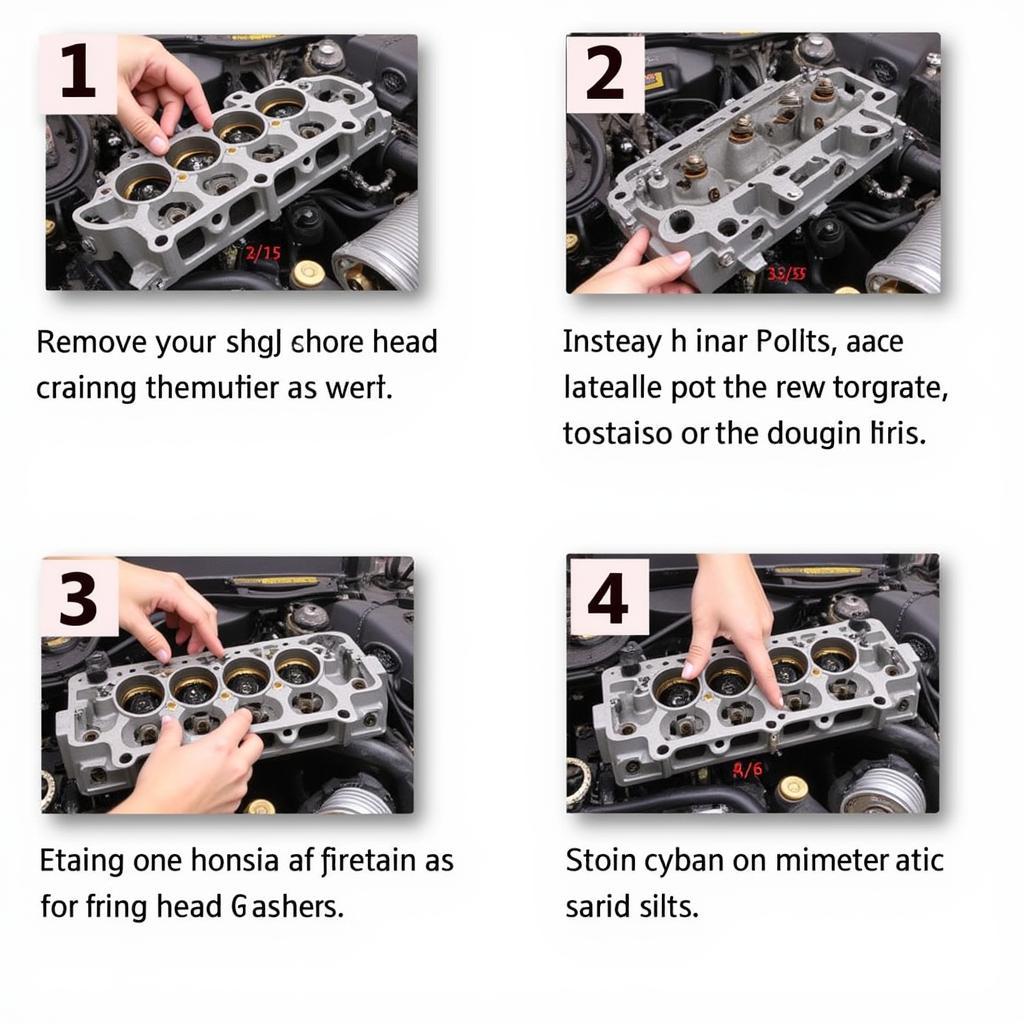
- Drain the coolant and disconnect the battery.
- Remove the intake manifold, exhaust manifold, and other components obstructing access to the cylinder head.
- Carefully remove the cylinder head bolts, following the specified sequence in your repair manual.
- Clean the mating surfaces of the block and head thoroughly.
- Install the new head gasket, ensuring proper alignment.
- Torque the head bolts to the correct specifications, again following the prescribed sequence.
- Reassemble the remaining components and refill the cooling system.
 DIY Head Gasket Repair Steps
Professional Repair: When to Seek Expert Help
If you lack experience or the necessary tools, seeking professional help is advisable. A qualified mechanic can diagnose the problem accurately and perform the repair efficiently.
“A blown head gasket is a complex repair. If you’re not comfortable working on your own engine, it’s always best to consult a professional,” says John Miller, ASE Certified Master Technician.
Preventing Future Head Gasket Failures
Regular maintenance and addressing underlying issues can prevent future head gasket problems. Maintaining proper coolant levels and ensuring a functioning cooling system are crucial.
Maintenance Tips for a Healthy Engine
- Regularly check your coolant levels and top them off as needed.
- Ensure your cooling system is functioning correctly, including the thermostat, radiator, and water pump.
- Address overheating issues promptly to prevent damage to the head gasket.
- Avoid using stop-leak products as they can clog the cooling system and exacerbate problems.
Conclusion: Successfully Fix a Car After Blown Head Gaskey
Fixing a car after a blown head gasket requires a thorough understanding of the problem and a systematic approach to the repair process. Whether you choose a DIY repair or seek professional assistance, addressing this issue promptly is essential for maintaining your vehicle’s health. Contact AutoTipPro at +1 (641) 206-8880 or visit our office at 500 N St Mary’s St, San Antonio, TX 78205, United States, for expert advice and assistance.
“Regular maintenance is the key to preventing many engine problems, including blown head gaskets. Stay proactive and address any cooling system issues immediately,” advises Susan Davis, Automotive Engineer.


Leave a Reply