Dealing with sagging or ripped car roof upholstery can be a real drag. It instantly makes your interior look worn and outdated. But don’t worry, fixing it yourself can be a surprisingly manageable DIY project that can save you a significant chunk of change. This guide will walk you through the process of how to Fix Car Roof Upholstery, giving you all the tips and tricks you need to achieve professional-looking results.
Assessing the Damage: What’s Going On Up There?
Before diving into the repair, it’s essential to identify the type and extent of the damage.
- Sagging: This usually occurs when the adhesive holding the fabric to the roof board weakens over time, causing the fabric to droop.
- Tears, Rips, or Holes: These can result from accidents, sharp objects, or simply wear and tear.
- Burns: Cigarettes are a common culprit, but even sunlight magnified through a glass can scorch your upholstery.
Gathering Your Fix Car Roof Upholstery Toolkit
Having the right tools on hand will make your fix car roof upholstery project go much smoother. Here’s what you’ll need:
- Adhesive: For most repairs, a high-quality spray adhesive specifically designed for headliners is your best bet.
- Cleaning Supplies: Microfiber cloths, rubbing alcohol, and a mild all-purpose cleaner are essential for prepping the surface.
- Sharp Utility Knife or Fabric Scissors: You’ll use these for trimming fabric if needed.
- Plastic Scraping Tool: Handy for removing old adhesive residue.
- Measuring Tape and Straight Edge: For making precise cuts if you’re replacing a section of fabric.
- Fabric Roller or Spatula: This will help you smooth out any air bubbles and ensure a strong bond.
- Replacement Fabric (optional): If the damage is too extensive, you might need to replace the entire headliner fabric. Choose a fabric that closely matches the original in color and texture.
- Work Gloves: Protect your hands from adhesive and sharp tools.
Fix Car Roof Upholstery: Step-by-Step Guide
Now, let’s get to the heart of the matter—fixing that upholstery!
1. Prepare Your Workspace
Choose a well-ventilated area and protect your car’s interior from any adhesive overspray. Lay down a drop cloth or plastic sheeting.
2. Remove Obstacles
Depending on your car model, you might need to remove or temporarily detach interior lights, sun visors, or handles to access the headliner fully.
3. Clean the Area
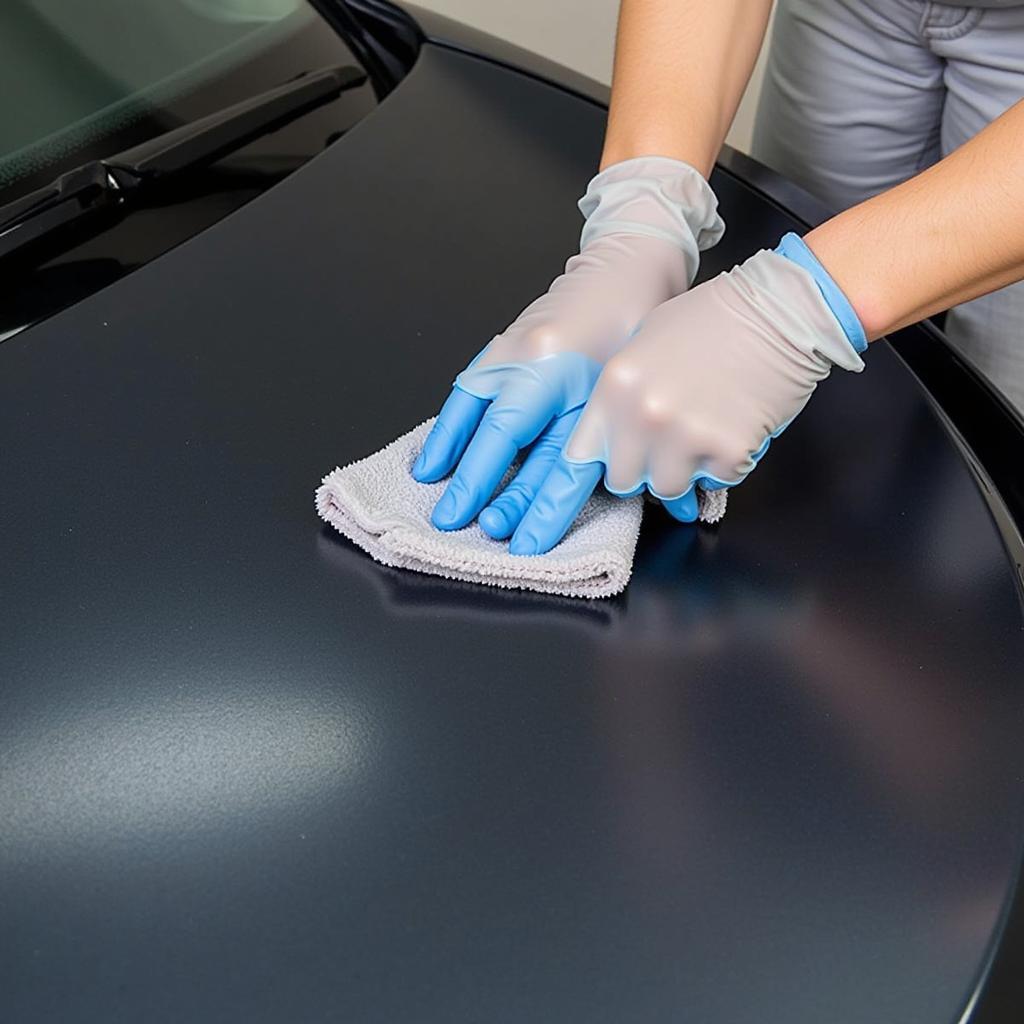
Thoroughly clean the damaged area of the headliner and the back of the sagging fabric with a mild all-purpose cleaner and microfiber cloths. Allow it to dry completely.
 Cleaning Car Roof Upholstery
4. Apply Adhesive
If it’s just sagging, apply a generous and even coat of spray adhesive to both the back of the fabric and the roof board. Allow the adhesive to become tacky for a few minutes, as per the manufacturer’s instructions.
5. Press and Smooth
Carefully press the fabric back onto the roof board, starting from the center and working your way outward. Use a fabric roller or a spatula to smooth out any wrinkles or air bubbles.
6. Dealing with Tears and Rips
- Small Tears: Apply a small amount of fabric glue to the edges of the tear and carefully pinch them together. Use a piece of wax paper over the tear and a weight to apply pressure while the glue dries.
- Larger Damage: You might need to patch the hole with a piece of matching fabric. Cut a patch slightly larger than the damaged area, apply adhesive to the back of the patch, and carefully position it over the hole.
7. Reinstall and Enjoy!
Once the adhesive is fully cured (typically 24 hours), reinstall any components you removed and marvel at your handiwork!
When To Call in the Pros
While fixing minor car roof upholstery issues is achievable for most DIYers, some situations might require professional intervention:
- Extensive Water Damage: If your headliner got soaked, it might be best to have it professionally replaced to prevent mold and mildew growth.
- Airbag Deployment: This can damage the headliner, and working around airbag components is best left to the experts.
- Intricate Designs or Materials: Vehicles with complex headliner designs or delicate materials might be too tricky for a DIY approach.
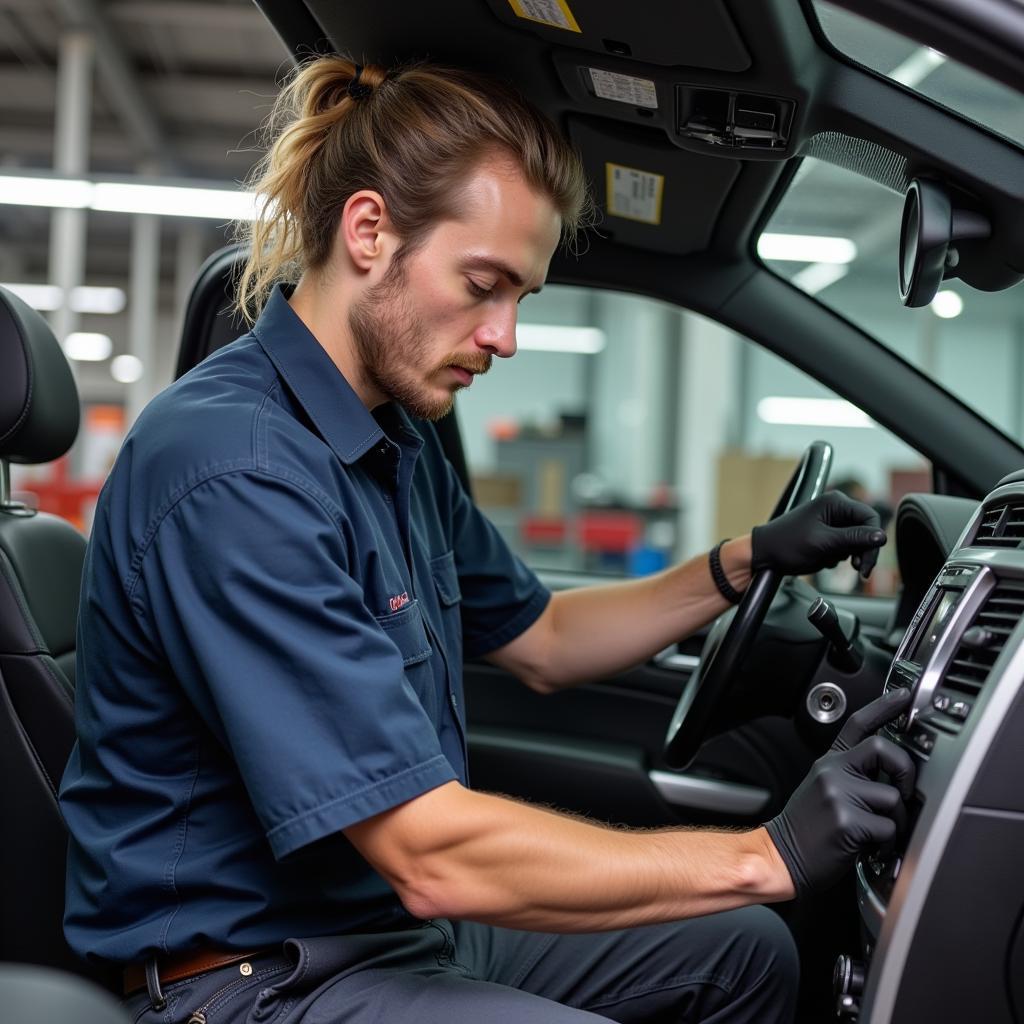
 Professional Car Upholstery Repair
Fix Car Roof Upholstery Like a Pro: Expert Tips
“When applying adhesive, more is not always better! Start with a light coat and gradually add more if needed. This will prevent the adhesive from soaking through the fabric and creating a messy finish,” advises John Davis, a veteran auto upholstery specialist with over 20 years of experience.
Fix Car Roof Upholstery FAQs
1. Can I use regular spray adhesive for headliners?
While it might seem tempting to use what you have on hand, using a specialized headliner adhesive is crucial. Regular spray adhesives may not withstand the heat and humidity inside a car, leading to sagging or adhesive failure down the line.
2. How long does it take for headliner adhesive to dry?
Most headliner adhesives will feel dry to the touch within a few hours. However, it’s best to allow a full 24 hours for the adhesive to cure completely before reinstalling any components or using your vehicle.
3. How can I prevent my car roof upholstery from sagging in the future?
Avoid parking your car in direct sunlight for prolonged periods, as excessive heat can weaken the adhesive over time. Also, be mindful of sharp objects and refrain from smoking inside your vehicle.
4. Can I simply glue my sagging headliner back up?
While simply gluing it back might seem like a quick fix, it’s usually not a long-term solution. Over time, gravity and the weight of the fabric will likely cause the adhesive to fail again.
5. How much does it cost to have a car roof upholstery professionally repaired?
The cost of professional repair can vary depending on the extent of the damage, your car model, and labor rates in your area. However, you can expect to pay anywhere from $150 to $500 or more for a complete headliner replacement.
6. Can I use fabric from a craft store to replace my headliner?
While technically possible, it’s not recommended. Upholstery fabric designed for automotive use is specifically engineered to resist fading, staining, and wear and tear caused by the unique conditions inside a vehicle.
7. What should I do if my headliner gets stained?
For fresh stains, immediately blot the affected area with a clean cloth or paper towel to absorb as much of the spill as possible. Avoid rubbing, as it can spread the stain further. For stubborn stains, consult a professional detailer or upholstery cleaner.
Don’t Let a Droopy Headliner Get You Down
Fixing car roof upholstery is a satisfying DIY project that can breathe new life into your car’s interior. By following these steps and tips, you’ll be well on your way to a smoother, more polished ride. And remember, if you encounter any issues or feel overwhelmed, don’t hesitate to contact the experts at AutoTipPro at +1 (641) 206-8880 or visit our office at 500 N St Mary’s St, San Antonio, TX 78205, United States. We’re always here to help!


Leave a Reply