Fixing a scratched plastic bumper can seem daunting, but with the right approach, it can be a straightforward DIY project. This guide covers everything from assessing the damage to achieving a professional-looking finish, saving you time and money.
 Assessing the scratch on a plastic car bumper
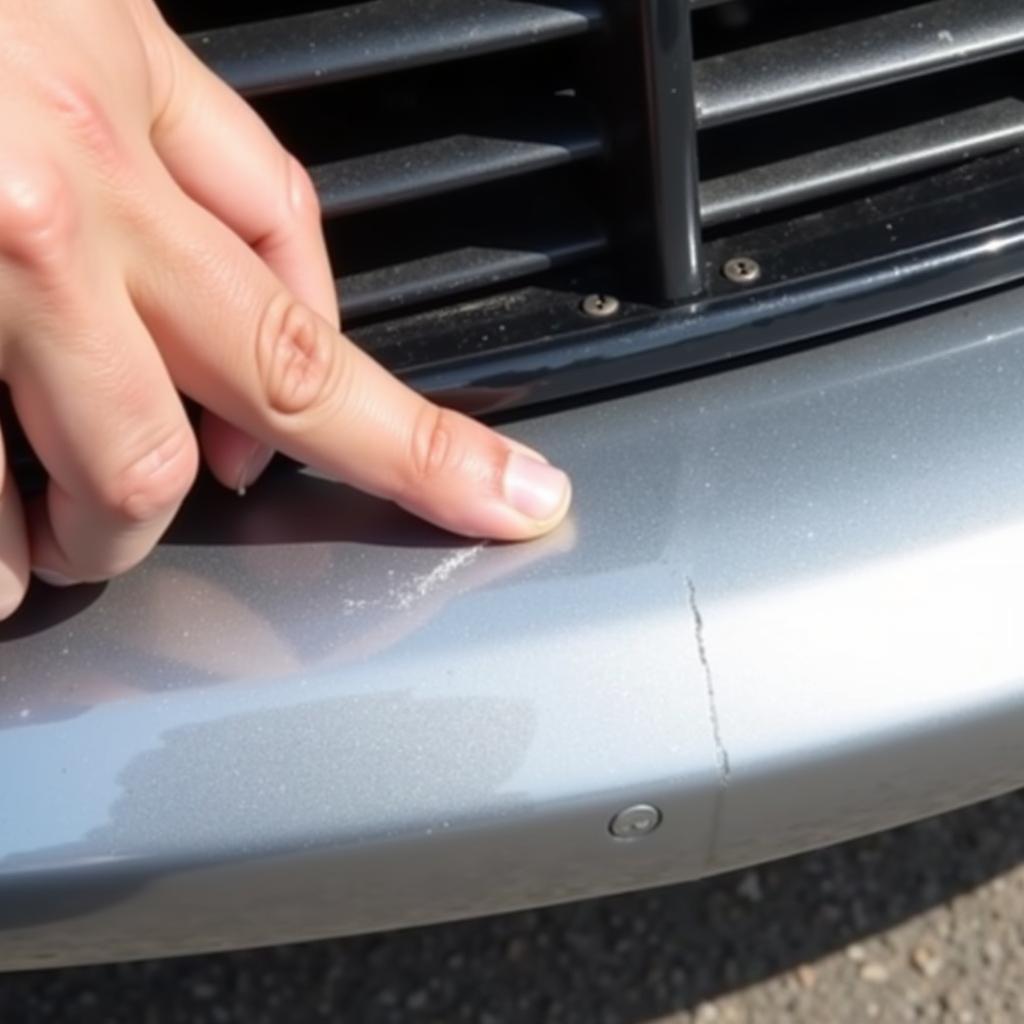
Assessing the Scratch: Light vs. Deep
Before you start, determine the severity of the scratch. Is it a light surface scratch or a deep gouge? This will dictate the appropriate repair method. Light scratches can often be buffed out, while deeper ones may require filling and painting. Knowing the difference will save you from unnecessary work. What are you waiting for? Let’s get started!
DIY Fixes for Light Scratches
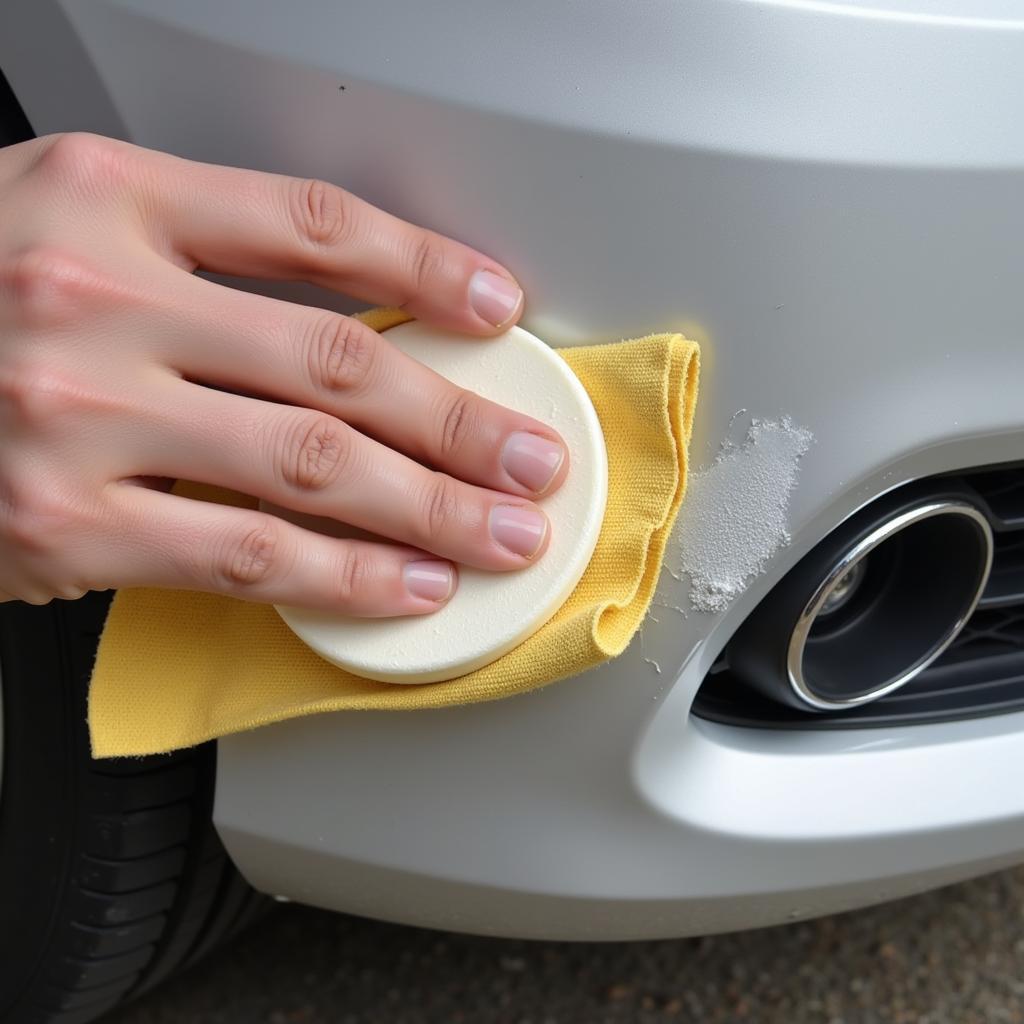
For minor scratches, a simple solution like a rubbing compound can work wonders. Apply a small amount to a microfiber cloth and gently rub the scratched area in a circular motion. This can effectively remove superficial scratches and restore the bumper’s shine. Remember to work patiently and avoid applying too much pressure. how to fix car bumper damage provides further information on bumper repair options.
 Applying rubbing compound to a scratched car bumper
Tackling Deep Scratches: A Step-by-Step Guide
Deeper scratches require a more involved approach. Here’s a step-by-step guide:
- Clean the area: Thoroughly clean the scratched area with soap and water, removing any dirt or debris.
- Sand the scratch: Use fine-grit sandpaper (around 2000-grit) to smooth the edges of the scratch and create a better surface for the filler to adhere to.
- Apply plastic filler: Choose a plastic filler specifically designed for bumpers. Apply it carefully, ensuring it fills the scratch completely.
- Sand the filler: Once the filler dries, sand it down until it’s flush with the surrounding bumper surface. Start with a coarser grit sandpaper and gradually move to a finer grit for a smooth finish.
- Prime and paint: Apply primer to the repaired area, followed by a matching paint color. Multiple thin coats are better than one thick coat.
- Clear coat (optional): Apply a clear coat for added protection and shine. This will also help blend the repair with the rest of the bumper. For more specific tools, check out our guide on car body fix tools.
When to Call a Professional
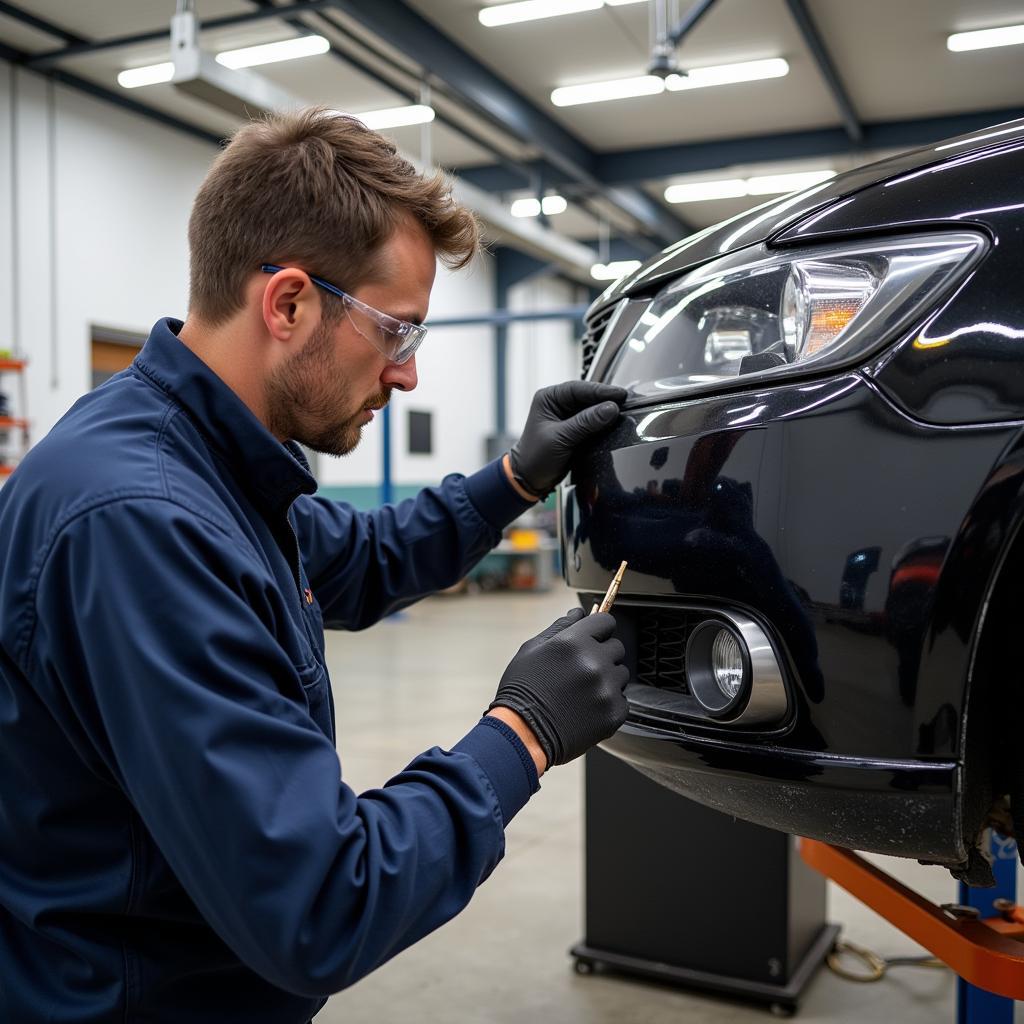
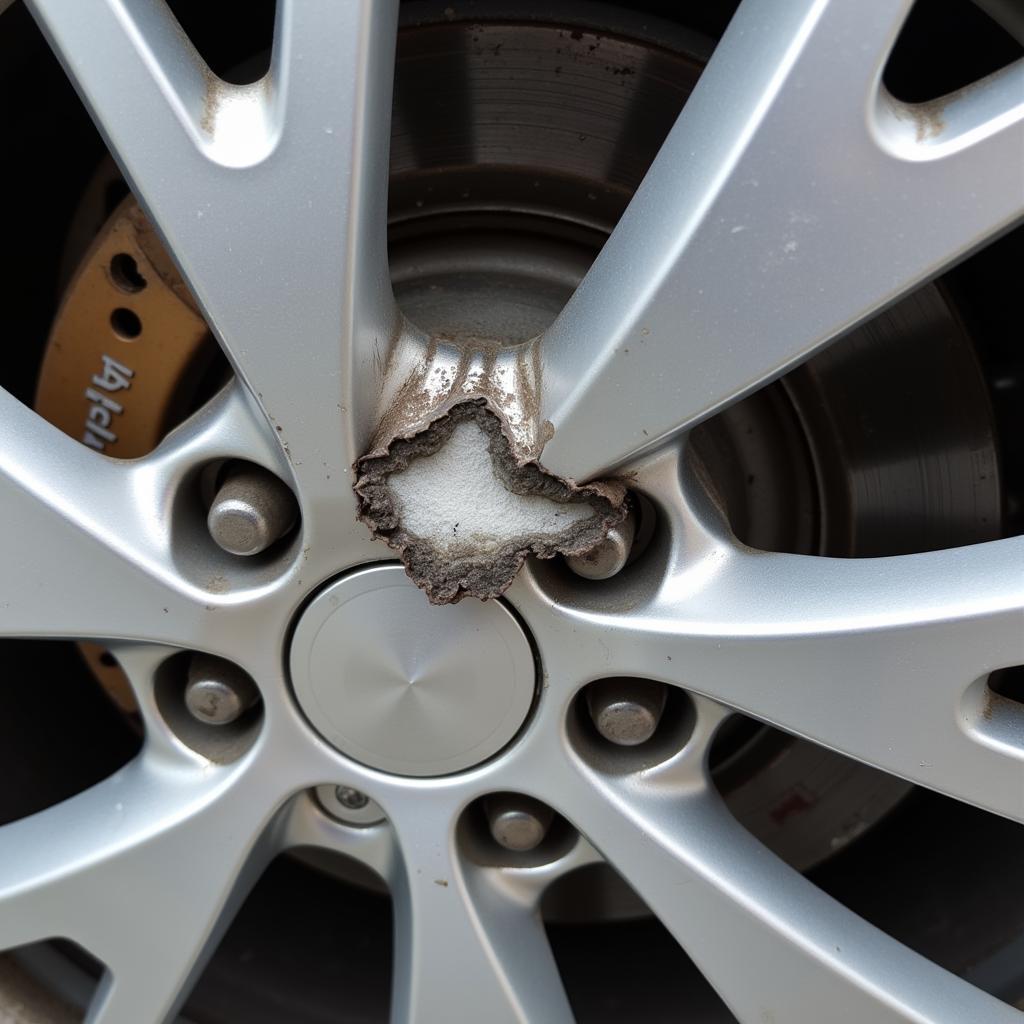
While many scratches can be fixed at home, some require professional attention. If the scratch is extremely deep, involves cracks or dents, or has damaged the bumper’s structural integrity, it’s best to consult a professional. They have the expertise and tools to handle complex repairs.
 A professional repairing a damaged car bumper
Preventing Future Scratches
Prevention is always better than cure! Park carefully, avoid tight spaces, and consider installing bumper protectors. These simple steps can significantly reduce the risk of future scratches. You can find more tips on fix car hail damage.
Conclusion
Fixing a car scratch plastic bumper can be a manageable DIY project or a professional job depending on the severity of the damage. By following the steps outlined in this guide, you can restore your bumper to its former glory and save yourself some money. For minor scratches, fix it pen for cars could be a quick solution. Don’t hesitate to connect with us at AutoTipPro at +1 (641) 206-8880 or visit our office at 500 N St Mary’s St, San Antonio, TX 78205, United States, for further assistance with your car repair needs. We’re here to help!


Leave a Reply