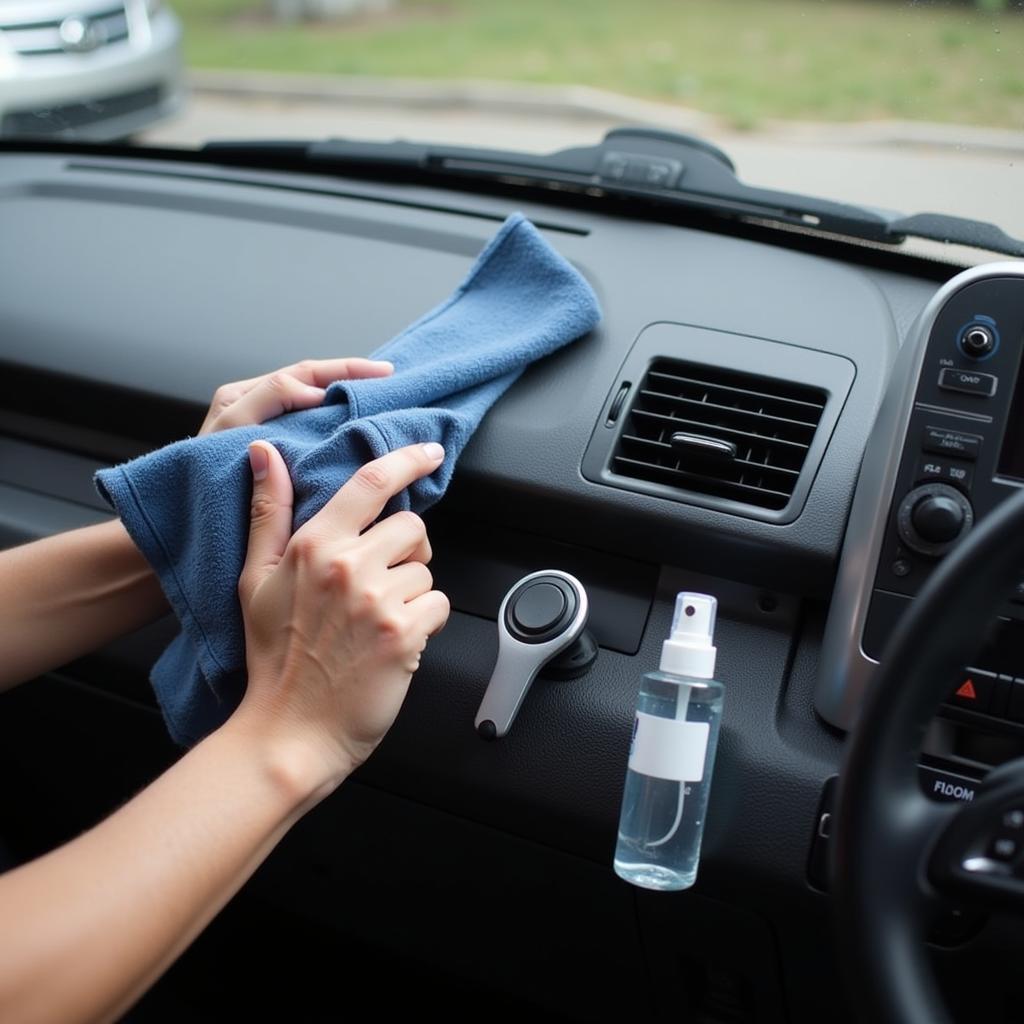
Fixing a sagging or damaged car ceiling lining can dramatically improve your vehicle’s interior aesthetics and comfort. This guide will provide you with expert advice and step-by-step instructions on how to Fix Lining Car Ceiling effectively, whether you’re a seasoned mechanic or a DIY enthusiast.
Understanding Your Car’s Headliner
Before you begin to fix lining car ceiling, it’s crucial to understand the components involved. The headliner, also known as the ceiling lining, consists of a backing board usually made of cardboard or fiberboard, covered with fabric or vinyl. This assembly is then glued to the roof of the car. Over time, the adhesive can weaken due to heat, humidity, or age, causing the lining to sag or detach.
Common Causes of Sagging Headliners
- Heat: Excessive heat can melt the adhesive, leading to the fabric separating from the backing board. This is particularly common in hotter climates.
- Humidity: Moisture can weaken the adhesive bond over time.
- Age: As the car ages, the adhesive naturally deteriorates, resulting in a sagging headliner.
- Physical Damage: Impacts or rough handling can also damage the headliner, causing it to sag or tear.
DIY Fix Lining Car Ceiling Methods
There are several methods to fix lining car ceiling, ranging from quick fixes to more permanent solutions. Choosing the right method depends on the extent of the damage and your budget.
Using a Headliner Repair Kit
Headliner repair kits are a readily available and affordable option for minor sagging. These kits typically include specialized adhesive and sometimes even replacement fabric. Simply clean the area, apply the adhesive, and press the fabric back into place.
Using Pins or Tacks
For small areas of sagging, using pins or tacks can be a temporary solution. Choose pins or tacks that match the color of your headliner to make them less noticeable. However, this is not a permanent solution and might not be suitable for large areas of sagging.
Replacing the Headliner Fabric
For extensive damage or if you desire a completely new look, replacing the entire headliner fabric is the best option. This involves removing the old fabric and adhesive, and then gluing new fabric to the backing board.
Step-by-Step Guide to Replacing Headliner Fabric
- Gather your materials: New headliner fabric, headliner adhesive, trim removal tools, scissors, and a clean cloth.
- Remove the headliner: Carefully remove any trim pieces or accessories attached to the headliner. Then, gently lower the headliner from the roof.
- Clean the backing board: Remove the old fabric and adhesive from the backing board. Clean the board thoroughly to ensure proper adhesion of the new fabric.
- Apply the adhesive: Apply an even layer of headliner adhesive to the backing board.
- Attach the new fabric: Carefully lay the new fabric onto the adhesive, smoothing it out to avoid wrinkles or air bubbles.
- Reinstall the headliner: Once the adhesive has dried, reinstall the headliner and any trim pieces or accessories.
Professional Headliner Repair
If you’re not comfortable with a DIY approach, consider taking your car to a professional auto upholstery shop. They have the expertise and tools to fix lining car ceiling quickly and efficiently. You can even explore options like how to fix the ceiling lining of a car for more insights. Sometimes, a simple fix like how to fix hanging headliner in car might be all you need.
“Choosing the right adhesive is crucial for a long-lasting headliner repair. Opt for a high-temperature resistant adhesive specifically designed for automotive headliners,” advises John Miller, a veteran auto upholsterer with over 20 years of experience. He also recommends testing the adhesive on a small, inconspicuous area before applying it to the entire headliner.
If you’re looking to revamp your car’s interior, considering a fix up my car project might be a worthwhile endeavor. Perhaps, you also need a fix car side after a minor accident. For those concerned about the cost, checking an estimate for car hood fix can help you budget accordingly.
“Proper surface preparation is key to a successful headliner repair. Ensure the backing board is clean and free from any debris before applying the adhesive,” adds Sarah Chen, an automotive engineer specializing in interior design.
Conclusion
Fixing a car ceiling lining, or to fix lining car ceiling as some might say, doesn’t have to be a daunting task. With the right tools, materials, and a little patience, you can restore your car’s interior to its former glory. For any further assistance or professional guidance, feel free to contact us at AutoTipPro at +1 (641) 206-8880 or visit our office at 500 N St Mary’s St, San Antonio, TX 78205, United States. We’re here to help you get your car looking its best.


Leave a Reply