Fixing paint chips on a white car can seem daunting, but with the right knowledge and tools, you can achieve professional-looking results. This guide provides step-by-step instructions and expert advice to help you restore your car’s pristine finish.
How to identify the type of paint damage on your white car?
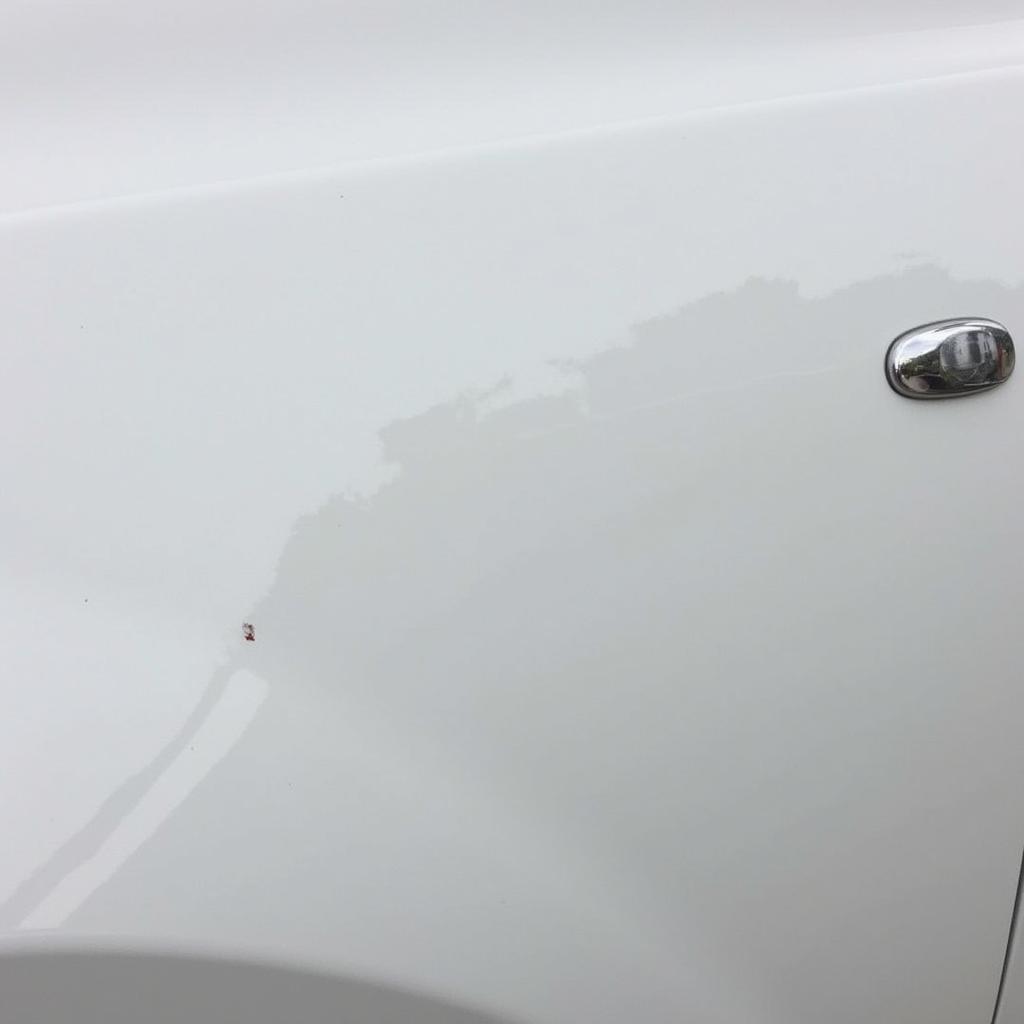
Before starting any repair, it’s crucial to assess the damage. A small chip might only require touch-up paint, while deeper scratches may necessitate sanding and priming. Identifying the extent of the damage will determine the appropriate repair method. For example, a deep scratch that exposes the metal underneath requires more attention than a superficial scuff.
How to Choose the Right Materials for the Job
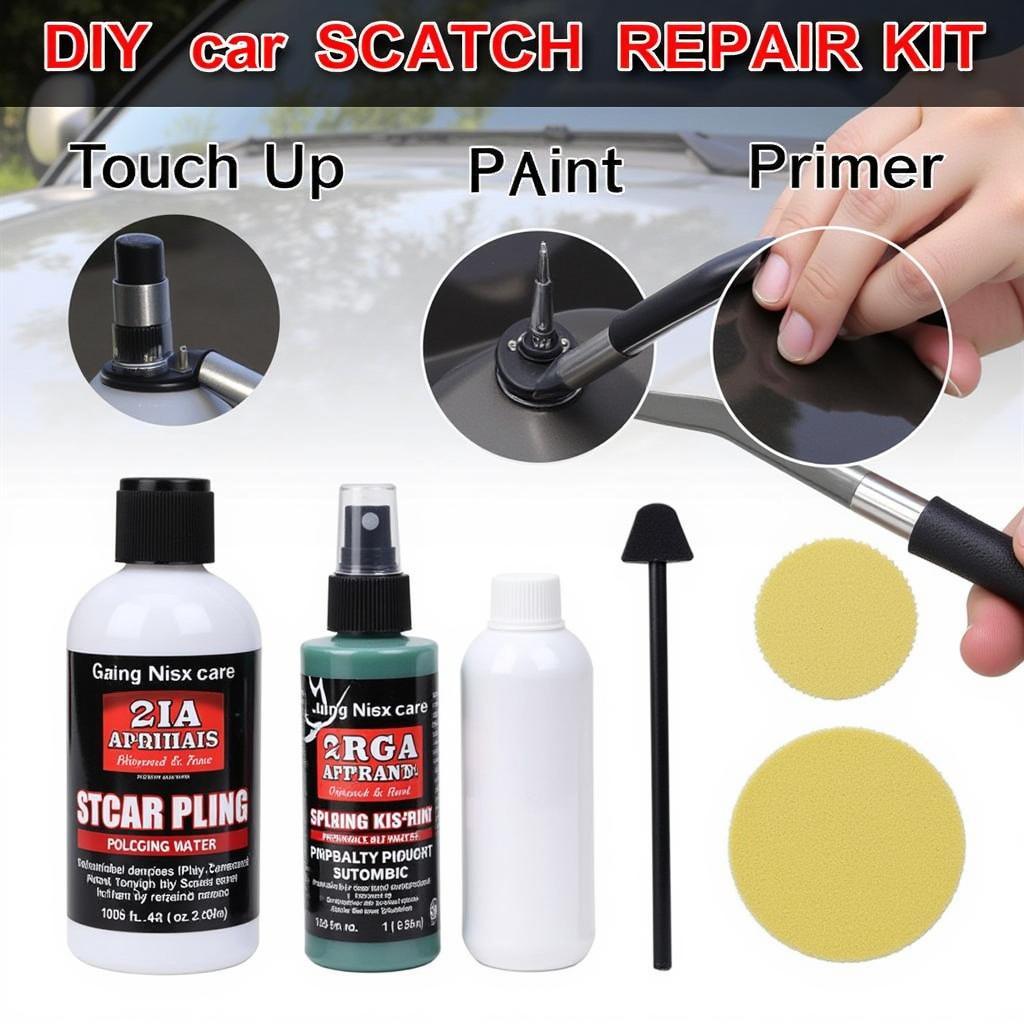
Choosing the right materials is essential for a seamless repair. For minor chips, a touch-up paint pen or bottle from your car’s manufacturer is ideal. For larger chips or scratches, you’ll need primer, sandpaper, and clear coat. Ensure all products are compatible with your car’s paint type.
Preparing the Area for Paint Chip Repair
Thorough preparation is key to a flawless finish. Clean the chipped area with soap and water, then degrease it with rubbing alcohol. This removes dirt, wax, and grease that can interfere with paint adhesion. Masking off the surrounding area protects the undamaged paint from accidental scratches during the repair process. Consider using a fix in a bottle car product for minor scratches.
Step-by-Step Guide to Fixing Paint Chips on a White Car
- Clean and degrease: As mentioned earlier, thoroughly clean the chipped area.
- Sand (if necessary): For deeper chips, use fine-grit sandpaper to smooth the edges of the chip.
- Prime (if necessary): If the chip has reached the metal, apply a thin layer of primer to prevent rust and ensure proper paint adhesion.
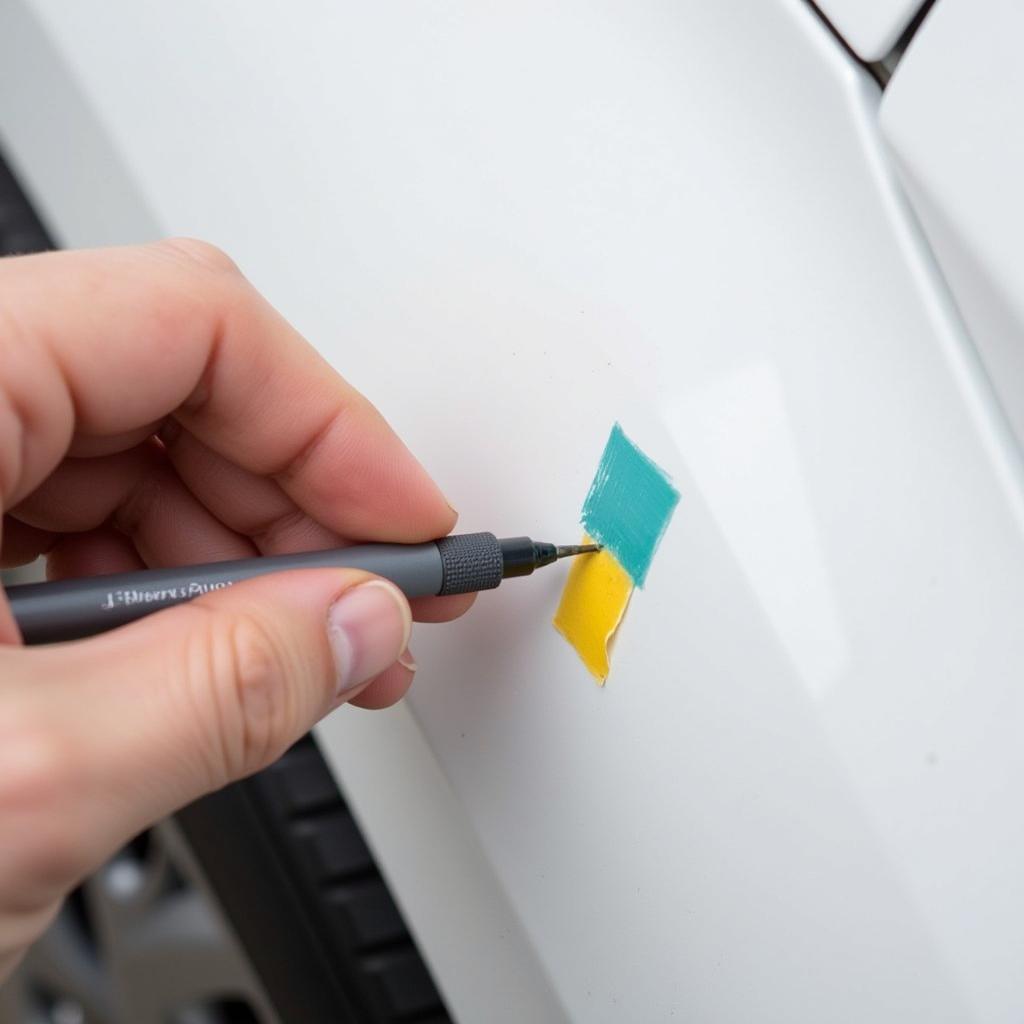
- Apply touch-up paint: Carefully apply the touch-up paint, starting with a small amount and building up thin layers. Avoid applying too much paint at once, as this can lead to dripping and an uneven finish. Allow each layer to dry completely before applying the next.
- Level the paint: Once the touch-up paint is dry, use fine-grit sandpaper to carefully level the repaired area with the surrounding paint.
- Apply clear coat (if necessary): Apply a thin layer of clear coat to protect the repair and blend it seamlessly with the original paint.
 Applying Touch-Up Paint to a White Car
“Patience is key when fixing paint chips. Applying thin layers and allowing ample drying time between coats ensures a professional-looking result,” advises John Smith, Automotive Paint Specialist at Smith Auto Repair.
Maintaining Your White Car’s Paint Job
Regular washing and waxing can prevent future paint chips. Using a high-quality car wax creates a protective barrier against minor scratches and UV damage. Parking in shaded areas or using a car cover can also minimize exposure to harsh elements. You might be surprised to learn that proper car maintenance can help address issues like how can we fix car pollution.
 Polished White Car After Paint Chip Repair
“Protecting your car’s paint is an investment. Regular maintenance not only enhances its appearance but also helps maintain its resale value,” adds Maria Garcia, Auto Detailing Expert at Garcia’s Auto Spa.
Conclusion
Fixing paint chips on your white car is a manageable DIY project. Following these steps and using the right materials can restore your car’s finish and prevent further damage. Remember, patience and attention to detail are crucial for a seamless repair. For any further assistance, feel free to contact AutoTipPro at +1 (641) 206-8880 or visit our office at 500 N St Mary’s St, San Antonio, TX 78205, United States.
Thinking about fixing other issues yourself? Learn more about how to fix window button in car or explore the world of DIY car repair with maker comics fix a car. Additionally, understanding local regulations, such as code enforcement for fixing cars on streets of prince george’s, can be beneficial.


Leave a Reply