Discovering a deep scratch on your car can be disheartening, but don’t panic! While it might seem like a major issue, there are effective ways to fix a deep scratch and restore your car’s appearance. This comprehensive guide will walk you through the steps involved in assessing the damage, choosing the right repair method, and achieving a professional-looking finish.
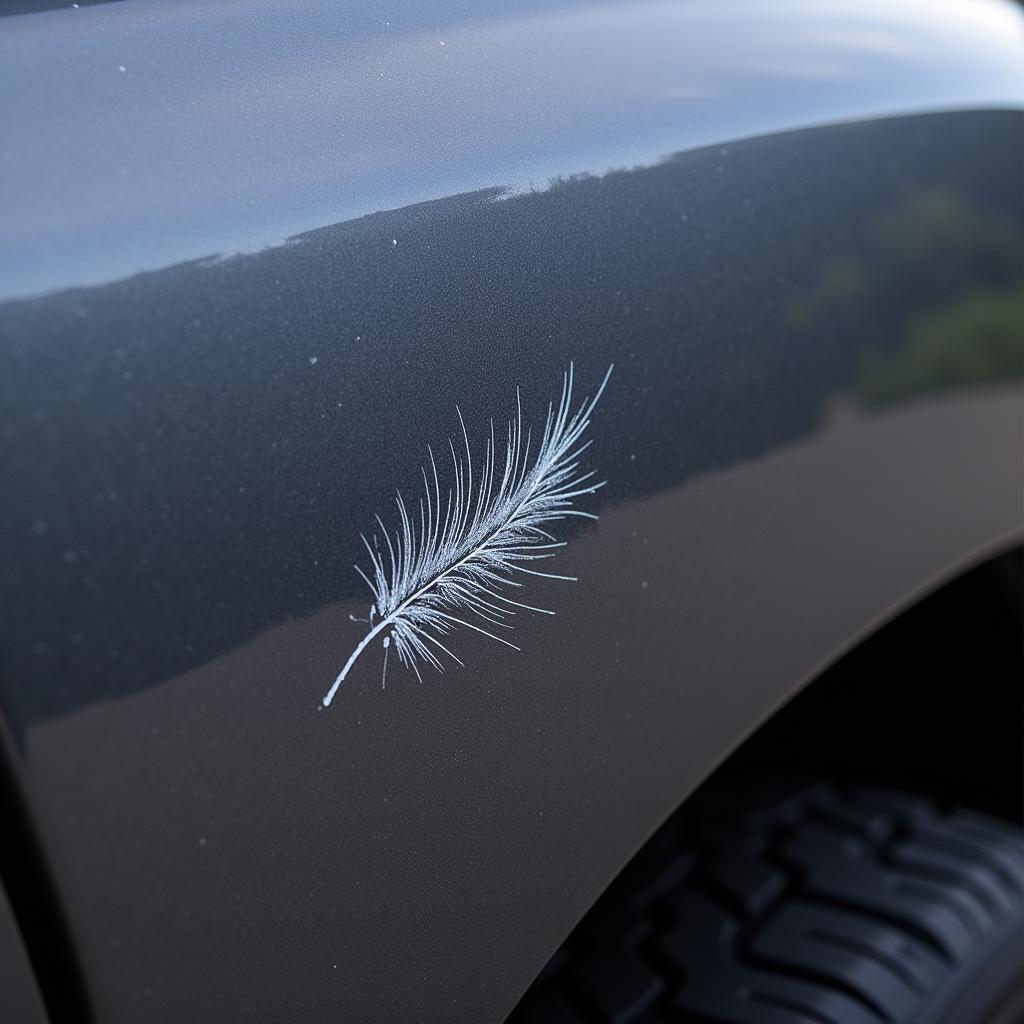
 Close up of a deep car scratch
Assessing the Damage: How Deep is Too Deep?
Before diving into the repair process, it’s crucial to assess the severity of the scratch. A simple car wash and wax might suffice for minor scratches, but deeper ones require more attention.
Here’s how to determine the depth:
- The Fingernail Test: Gently run your fingernail across the scratch. If your nail catches or gets stuck, it indicates a deep scratch that has penetrated beyond the clear coat and into the paint layers.
- Visible Layers: Examine the scratch closely. Can you see different layers of paint, primer, or even bare metal? This signifies a deep scratch requiring more involved repair.
Deep scratches not only mar your car’s aesthetics but can also lead to rust and corrosion if left untreated.
DIY or Professional Help: Making the Right Call
Deciding whether to tackle the repair yourself or seek professional help depends on your comfort level, available time, and the severity of the scratch.
Consider DIY if:
- The scratch is relatively small and hasn’t penetrated the primer layer.
- You’re comfortable with basic car repair techniques.
- You have the necessary tools and materials.
Opt for a Professional if:
- The scratch is deep, exposing multiple layers or bare metal.
- You’re unsure about the repair process or lack experience.
- You want a flawless, factory-like finish.
For extensive damage, especially on newer car models with specialized paint systems, consulting a professional is highly recommended.
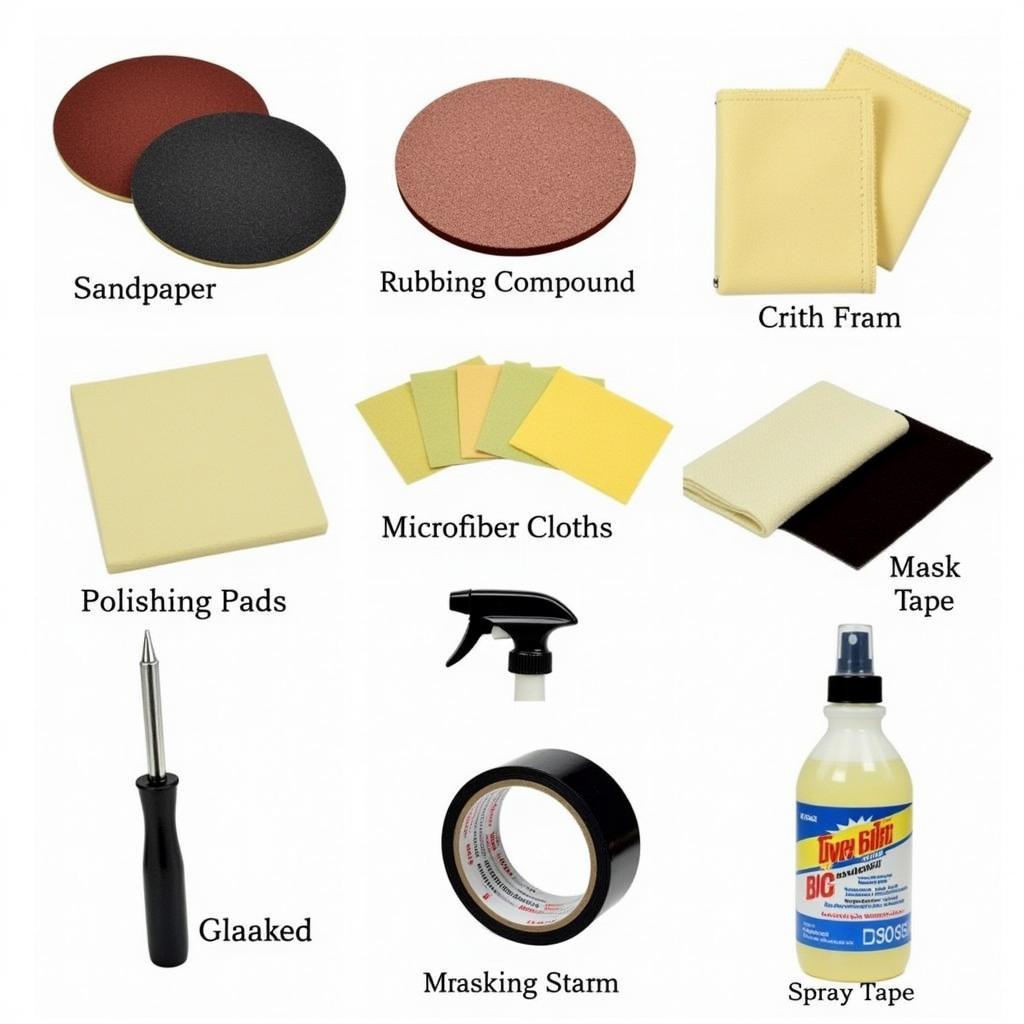
 Car scratch repair tools and materials laid out on a table
Fixing a Deep Scratch: Step-by-Step Guide
For DIY repairs of deep scratches, follow these steps:
- Clean the Area: Thoroughly wash and dry the scratched area to remove dirt, grime, and wax.
- Sand the Scratch: Using automotive sandpaper (starting with a coarser grit like 200 and gradually moving to finer grits like 2000), gently sand the scratch in a back-and-forth motion. Keep the sanding area slightly larger than the scratch itself.
- Clean and Mask: Clean the sanded area with rubbing alcohol and mask off the surrounding area with painter’s tape to protect the undamaged paint.
- Apply Primer (If Necessary): If the scratch has reached the primer or bare metal, apply a thin coat of automotive primer to the affected area and allow it to dry completely.
- Apply Touch-Up Paint: Carefully apply thin coats of matching touch-up paint to the scratch, allowing each coat to dry before applying the next.
- Level the Surface: Once the paint is dry, use fine-grit sandpaper (2000 or higher) to level the painted area with the surrounding surface.
- Compound and Polish: Apply a rubbing compound to the repaired area using a polishing pad or microfiber cloth. Work in circular motions to remove any imperfections and blend the paint.
- Wax and Seal: After polishing, apply a coat of car wax to the entire area to protect the finish and restore shine.
Remember, patience and attention to detail are key to achieving a satisfactory outcome.
Preventing Future Scratches: Proactive Measures
While accidents happen, taking preventative measures can significantly reduce the risk of future scratches:
- Park Strategically: Choose parking spots away from shopping cart traffic, low-hanging branches, and tight spaces.
- Wash Regularly: Frequent washing removes dirt and grime that can act as abrasives, scratching the paint.
- Apply Paint Protection Film: Consider applying a clear paint protection film to vulnerable areas like the hood, bumpers, and mirrors.
By following these tips and being mindful of your surroundings, you can help keep your car looking its best.
Expert Insights:
“Many car owners underestimate the importance of proper sanding techniques when fixing deep scratches,” says John Smith, an experienced automotive technician at XYZ Auto Body. “Using the correct grit sequence and sanding in a controlled manner is crucial for achieving a smooth and level surface for paint application.”
He further adds, “While DIY repairs can be effective for minor scratches, seeking professional help is advisable for deep or extensive damage. Professionals have the expertise, tools, and paint-matching capabilities to deliver a flawless and long-lasting repair.”
Conclusion
Fixing A Deep Scratch On Your Car might seem daunting, but with the right approach and information, you can restore its appearance. By carefully assessing the damage, choosing the appropriate repair method, and following the steps outlined in this guide, you can achieve impressive results. Remember, patience and attention to detail are your allies in this endeavor. For professional-level repairs or if you’re unsure about any step, don’t hesitate to contact a reputable auto body shop.
Need help fixing that scratch? Contact AutoTipPro at +1 (641) 206-8880 or visit our office at 500 N St Mary’s St, San Antonio, TX 78205, United States. We’re here to help you get your car back in pristine condition!
FAQs:
-
Can I use household items to fix a deep scratch on my car?
While some household items might seem tempting to use, it’s best to stick to automotive-grade products specifically designed for car scratch repair. Using inappropriate materials can cause further damage or result in an unsatisfactory finish.
-
How long does it take for touch-up paint to dry?
Drying time for touch-up paint varies depending on the product and environmental conditions. Generally, it’s best to allow each coat to dry for at least 30 minutes to an hour before applying the next.
-
Is it necessary to apply a clear coat after touch-up paint?
Applying a clear coat over touch-up paint is generally recommended, especially if the scratch is deep or in a noticeable area. Clear coat provides an additional layer of protection, enhances shine, and helps blend the repair with the surrounding paintwork.
-
Can I wash my car after fixing a deep scratch?
It’s generally advisable to wait at least 24-48 hours after completing the repair before washing your car. This allows the touch-up paint and clear coat to fully cure and harden.
-
How can I prevent scratches from happening in the first place?
Parking strategically, washing your car regularly, and considering paint protection film are effective ways to minimize the risk of scratches. Being mindful of your surroundings and avoiding potential hazards can also go a long way in preventing damage to your car’s paintwork.


Leave a Reply