Fixing paint chips on your car is a common car maintenance task. Left untended, those small blemishes can blossom into large-scale rust patches that can be expensive to repair. This comprehensive guide will walk you through the steps on how to fix paint chips, so you can keep your car looking its best.
Assessing the Damage: How Deep is the Chip?
Before you start the process of Fixing Paint Chips In Car Paint, you need to determine the severity of the damage.
- Minor Chips: These are small scratches and chips that only penetrate the clear coat and base coat, not reaching the primer or bare metal.
- Medium Chips: These chips expose the primer but haven’t yet progressed to the metal underneath.
- Severe Chips: The worst of the bunch. Severe chips expose bare metal, which is a major invitation to rust and corrosion.
Tools and Materials You Will Need
- Cleaning Supplies: Car wash soap, microfiber cloths, rubbing alcohol
- Sandpaper: Fine-grit sandpaper (2000-grit)
- Touch-Up Paint: Primer (if bare metal is exposed), base coat paint, and clear coat. Make sure to purchase the correct color code for your car.
- Applicators: Touch-up pen, fine-tip brush, or toothpick
- Masking Tape: To protect surrounding areas
- Polishing Compound: To blend the repair and restore shine
- Wax: To protect the repaired area
How To Fix Paint Chips: A Step-by-Step Guide
Step 1: Clean the Area
Thoroughly wash your car and allow it to dry completely. Use rubbing alcohol to clean the area around the paint chip to remove any wax, grease, or dirt.
Step 2: Sand the Chip (If Necessary)
If the chip is medium or severe and has rough edges, use fine-grit sandpaper to smooth it out. Be gentle and avoid sanding the surrounding paint.
Step 3: Prime (If Necessary)
If the chip has exposed bare metal, apply a thin coat of automotive primer to the affected area. Primer helps to prevent rust and provides a good surface for the paint to adhere to. Allow the primer to dry completely before moving on to the next step.
Step 4: Apply Touch-Up Paint
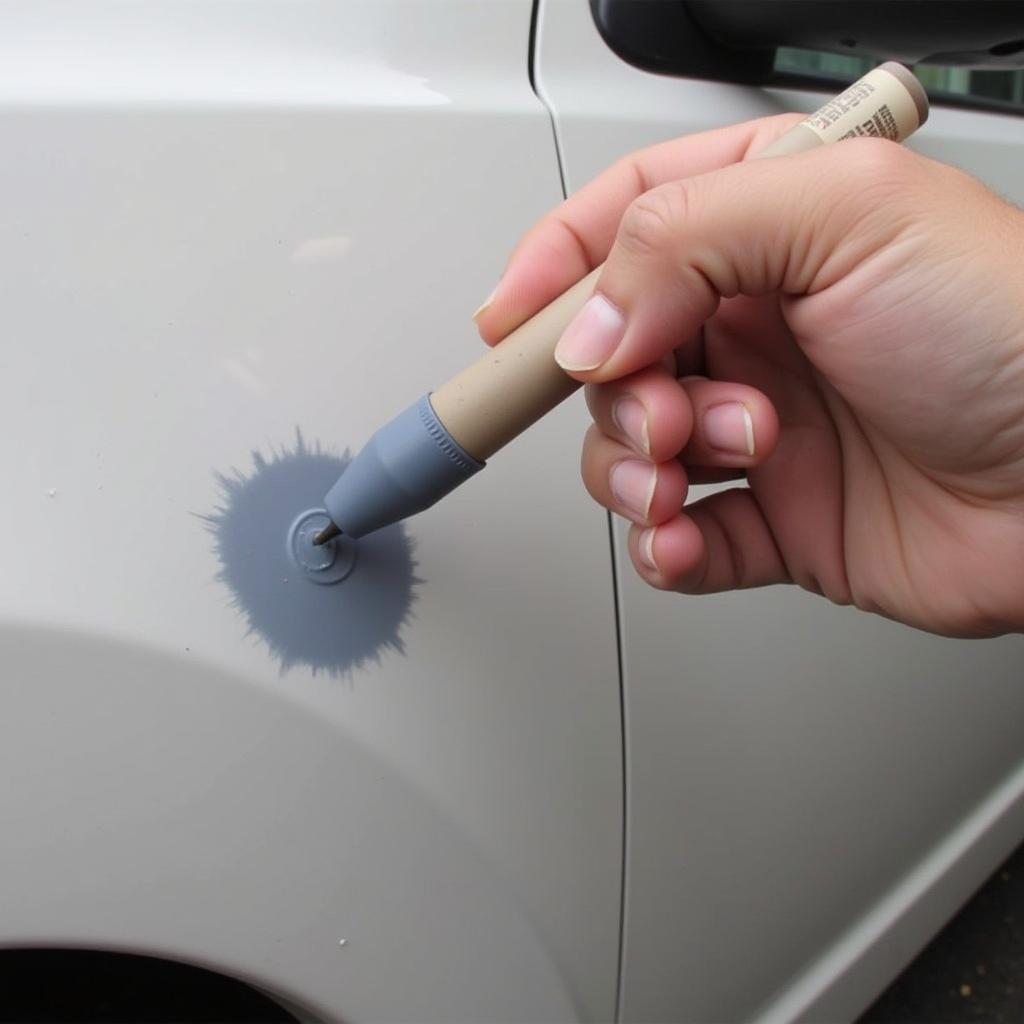
Shake the touch-up paint bottle thoroughly. Using a touch-up pen, fine-tip brush, or toothpick, carefully apply a thin coat of paint to the chipped area. Start from the center of the chip and work your way outwards. Try to avoid getting any paint on the surrounding areas.
 Applying Touch-Up Paint
Step 5: Let it Dry and Apply Additional Coats (If Necessary)
Allow the first coat of paint to dry completely. Depending on the severity of the chip, you may need to apply several thin coats of paint to achieve a smooth and even finish. Wait for each coat to dry before applying the next.
Step 6: Apply Clear Coat (If Necessary)
If you have a deep chip or have applied several coats of touch-up paint, you may want to apply a clear coat to protect the repair and restore the shine. Apply a thin coat of clear coat, extending slightly beyond the repaired area.
Step 7: Sand and Polish
Once the clear coat is dry (this may take a couple of days), use fine-grit sandpaper to carefully level the repaired area with the surrounding paint. Follow up with a polishing compound to blend the repair and remove any sanding marks.
Step 8: Wax the Area
Finally, apply a coat of wax to the repaired area to protect it and give it a nice shine.
When to Call a Professional
While fixing small to medium paint chips can be a DIY project, there are instances where it is best to leave it to the professionals:
- Large or Numerous Chips: If you have large paint chips or numerous chips scattered across your car, it is best to have a professional assess the damage. They can determine if a touch-up is sufficient or if a more extensive repair, like repainting a panel, is required.
- Deep Scratches: Scratches that go through multiple layers of paint, especially those that expose bare metal, often require professional attention to ensure proper repair and rust prevention.
- Damage to Plastic Parts: Plastic bumpers and trim require specialized repair techniques and products.
Fixing large paint chips car requires more advanced techniques and tools. If you are unsure about tackling this repair yourself, it is best to consult with a professional.
Preventing Future Paint Chips
- Regular Washing: Regularly washing your car removes dirt and grime that can scratch the paint.
- Waxing: Applying a coat of wax every few months provides a protective barrier against minor scratches and chips.
- Parking Strategically: Park your car in a garage or carport whenever possible. If you must park outside, choose shaded areas to protect your car from the sun’s damaging UV rays, which can fade and damage your car’s paint job over time.
By taking these preventive measures, you can help keep your car’s paint looking its best for years to come.
Fixing paint chips in your car paint is an essential part of car maintenance. While you can tackle minor chips yourself, remember there are situations when it’s best to call in a professional. If you are unsure about any step in the process, it is always best to err on the side of caution and seek expert advice.
For expert advice and assistance with your car repair and maintenance needs, contact AutoTipPro at +1 (641) 206-8880 or visit our office located at 500 N St Mary’s St, San Antonio, TX 78205, United States.


Leave a Reply