Touching up your car’s paint is about more than just aesthetics. It protects your car’s body from rust and corrosion and can even boost its resale value. Whether you’re dealing with minor scratches, paint chips, or larger areas of damage, this guide will walk you through the steps to get your car looking its best again.
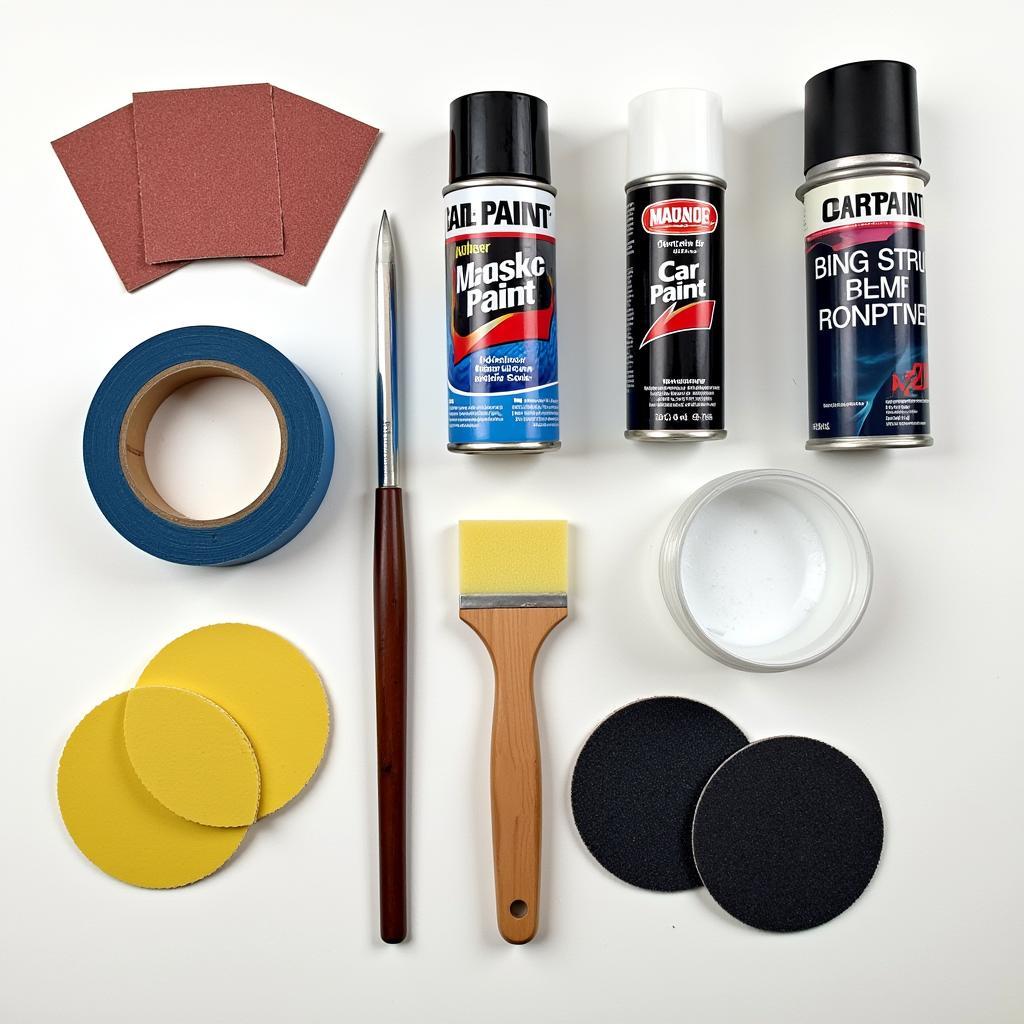
 Car paint repair tools
Assessing the Damage: What Needs Fixing?
Before you begin, it’s crucial to assess the extent of the damage to your car’s paint. Is it a light scratch that only affects the clear coat? Or is it a deeper gouge that exposes the bare metal?
- Clear coat scratches: These appear as light, superficial marks and can often be buffed out with polishing compound.
- Paint chip repair: Chips are small areas where the paint has flaked off, exposing the primer or metal underneath. They require a bit more attention, typically involving cleaning, priming, and paint touch-up.
- Deep scratches: These penetrate through the color coat and often require filling, sanding, and repainting to achieve a seamless repair.
fixing paint scrape on car can help you learn more about addressing different levels of paint damage.
Understanding the type of damage will dictate the approach you need to take for fixing the paint on a car.
DIY or Professional Help?
The next step is deciding whether to tackle the repair yourself or seek professional help. While minor scratches and chips can be addressed with DIY methods, extensive damage or repairs requiring color matching are best left to the experts.
“For significant damage or if you’re unsure about the color matching, it’s always advisable to consult with a professional auto body shop,” says John Miller, an experienced auto body technician with over 20 years of experience. “They have the expertise and equipment to ensure a flawless finish.”
Essential Tools and Materials
If you’re opting for the DIY route, here are the essential tools and materials you’ll need:
- Cleaning Supplies: Car wash soap, microfiber cloths, wax and grease remover
- Sandpaper: A variety of grits (e.g., 220, 400, 600, 1500, 2000) for smoothing and feathering
- Masking Tape and Paper: To protect surrounding areas during sanding and painting
- Primer: For promoting paint adhesion (if bare metal is exposed)
- Touch-Up Paint: Ensure a perfect color match with your car’s paint code
- Clear Coat: For sealing and protecting the paint
- Rubbing Compound and Polishing Compound: For removing scratches and restoring shine
- Microfiber Cloths and Applicators: For applying compounds and wiping away residue
Fixing Paint on a Car: A Step-by-Step Guide
1. Preparation is Key
- Wash and Dry: Thoroughly wash and dry the car to remove dirt, debris, and wax.
- Mask the Area: Use masking tape and paper to protect the areas surrounding the damage.
- Sanding (If Necessary): For deeper scratches or chips, start with coarser grit sandpaper (220) and gradually work your way up to finer grits (2000) for a smooth finish.
fixing deep scratch in car paint often involves a more in-depth sanding process.
2. Priming (If Needed)
- Prime Exposed Metal: If sanding has exposed bare metal, apply a thin coat of automotive primer to prevent rust and ensure paint adhesion. Allow it to dry completely.
3. Applying Touch-Up Paint
- Shake Well: Shake the touch-up paint bottle thoroughly to ensure proper mixing.
- Apply Thin Coats: Apply several thin coats of paint, allowing each coat to dry completely before applying the next. Avoid applying too much paint at once to prevent drips and runs.
4. Clear Coat Application
- Apply Clear Coat (If Needed): After the final coat of paint has dried, apply 2-3 thin coats of clear coat, allowing for adequate drying time between each coat.
- Leveling and Sanding: Once the clear coat has fully cured (usually 24-48 hours), you can use fine-grit sandpaper (2000) to level any imperfections in the clear coat.
5. Polishing for a Flawless Finish
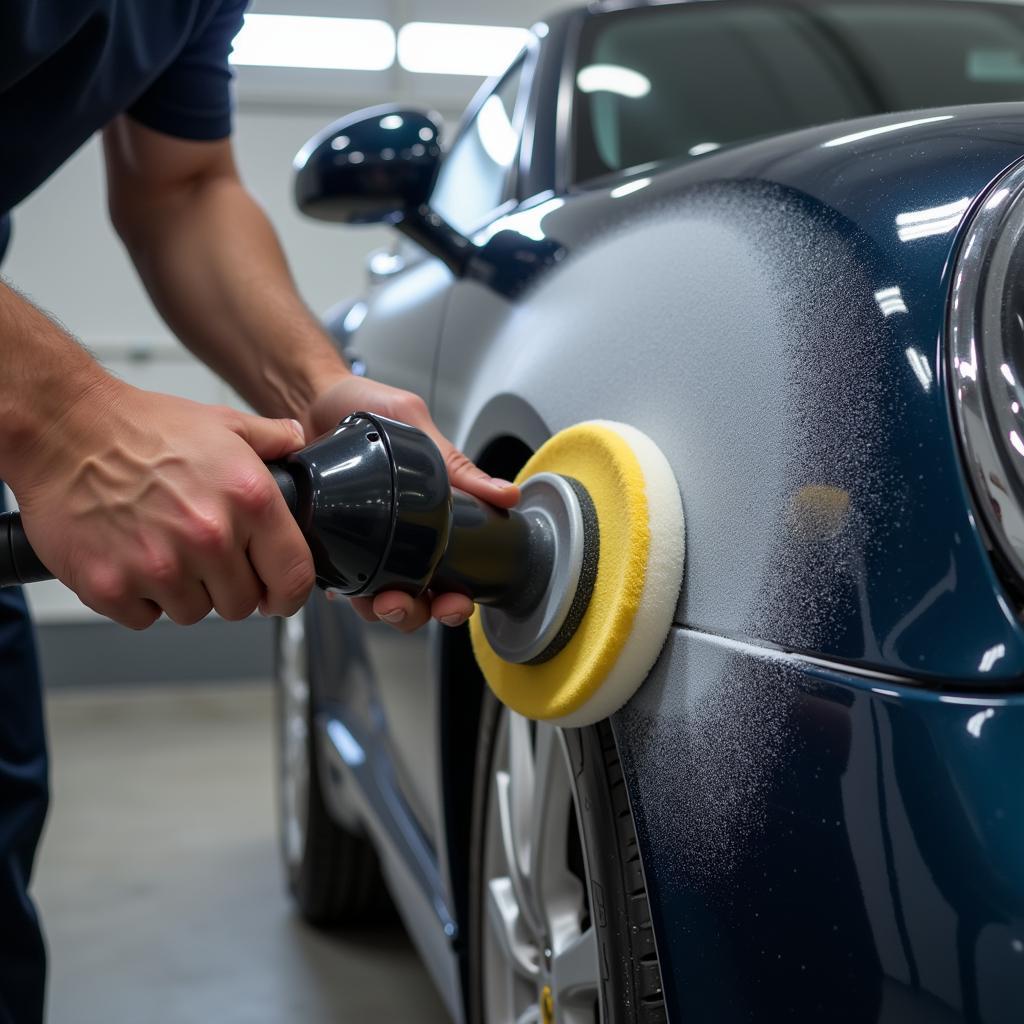
- Compound and Polish: Use rubbing compound followed by polishing compound to remove fine scratches, swirl marks, and restore shine. Apply using a soft cloth or polishing pad in a circular motion.
- Waxing: Apply a coat of car wax to protect the newly painted surface and enhance its gloss.
 Car paint polishing
Tips for a Successful Repair
- Work in a Well-Ventilated Area: Paint fumes can be harmful, so ensure adequate ventilation.
- Use a Tack Cloth: Before painting, use a tack cloth to remove any dust or debris from the prepared surface.
- Avoid Direct Sunlight: Direct sunlight can cause the paint to dry too quickly, leading to imperfections.
- Be Patient: Achieving a professional-looking finish takes time. Don’t rush the process, allow ample drying time between coats, and take your time with sanding and polishing.
Conclusion
Fixing the paint on your car doesn’t have to be daunting. By following this comprehensive guide and taking your time, you can achieve impressive results and restore your car’s appearance. Remember, if you’re ever unsure about a step or dealing with extensive damage, it’s always best to consult with a professional auto body technician.
Need assistance with your car paint repair? Contact AutoTipPro at +1 (641) 206-8880 or visit our office at 500 N St Mary’s St, San Antonio, TX 78205, United States. Our team of experts is ready to assist you.


Leave a Reply