Dealing with an electrical short in your car can be frustrating and even dangerous. From flickering lights to a complete engine stall, a short circuit can manifest in various ways, leaving you stranded and confused. This guide will walk you through the steps to diagnose and fix an electric short in your car, empowering you to tackle this common automotive issue.
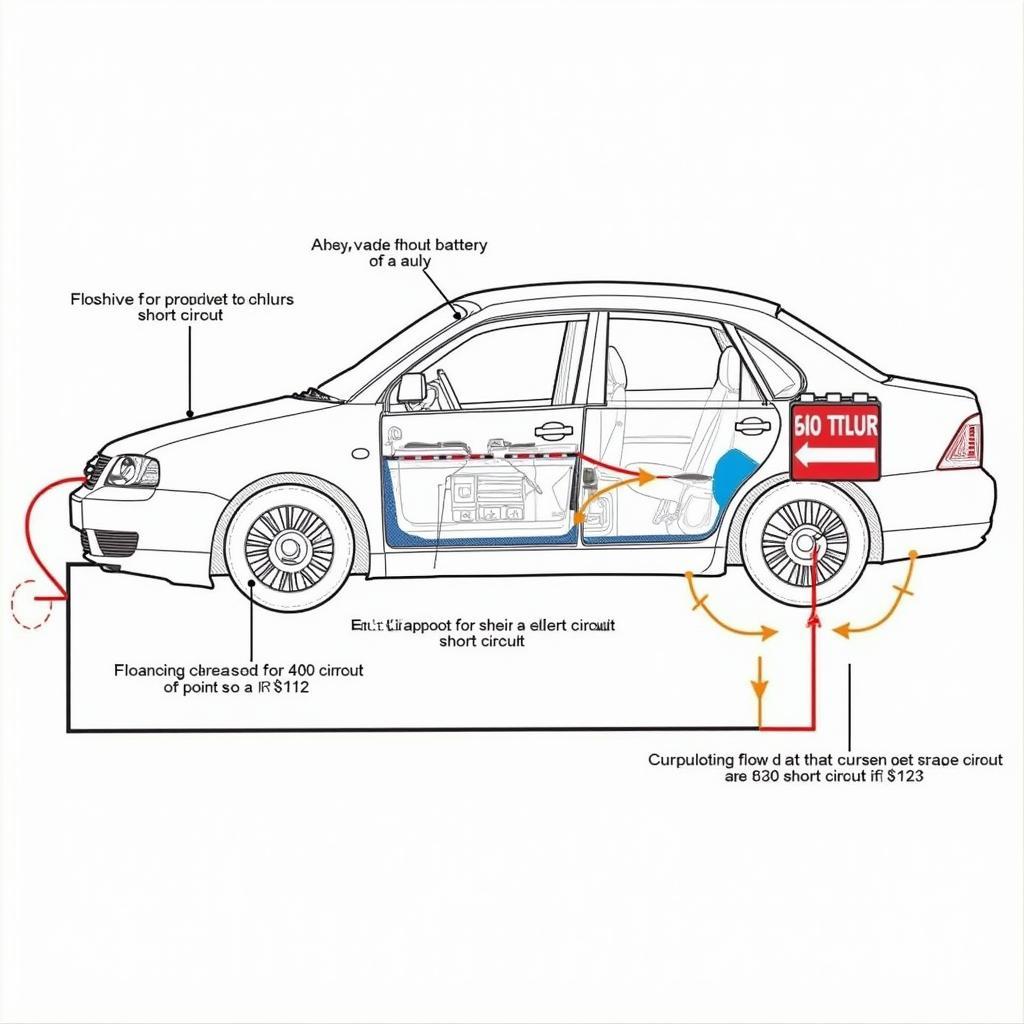
 Car Electrical Short Circuit Diagram
One common cause of electrical shorts is damaged wiring. Over time, the insulation on wires can wear down, exposing the conductive metal underneath. This can lead to a short circuit when the exposed wire comes into contact with another metal component. Another culprit can be a malfunctioning electrical component, such as a faulty switch, relay, or even a blown fuse. Identifying the source of the short is the first step towards a solution.
Diagnosing the Electrical Short
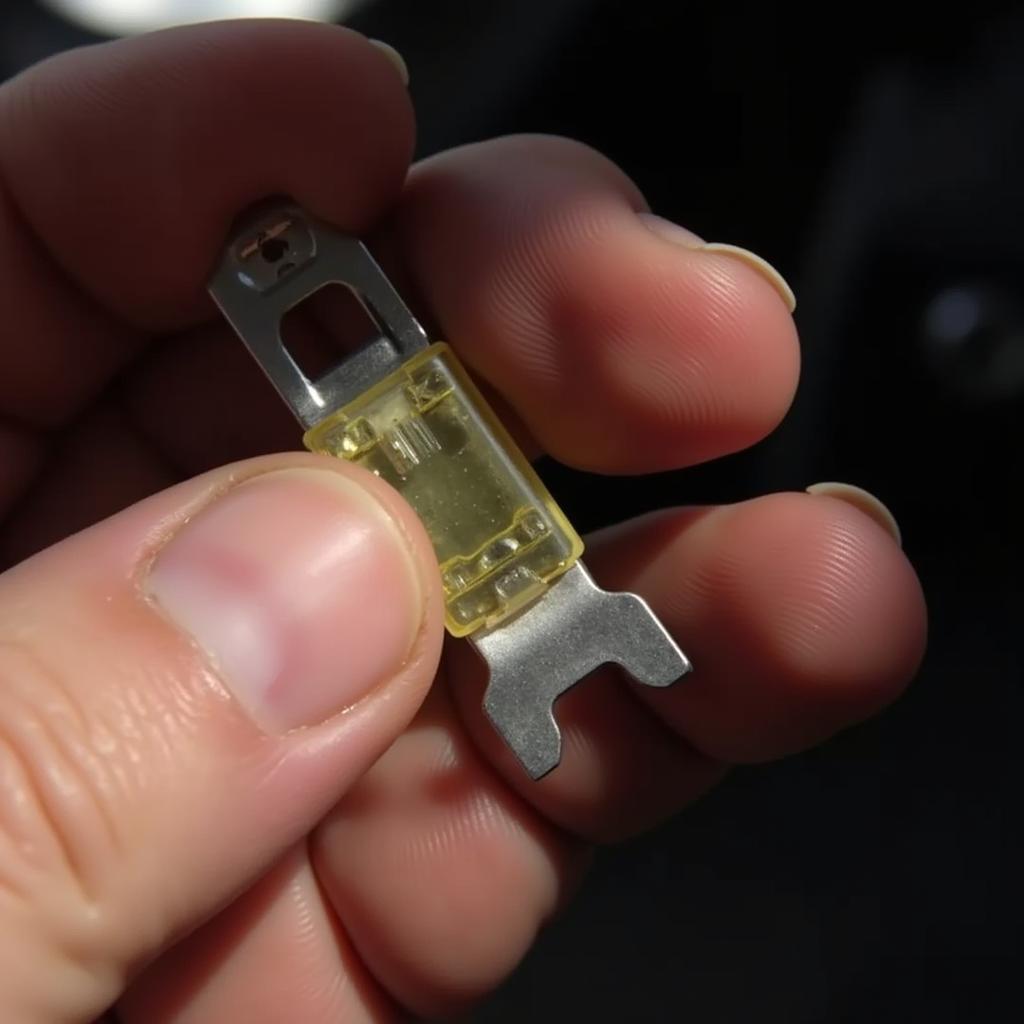
Pinpointing the exact location of the short requires a systematic approach. Start by checking the fuse box. A blown fuse is often the first indication of a short circuit. If you find a blown fuse, replace it with a new one of the same amperage. If the new fuse blows immediately, this confirms the presence of a short. Next, visually inspect the wiring harnesses for any signs of damage, such as frayed insulation, exposed wires, or burns. Remember, a thorough inspection is key to successfully fixing an electric short in your car.
 Checking Car Fuses for Electrical Short
Using a Multimeter to Identify the Short
A multimeter is an invaluable tool for diagnosing electrical problems. Set your multimeter to the ohms setting and use it to check the continuity of the wiring. A low resistance reading can indicate a short circuit. You can also use the multimeter to check the voltage at various points in the circuit to identify any abnormal voltage drops. For more complex electrical issues, you might consider seeking help from professional trade schools that fix cars. Sometimes, a simple issue like a car cigarette lighter not working can be related to a larger electrical problem.
Repairing the Electrical Short
Once you’ve located the short, the repair process can vary depending on the cause. If the issue is a damaged wire, you’ll need to repair or replace the affected section. This might involve splicing in a new piece of wire or replacing the entire wiring harness. If the problem lies with a faulty component, such as a switch or relay, replacing the component is usually the solution. Always disconnect the battery before working on any electrical components to prevent further damage or injury.
Preventing Future Electrical Shorts
Prevention is always better than cure. Regularly inspecting your car’s wiring and electrical components can help prevent future shorts. Make sure all wiring is properly secured and protected from damage. Also, avoid overloading your car’s electrical system by plugging in too many accessories. Keeping your car’s electrical system in good condition also helps prevent issues like dusty car windows, which you can learn how to fix in this guide: how to fix car windows dust.
Conclusion
Fixing an electric short in your car requires careful diagnosis and repair. By following these steps, you can identify and resolve the issue, getting your car back on the road safely. However, if you’re not comfortable working with electrical systems, it’s always best to consult a qualified mechanic. We at AutoTipPro are here to help. Contact us at +1 (641) 206-8880 or visit our office at 500 N St Mary’s St, San Antonio, TX 78205, United States. If you’re dealing with other car issues, such as a malfunctioning radio or a broken antenna, we have helpful guides available. Check out our articles on how to fix car antenna and how to fix car radio cd player. Remember, a well-maintained electrical system is crucial for a safe and reliable driving experience.


Leave a Reply