A malfunctioning car window button can be a real nuisance, especially during bad weather. This guide provides a comprehensive walkthrough on how to fix a broken window button in your car, empowering you to tackle this common car problem head-on. Learn how to diagnose the issue, troubleshoot potential causes, and implement effective solutions. car sun shade fix
Identifying the Problem: Is It Really the Button?
Before diving into repairs, it’s crucial to pinpoint the actual culprit. Sometimes, the problem might not be the button itself, but a related component. Is the window completely unresponsive? Does it move slowly or erratically? Accurately diagnosing the problem is the first step towards a successful fix.
Is the issue isolated to one window or affecting all of them? If all the windows are malfunctioning, the problem likely lies with the master control switch or a power supply issue. If only one window is affected, the problem is more likely localized to that specific window’s switch or motor.
Common Causes of a Broken Window Button
Several factors can contribute to a faulty window button. These include:
- Worn-out Contacts: Over time, the electrical contacts within the button can wear down, hindering the flow of electricity.
- Physical Damage: A dropped object or accidental impact can damage the button’s internal components.
- Corrosion: Exposure to moisture can lead to corrosion, affecting the button’s functionality.
- Wiring Issues: A loose or damaged wire connecting the button to the window motor can disrupt the electrical circuit.
- Faulty Window Motor: Although less common, a failing window motor can sometimes mimic a broken button.
 Diagnosing a Broken Car Window Button
How to Test a Car Window Button
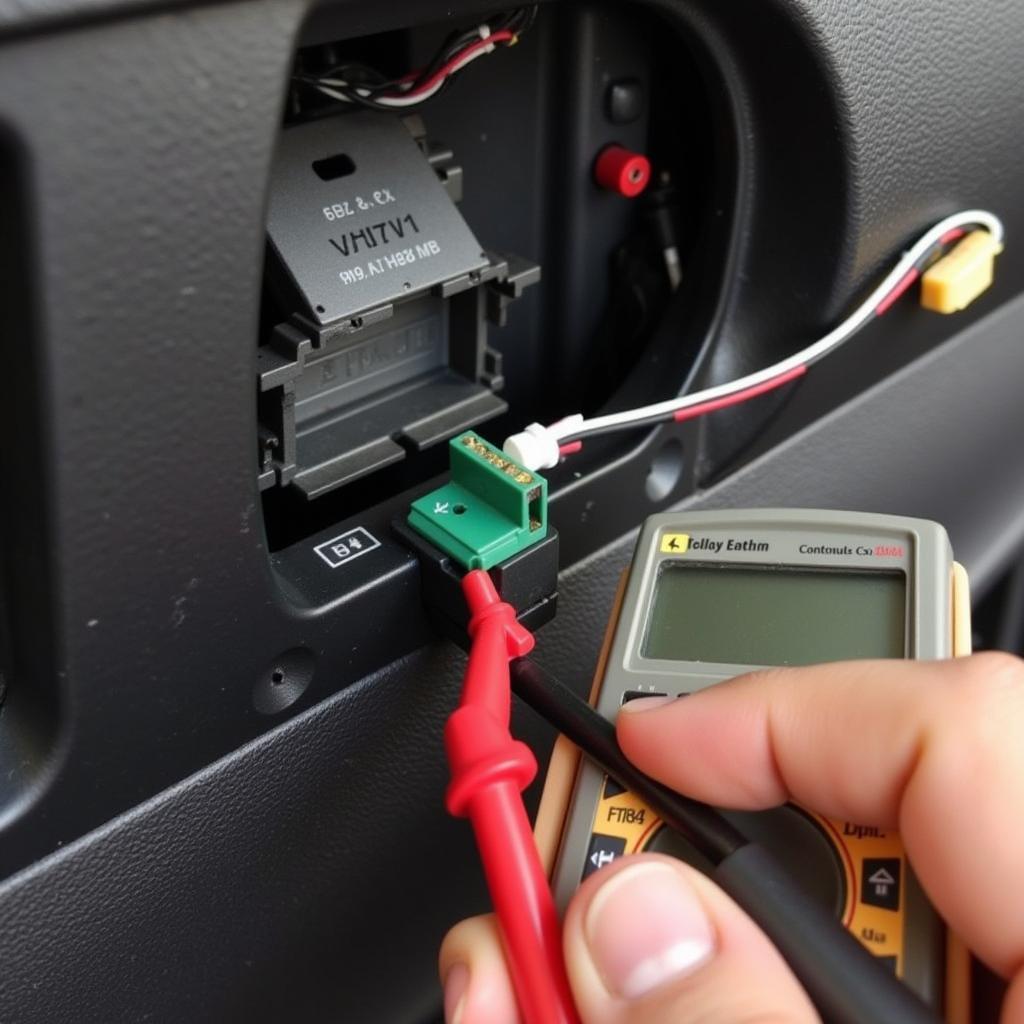
A multimeter is your best friend when troubleshooting electrical issues. Use it to test the button for continuity. If the multimeter doesn’t register a change in resistance when the button is pressed, the button is likely faulty.
- Disconnect the battery: This is a crucial safety precaution.
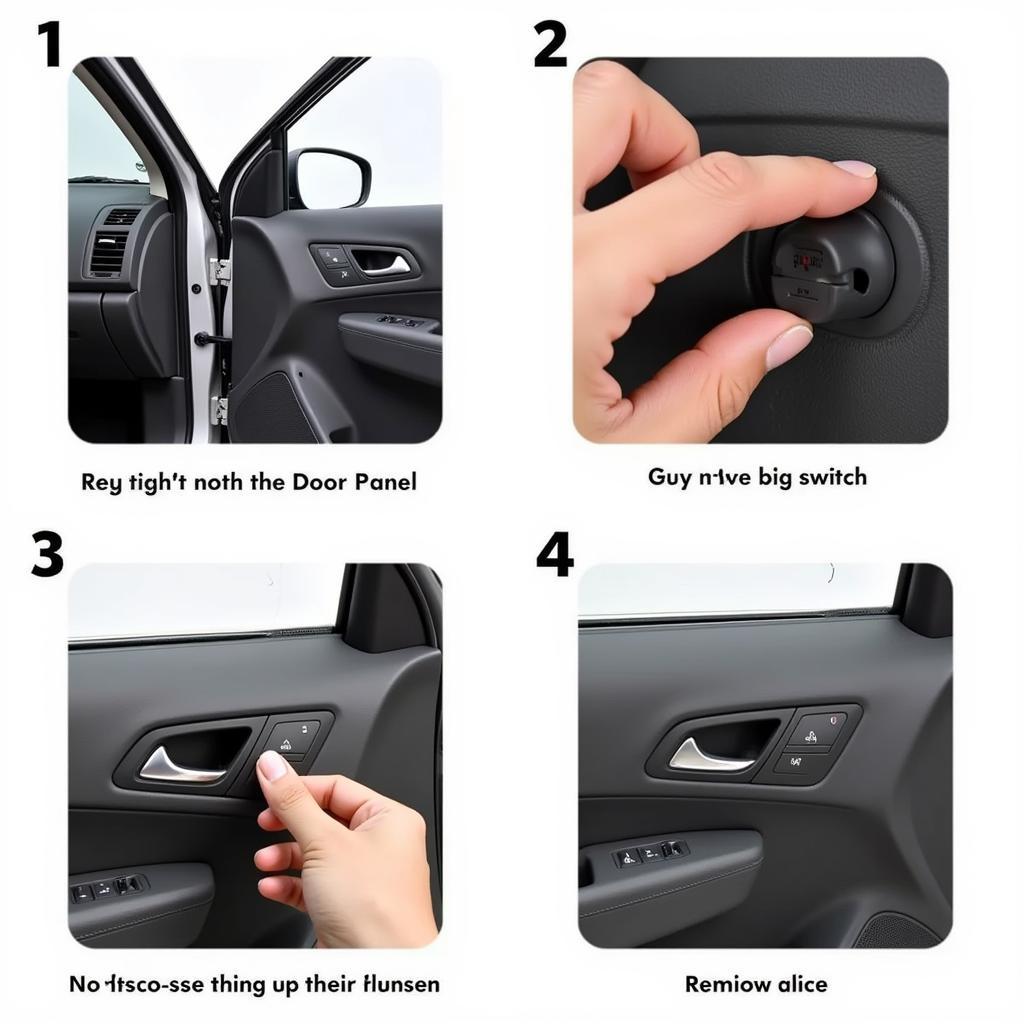
- Remove the door panel: Carefully remove the door panel to access the window button and wiring.
- Locate the window button connector: Unplug the connector from the back of the button.
- Set your multimeter: Set your multimeter to the continuity test setting.
- Test the button: Touch the multimeter probes to the appropriate terminals on the button connector, as indicated in your car’s wiring diagram. Press the button. If the multimeter beeps or shows a change in resistance, the button is functioning correctly. If not, it needs replacing.
Replacing the Window Button
Replacing a window button is usually a straightforward process. You can often find replacement buttons online or at your local auto parts store.
- Purchase the correct replacement button: Ensure compatibility with your car’s make and model.
- Disconnect the battery: This is crucial for safety.
- Remove the door panel: Carefully pry off the door panel.
- Unplug the faulty button: Disconnect the wiring connector from the old button.
- Install the new button: Connect the wiring connector to the new button and secure it in place.
- Reassemble the door panel: Carefully reattach the door panel.
- Reconnect the battery: Test the new window button.
 Replacing a Car Window Switch
When to Seek Professional Help
While replacing a window button is often a DIY-friendly task, some situations warrant professional assistance. If you’re uncomfortable working with electrical components, or if you’ve tried troubleshooting and still can’t identify the problem, it’s best to consult a qualified auto technician. fix a car radiator leak They have the expertise and tools to diagnose and repair complex electrical issues.
“A seemingly simple issue like a broken window button can sometimes be a symptom of a larger electrical problem,” says automotive expert John Smith, ASE Certified Master Technician. “If you’re unsure about anything, it’s always better to err on the side of caution and seek professional help.”
Preventing Future Problems
Regular maintenance can help prevent future window button issues. Keeping the door panel clean and dry can minimize corrosion. Avoid spilling liquids on the door panel and address any water leaks promptly.
Conclusion
Fixing a broken window button in your car is often a manageable task with the right guidance. By understanding the common causes, testing procedures, and replacement steps, you can regain control of your car windows and avoid the inconvenience of a malfunctioning button. Remember, diagnosing the issue correctly is key to a successful repair. However, don’t hesitate to reach out to a professional if you encounter any difficulties. [car suspension fix near me](https://autotippro.com/car-suspension-fix-near me/) For any assistance or queries, feel free to contact AutoTipPro at +1 (641) 206-8880. Our office is located at 500 N St Mary’s St, San Antonio, TX 78205, United States.
“Preventive maintenance is the best way to avoid car troubles,” adds Jane Doe, an experienced automotive electrician. “Regular cleaning and inspection of your car’s electrical components can save you time and money in the long run.” mobile car fix near me
FAQ
- How much does it cost to replace a car window button? The cost varies depending on the make and model of your car, but typically ranges from $20 to $100.
- Can I replace the window button myself? Yes, in most cases, replacing a window button is a simple DIY task.
- What tools do I need to replace a car window button? You’ll typically need a screwdriver, a panel removal tool, and possibly a multimeter.
- How long does it take to replace a window button? It usually takes about 30-60 minutes.
- What if the new button doesn’t work? Double-check the wiring connections and ensure you’ve purchased the correct replacement button. If it still doesn’t work, consult a professional.
- Can a faulty window motor cause the button to malfunction? Although less common, a faulty window motor can sometimes mimic a broken button.
- How can I prevent future window button problems? Keep the door panel clean and dry to minimize corrosion and address any water leaks promptly.


Leave a Reply