Fixing a car decal can seem daunting, but with the right approach and a little patience, you can often restore its appearance or even replace it entirely. This guide will walk you through the process of repairing or replacing your car decal, covering everything from minor touch-ups to complete removal and installation.
Identifying the Problem with Your Car Decal
Before you start fixing your car decal, you need to pinpoint the issue. Is it peeling at the edges? Has it faded due to sun exposure? Are there scratches or bubbles? Identifying the problem will help you determine the best course of action.
Peeling Edges
Peeling edges are a common problem, often caused by improper installation, exposure to harsh weather conditions, or simply the passage of time. You can often fix this by carefully applying heat with a hairdryer and pressing the decal back down with a smooth, flat object.
Fading and Discoloration
Sun exposure can cause car decals to fade and lose their vibrancy. While minor fading can sometimes be improved with specialized decal restorers, significant fading usually requires replacing the decal.
Scratches and Bubbles
Scratches and bubbles can detract from the appearance of your car decal. Minor scratches can sometimes be buffed out with a very fine polishing compound. Bubbles, on the other hand, can often be pierced with a tiny needle and the trapped air gently squeezed out.
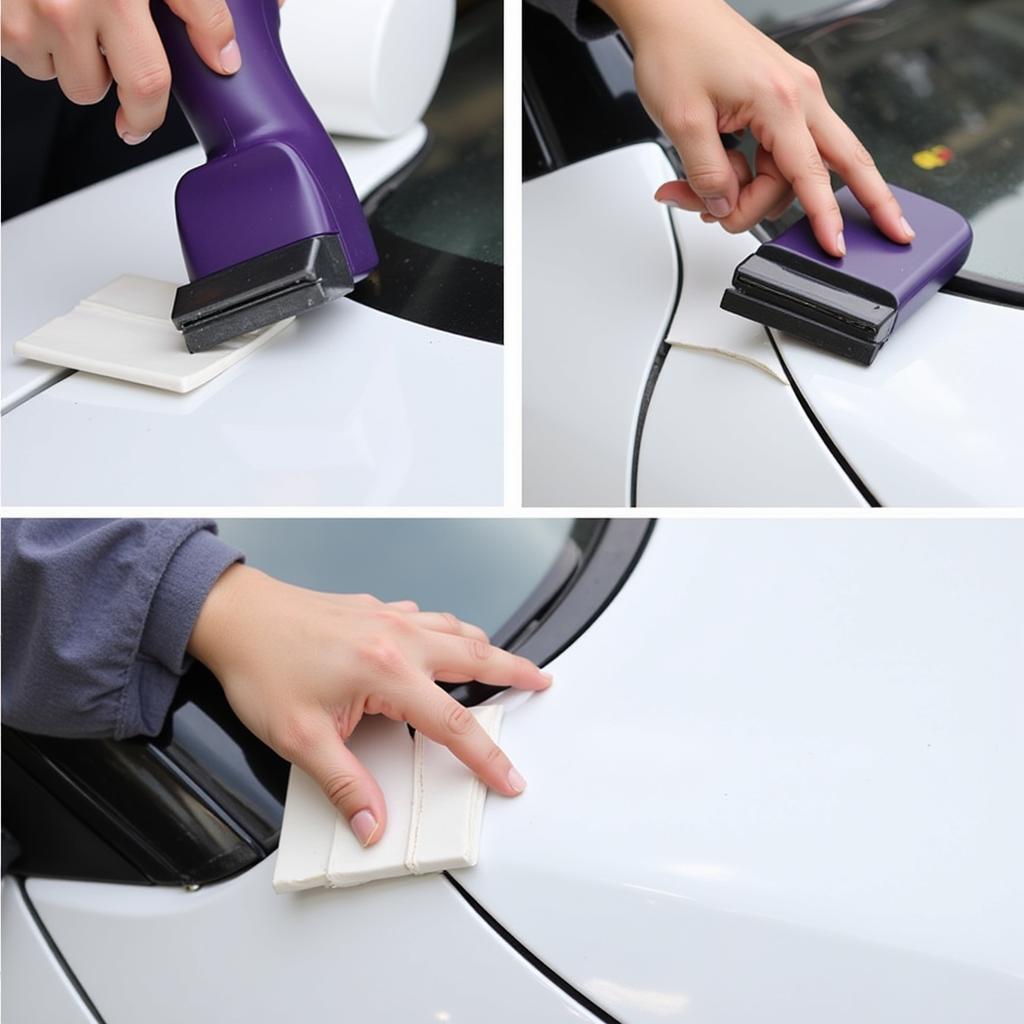
 Fixing a peeling car decal edge with a hairdryer and a squeegee
How to Fix Minor Decal Issues
For minor issues like peeling edges, small scratches, or bubbles, here’s a step-by-step guide:
- Clean the area: Wash the area around the decal with soap and water, then dry thoroughly. This ensures a clean surface for better adhesion.
- Apply heat (if peeling): If the edges are peeling, use a hairdryer on a low heat setting to warm the adhesive. Be careful not to overheat the decal.
- Press down firmly: Using a smooth, flat object like a credit card or a squeegee, gently press the decal back down, working from the center outwards.
- Address scratches: For minor scratches, use a very fine polishing compound and a soft cloth to gently buff the affected area.
- Remove bubbles: If there are air bubbles, carefully pierce them with a tiny needle and gently press the trapped air out from the center towards the edges.
When to Replace Your Car Decal
Sometimes, fixing a car decal simply isn’t possible. If the decal is severely faded, cracked, or damaged, replacement is the best option. Similarly, if the adhesive has completely failed, attempting to repair it is likely to be futile.
Removing the Old Decal
Removing the old decal is a crucial step in the replacement process. Here’s how to do it effectively:
- Apply heat: Use a hairdryer to warm the decal, making the adhesive easier to remove.
- Peel carefully: Starting at a corner, slowly peel the decal away from the surface. Use a plastic scraper if needed.
- Remove residue: Use an adhesive remover to clean off any remaining adhesive residue.
Installing a New Car Decal
Installing a new car decal requires precision and patience. Follow these steps for a successful installation:
- Clean the surface: Thoroughly clean the area where you will apply the new decal.
- Prepare the decal: Peel back a small portion of the backing paper.
- Position the decal: Carefully position the decal on the surface.
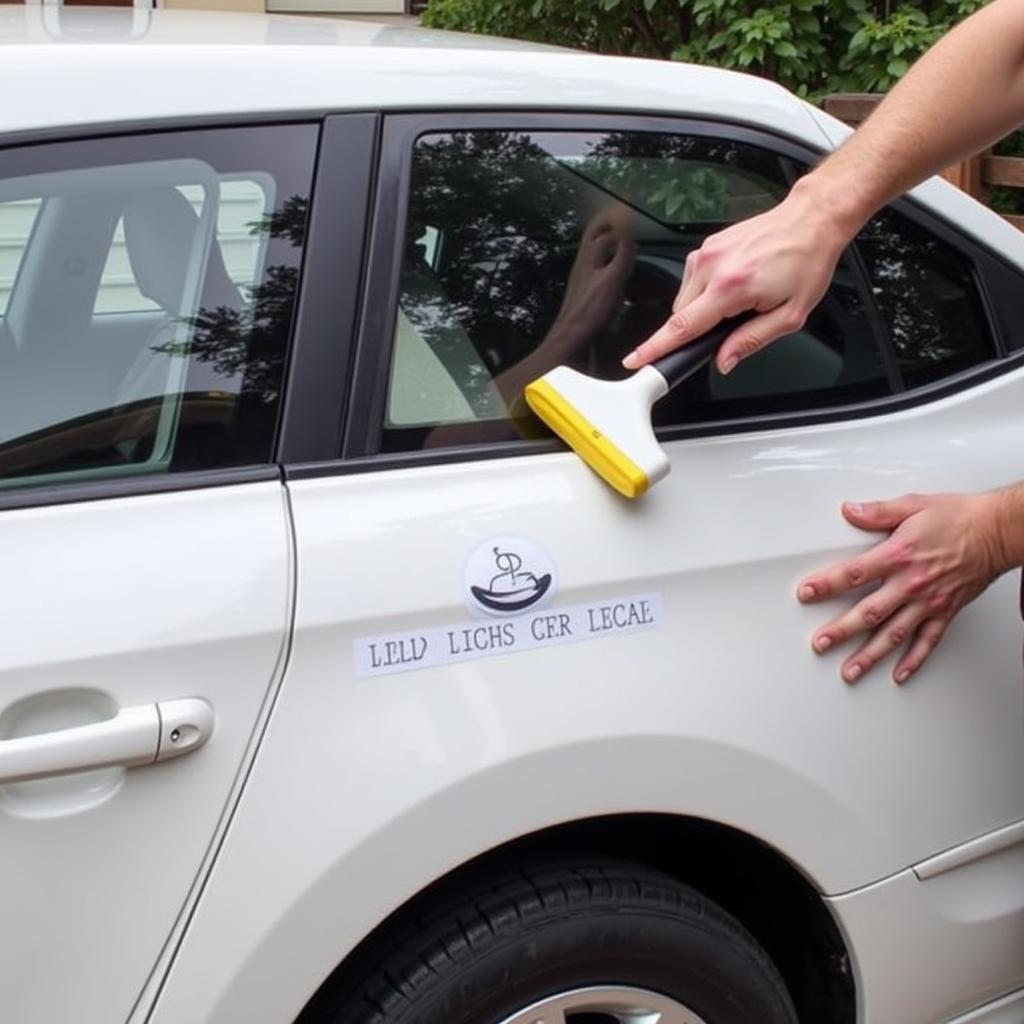
- Apply gradually: Slowly peel back the backing paper while pressing the decal onto the surface with a squeegee or credit card. Work from the center outwards to prevent bubbles.
 Installing a new car decal with a squeegee
How to Fix a Car Decal: Expert Tips
“Preventing problems is always easier than fixing them,” says John Miller, Senior Automotive Technician at Autotippro. “Make sure you install your decals correctly in the first place, and avoid using harsh chemicals or abrasive cleaners on them.”
“When removing old decals,” adds Sarah Johnson, Lead Detailer at Autotippro, “patience is key. Take your time and use the right tools to avoid damaging the paint underneath.”
Conclusion
Fixing a car decal can range from a simple fix to a full replacement. By understanding the issue and following the correct procedures, you can restore your car’s appearance and keep your decals looking their best. Remember, proper installation and maintenance are key to preventing future problems. For further assistance or personalized advice, feel free to contact us at AutoTipPro at +1 (641) 206-8880 or visit our office at 500 N St Mary’s St, San Antonio, TX 78205, United States.


Leave a Reply