Fixing a deep car scratch can seem daunting, but with the right tools and techniques, you can achieve professional-looking results from your own garage. This guide will provide a comprehensive step-by-step approach to tackling those unsightly deep scratches and restoring your car’s finish.
Assessing the damage is the first step in How To Fix A Deep Car Scratch On Your Own. Determine if the scratch has penetrated the clear coat, the paint, or reached the primer. This will dictate the necessary repair process. Shallow scratches often only require a good polish, while deeper ones need more attention. For smaller scratches, you may want to consider best way to fix small scratches on car.
Understanding Deep Car Scratches
What makes a car scratch “deep”?
A deep car scratch is one that goes beyond the clear coat and penetrates the paint layer, sometimes even reaching the primer or bare metal. These scratches are more than just cosmetic blemishes; they expose the underlying layers to the elements, increasing the risk of rust and further damage.
Why is it important to fix deep scratches?
Beyond aesthetics, fixing deep scratches protects your car’s value and prevents further deterioration. Exposed metal is vulnerable to rust, which can quickly spread and require more extensive (and expensive) repairs down the line.
Gathering Your Supplies for Deep Scratch Repair
Having the right tools is essential for a successful repair. Here’s what you’ll need:
- Automotive touch-up paint (matched to your car’s color code)
- Primer (if the scratch reaches the metal)
- Sandpaper (various grits, starting with 1500-grit and progressing to 2000- or 3000-grit)
- Rubbing compound
- Polishing compound
- Wax
- Masking tape
- Microfiber cloths
- Applicators (foam or microfiber)
“Having the proper materials is half the battle,” says renowned auto detailer, Michael Davis. “Using quality products ensures a lasting and professional finish.”
A Step-by-Step Guide to Fixing a Deep Car Scratch
- Clean the Area: Thoroughly wash and dry the scratched area to remove any dirt or debris. Use a degreaser if necessary.
- Mask the Surrounding Area: Protect the paint around the scratch with masking tape. This prevents accidental damage during sanding and painting.
- Sand the Scratch: Start with the coarser grit sandpaper (1500-grit) and gently sand the scratch and surrounding area to smooth out any raised edges and create a level surface for the paint to adhere to. Gradually move to finer grits (2000- or 3000-grit) to further refine the surface. Be sure to keep the area wet while sanding to prevent further scratching.
- Apply Primer (If Necessary): If the scratch has reached the metal, apply a thin coat of automotive primer to the exposed area. Let it dry completely according to the manufacturer’s instructions.
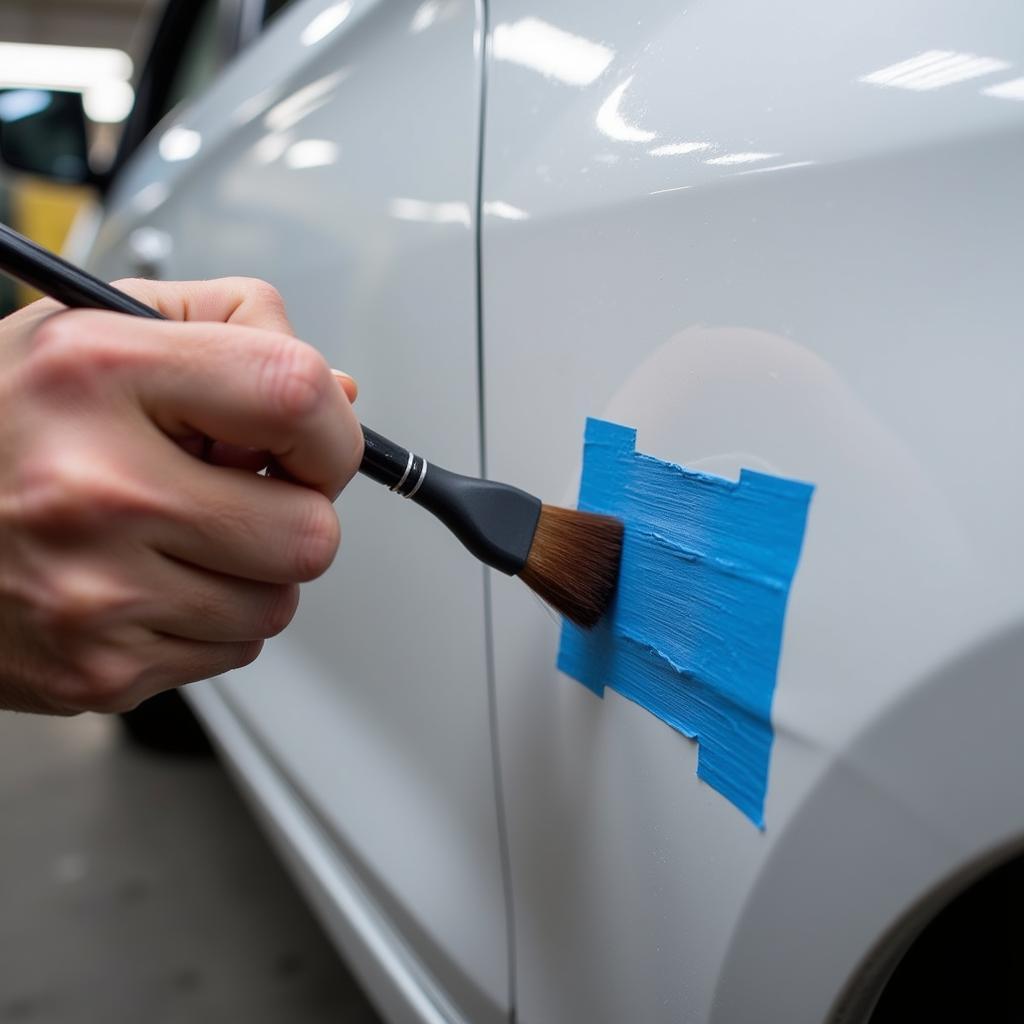
- Apply Touch-Up Paint: Apply thin coats of touch-up paint to the scratched area, allowing each coat to dry before applying the next. Avoid applying thick coats, as this can lead to unevenness and dripping.
- Sand the Painted Area: Once the paint is completely dry, use the finest grit sandpaper (2000- or 3000-grit) to carefully level the newly painted area with the surrounding paint. This step requires patience and a light touch.
- Apply Rubbing Compound: Use a rubbing compound to remove any remaining imperfections and blend the repair area seamlessly with the surrounding paint.
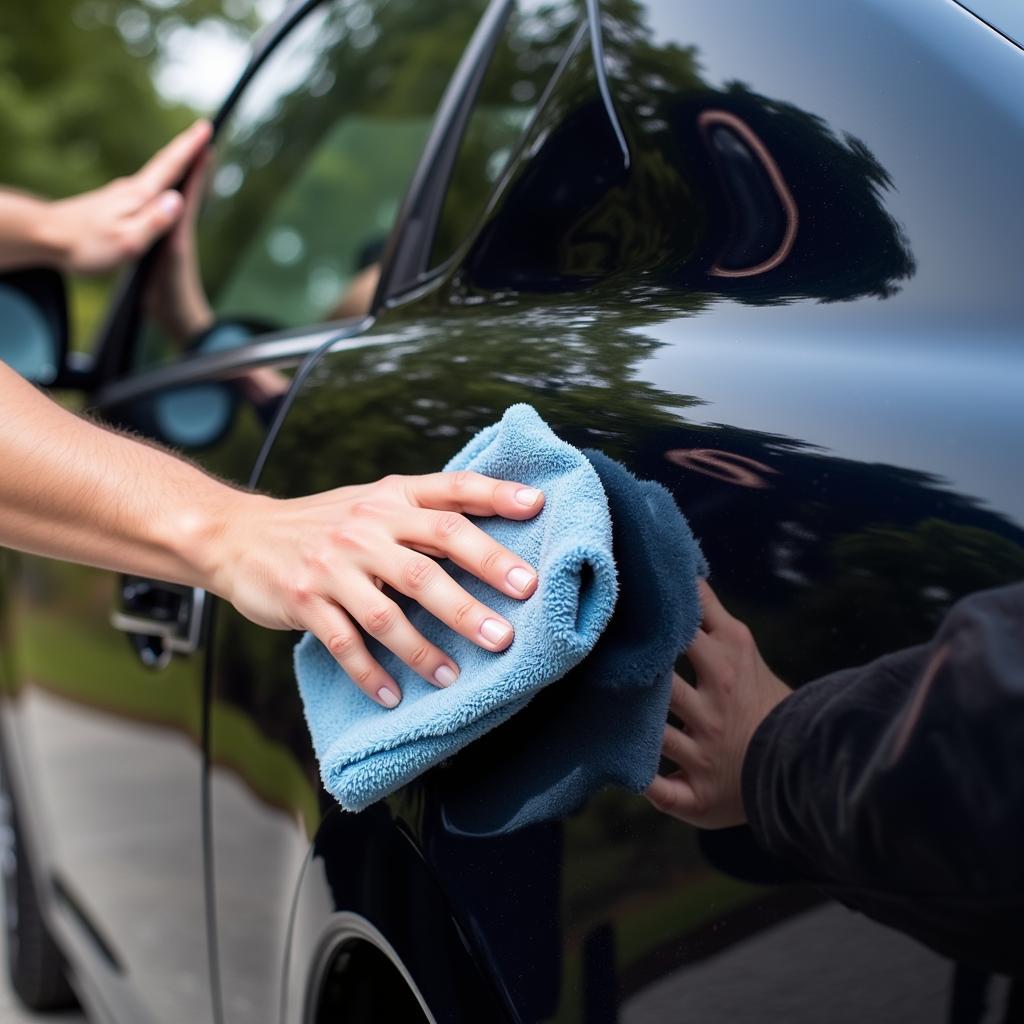
- Apply Polishing Compound: Follow up with a polishing compound to restore the shine and gloss to the repaired area.
- Wax: Apply a coat of wax to protect the newly repaired area and enhance the shine.
 Applying Touch-Up Paint to a Car Scratch
Tips for a Professional Finish
- Work in a well-ventilated area.
- Apply thin coats of paint and primer.
- Use high-quality products.
- Be patient and take your time with each step.
“Remember, patience is key when it comes to achieving a seamless repair,” advises Sarah Johnson, an experienced automotive technician. “Don’t rush the process, and you’ll be rewarded with a flawless finish.” For minor scratches or scuffs on your car bumper, check out car bumper fix g. Alternatively, you can try using a scratch remover like the fix it pro car scratch remover. Repairing a car bumper can sometimes be a lengthy process so it is good to know how long does it take to fix car bumper. And for those annoying bike handle scratches on your car door, you might be wondering about the cost to fix scratch on car door bike handle.
 Car Scratch Repair Final Polish
Conclusion
Fixing a deep car scratch on your own is achievable with the right approach and a little elbow grease. By following the steps outlined in this guide and taking your time, you can restore your car’s appearance and protect it from further damage. Remember to always prioritize safety and follow product instructions. If you need any assistance or have further questions about how to fix a deep car scratch on your own, feel free to connect with us. Contact AutoTipPro at +1 (641) 206-8880 or visit our office at 500 N St Mary’s St, San Antonio, TX 78205, United States.


Leave a Reply