Imagine this: it’s a scorching summer day, and you’re looking forward to the cool comfort of your car’s AC. You turn it on, but instead of a refreshing blast of cold air, you’re met with a lukewarm breeze. This, my friends, is often the telltale sign of a leak in your car’s AC system. Not only is this incredibly frustrating, but it can also lead to costly repairs if ignored.
 Car AC Leak Detection
Don’t sweat it just yet! This comprehensive guide will walk you through the common causes of car AC leaks, how to diagnose the problem, and the steps to fix them. Whether you’re a seasoned DIYer or prefer to leave it to the pros, understanding the ins and outs of this essential system is crucial for every car owner.
Why is My Car AC Leaking?
Before we jump into the “how-to-fix-it” part, let’s first understand why car AC systems spring leaks in the first place. The most common culprits are:
-
Worn-out O-rings and Seals: These rubber components are vital for sealing connections within the AC system. Over time, they can dry out, crack, or become brittle due to heat and pressure, leading to refrigerant leaks.
-
Damaged Hoses and Lines: The AC system relies on a network of hoses and metal lines to circulate refrigerant. Vibrations, road debris, or corrosion can cause these to wear down or develop holes, resulting in leaks.
-
Faulty AC Compressor: As the heart of your AC system, the compressor pressurizes and circulates the refrigerant. If the compressor seal fails or the compressor itself develops internal leaks, you’ll likely experience cooling problems.
-
Evaporator or Condenser Issues: Both the evaporator (located inside the dashboard) and the condenser (in front of the radiator) can develop leaks due to corrosion, debris impact, or manufacturing defects.
 Car AC Components Diagram
Identifying the Leak: Signs and Symptoms
Detecting a car AC leak early on can save you a lot of trouble and money in the long run. Here are some telltale signs to watch out for:
-
Warm Air Blowing: This is the most obvious symptom. If your AC is blowing warm air instead of cold, it’s likely due to a lack of refrigerant caused by a leak.
-
Hissing or Bubbling Sounds: These noises coming from the dashboard or engine bay while the AC is on can indicate escaping refrigerant.
-
Visible Oily Residue: Refrigerant leaks often leave behind an oily residue around the leak point. Check hoses, connections, and components for any signs of this.
-
Unexplained Sweet Smell: Refrigerant has a slightly sweet odor. If you notice this inside your car while running the AC, it could point towards a leak.
-
AC System Cycling On and Off: If the AC system frequently turns on and off on its own, it might be low on refrigerant due to a leak.
How to Fix a Leak in the Car AC: Step-by-Step Guide
While some car AC leaks require professional attention, others can be tackled with a bit of DIY spirit. Here’s a step-by-step guide to help you fix a leak in your car AC:
1. Gather Your Tools and Materials:
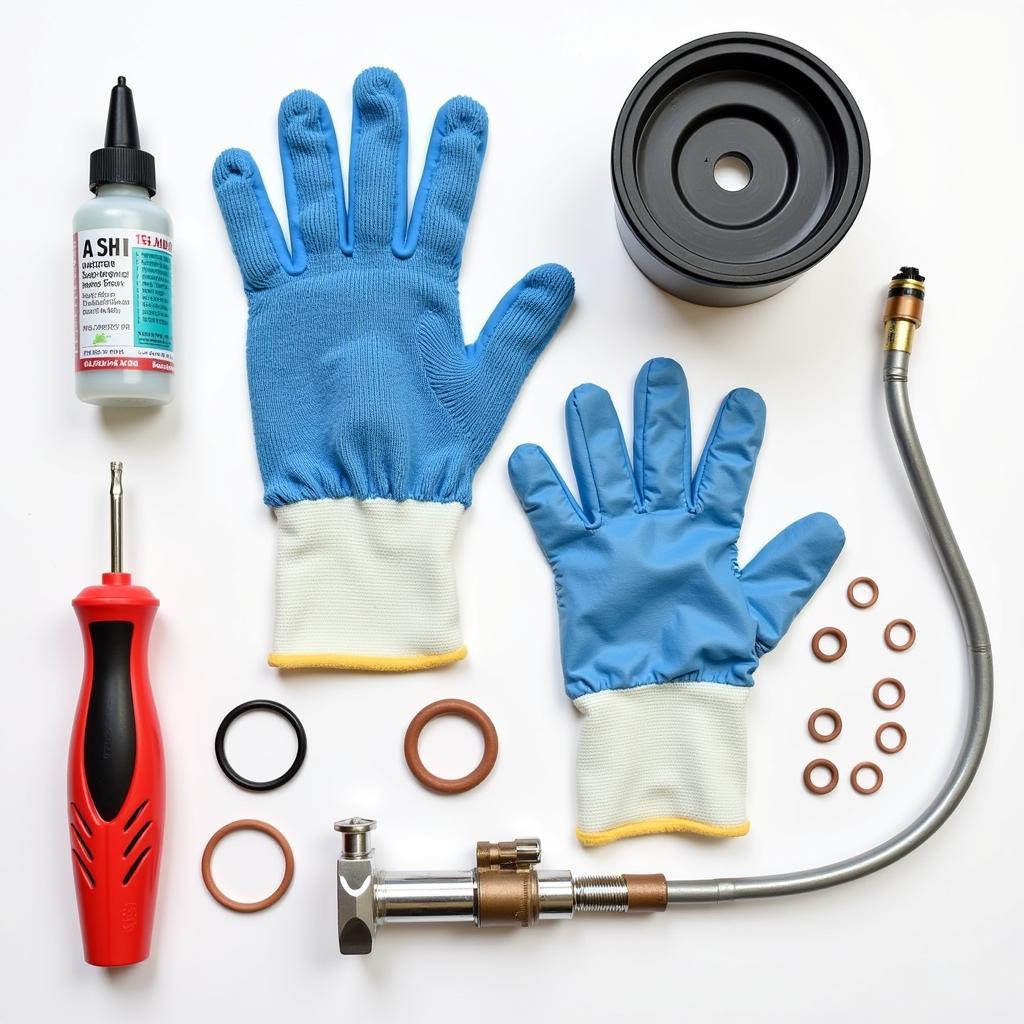
You’ll need:
- Protective gloves and eyewear
- AC refrigerant leak detection kit
- AC refrigerant (compatible with your car)
- Replacement O-rings and seals (if needed)
- AC hose repair kit (if needed)
- Wrenches and screwdrivers
- Vacuum pump (if working with the entire AC system)
 Car AC Repair Tools and Materials
2. Locate the Leak:
Use an AC refrigerant leak detection kit to pinpoint the source of the leak. These kits often use a UV dye that you add to the system, making leaks visible under a UV light.
3. Repair or Replace the Leaky Component:
-
O-rings and Seals: Replace worn-out O-rings and seals with new ones. Apply a small amount of AC oil to the new seals before installation.
-
Hoses and Lines: Minor leaks in hoses can often be repaired using an AC hose repair kit. For larger holes or severely damaged hoses, replacement is necessary. You can find more information about fixing leaky car ac hose connector in our dedicated article.
-
Compressor, Evaporator, Condenser: Leaks in these components often require professional expertise and specialized tools.
4. Evacuate and Recharge the AC System:
After repairing the leak, it’s crucial to evacuate the system using a vacuum pump to remove any air and moisture. Then, recharge the system with the correct amount and type of AC refrigerant specified in your car’s manual. You can learn more about the car AC condenser leak fix in this detailed guide.
When to Call a Pro
While some car AC leak repairs can be done at home, certain situations warrant professional intervention:
-
Leaks in the Compressor, Evaporator, or Condenser: These repairs often require specialized tools and knowledge of handling refrigerant safely.
-
Complex Electrical Issues: If the leak involves electrical components or sensors, it’s best left to a qualified technician.
-
Lack of DIY Experience: If you’re not comfortable working with automotive AC systems, it’s always safer to seek professional help.
Concerned about the fix ac leak car cost? We’ve got you covered! Our comprehensive article breaks down the factors influencing the cost and provides insights on finding reputable repair shops.
Preventing Future Leaks: Proactive AC Maintenance Tips
Prevention is always better than cure. Here are some proactive tips to prevent future car AC leaks:
-
Regular AC Inspections: Have your car’s AC system inspected annually by a qualified technician, especially before the start of the summer season.
-
Timely Repairs: Don’t ignore any signs of AC trouble, such as warm air blowing or unusual noises. Address them promptly to prevent minor issues from escalating into major repairs.
-
Keep the System Clean: Regularly clean debris and dirt from the condenser fins located in front of the radiator. This will ensure optimal airflow and prevent corrosion.
-
Run the AC Periodically: Even during winter, run your car’s AC for a few minutes every couple of weeks. This helps lubricate the system’s components and prevent seals from drying out.
Conclusion
A leak in your car’s AC system might seem like a major setback, but with the right knowledge and approach, it’s a manageable problem. By understanding the common causes, recognizing the symptoms, and following the repair guide, you can get your car’s AC back to its cooling best. Remember, safety and proper handling of refrigerant are paramount when working with car AC systems.
If you’re unsure about any aspect of the repair process or lack the necessary tools and experience, don’t hesitate to contact a qualified automotive AC technician for assistance. Need help finding a reliable mechanic? Reach out to AutoTipPro for expert advice and support. We’re just a call away at +1 (641) 206-8880 or visit our office located at 500 N St Mary’s St, San Antonio, TX 78205, United States. We’re here to ensure your drive stays cool and comfortable, no matter the weather!


Leave a Reply