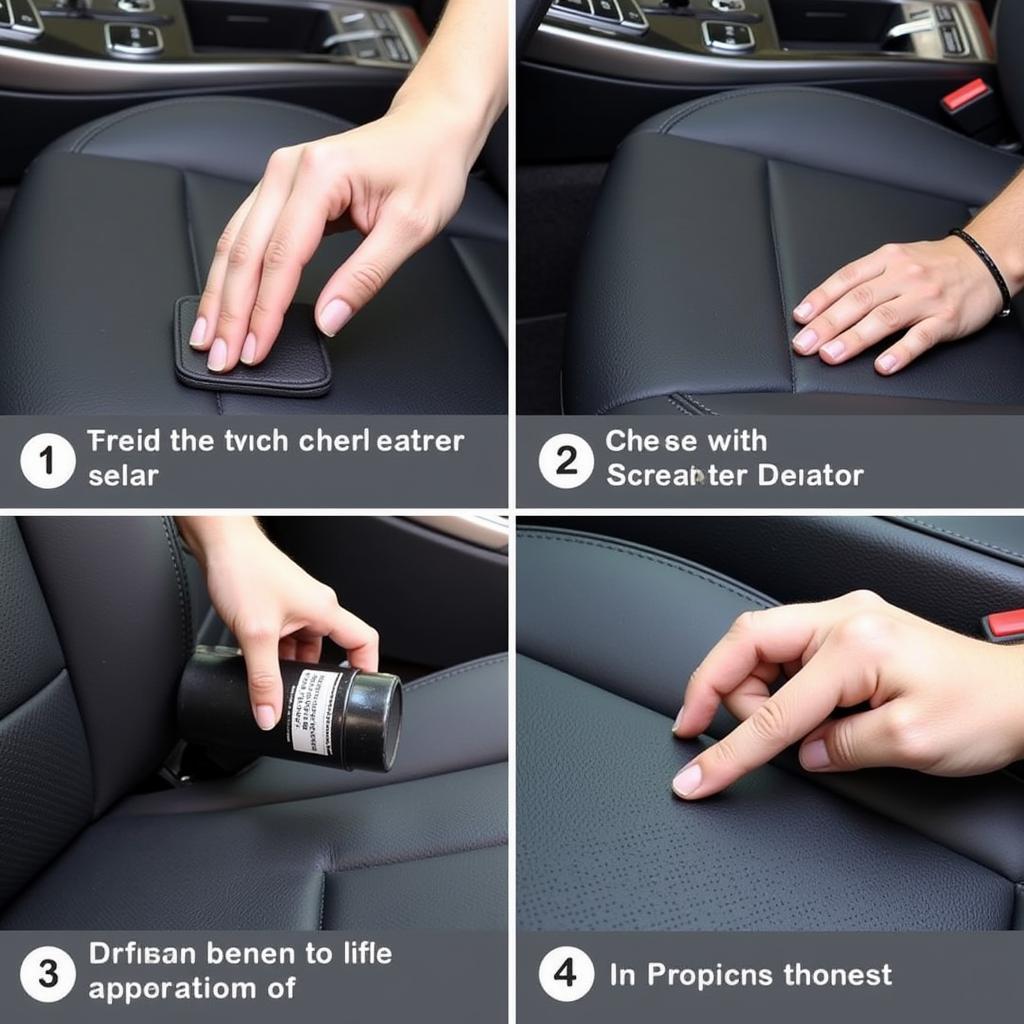
A ripped leather car seat can be an eyesore and diminish the overall aesthetic of your vehicle’s interior. Fortunately, fixing a tear in your leather car seat is often manageable without professional help. Whether it’s a small snag, a larger tear, or a worn-out section, this comprehensive guide will equip you with the knowledge and techniques to restore your leather car seats to their former glory.
Understanding the Damage: Assessing Your Ripped Leather Seat
Before diving into the repair process, it’s crucial to evaluate the extent of the damage. Is it a small nick, a deep gash, or a combination of tears and wear? The type of rip and its size will dictate the best repair method. For example, a minor scratch might only require a leather filler, while a large tear might necessitate a patch. Examining the damage also helps you gather the necessary repair materials.
Types of Leather Seat Damage
Rips and tears come in various forms. Understanding these variations is essential for choosing the right repair strategy. Common types include:
- Small Tears: These are usually less than an inch long and don’t penetrate deep into the leather.
- Large Tears: These are more extensive and might require patching or professional intervention.
- Scratches and Scuffs: Surface-level damage that affects the leather’s finish.
- Burns: Damage caused by heat, often resulting in discoloration and a change in texture.
- Cracks and Wear: Common in older leather, these indicate the leather’s deterioration due to age and exposure.
DIY Repair Methods: How to Fix a Ripped Leather Seat in a Car
Depending on the severity of the rip, several DIY methods can effectively address the issue. These range from simple solutions like using leather filler for minor scratches to more involved techniques like patching for larger tears.
Using Leather Filler for Small Tears and Scratches
Leather filler is a versatile product that can effectively conceal minor imperfections. Apply it directly to the damaged area, smoothing it out with a palette knife. After it dries, sand it down until it’s flush with the surrounding leather. This method is ideal for small tears, scratches, and even minor burns.
Patching Larger Tears: A Step-by-Step Guide
For larger tears, patching is often the best solution. This involves using a leather patch to cover the damaged area and securing it with leather adhesive. Here’s a step-by-step guide:
- Clean the Area: Thoroughly clean the ripped area with a leather cleaner to remove dirt and debris.
- Prepare the Patch: Cut a leather patch slightly larger than the tear, ensuring it matches the color and texture of the existing leather.
- Apply Adhesive: Apply leather adhesive to the underside of the patch and carefully place it over the tear.
- Secure the Patch: Use clamps or weights to hold the patch in place while the adhesive dries.
- Finishing Touches: Once dry, blend the patch into the surrounding leather by applying leather conditioner.
Leather Repair Kits: All-in-One Solutions
Leather repair kits offer a convenient way to address various types of leather damage. These kits typically include leather filler, adhesive, color matching tools, and applicators, providing everything you need in one package. They’re especially useful for those who prefer a ready-made solution.
When to Seek Professional Help: Knowing Your Limits
While DIY repairs can be effective for many types of leather damage, some situations require professional expertise. Deep tears, extensive damage, or valuable leather upholstery are best left to experienced professionals who have the skills and tools to restore your leather seats to their original condition.
Preventing Future Damage: Proactive Leather Care
Prevention is always better than cure. Regular cleaning and conditioning of your leather seats can significantly prolong their lifespan and prevent future rips and tears. Protecting your leather from direct sunlight and extreme temperatures also helps maintain its integrity.
 Preventing Leather Seat Damage
Conclusion: Keeping Your Leather Seats in Top Shape
Fixing a ripped leather seat in a car doesn’t have to be a daunting task. By understanding the different repair methods and choosing the right approach based on the extent of the damage, you can effectively restore your leather seats and maintain the pristine condition of your car’s interior. Don’t let a small rip detract from your driving experience; take action and bring your leather seats back to life! For any further assistance or professional repair services, feel free to reach out to us at AutoTipPro at +1 (641) 206-8880. Our office is located at 500 N St Mary’s St, San Antonio, TX 78205, United States.
“Regular maintenance is key to preserving the longevity and beauty of leather car seats,” says John Miller, Senior Automotive Upholstery Specialist. “A little care goes a long way in preventing rips, tears, and other damage.” Adds Sarah Johnson, Lead Leather Technician, “Choosing the right repair method is crucial for a seamless and lasting fix. Assess the damage carefully before proceeding.”
FAQ
- What’s the best way to clean leather car seats? Use a dedicated leather cleaner and a soft microfiber cloth.
- How often should I condition my leather seats? Every few months, or as needed, depending on usage and climate.
- Can I use super glue to fix a ripped leather seat? It’s not recommended, as super glue can damage the leather and create a stiff, unsightly repair.
- What type of leather patch should I use? Choose a patch that closely matches the color and texture of your existing leather.
- How can I prevent my leather seats from cracking? Regular conditioning and protection from direct sunlight and extreme temperatures can help prevent cracking.
- Is it possible to dye a leather patch to match my seats? Yes, leather dyes are available, but achieving a perfect color match can be challenging.
- What if the rip is on the stitching of the leather seat? For damaged stitching, it’s best to consult a professional upholsterer.


Leave a Reply